

“openSUSE Leap is a brand new way of building openSUSE and is new type of hybrid Linux distribution. Leap uses source from SUSE Linux Enterprise (SLE), which gives Leap a level of stability unmatched by other Linux distributions, and combines that with community developments to give users, developers and sysadmins the best Linux experience available. Contributor and enterprise efforts for Leap bridge a gap between matured packages and newer packages found in openSUSE’s other distribution Tumbleweed.”– OpenSUSE
I would welcome all OpenSUSE fans, system and security administrators and students to try out OpenVAS on an OpenSUSE machine which works pretty fine. OpenVAS is a framework of several services and tools offering a comprehensive and powerful vulnerability scanning and mangement solutions.
After you have installed your OpenSUSE Leap on your machine, you will need to open YAST and install the OpenVAS. Let’s installed OpenVAS on the OpenSUSE machine.
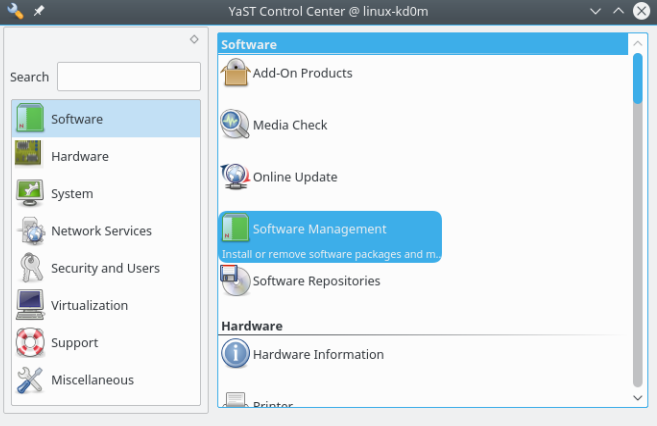
1.Open the YAST Control center and under the Software tab click on the software management.
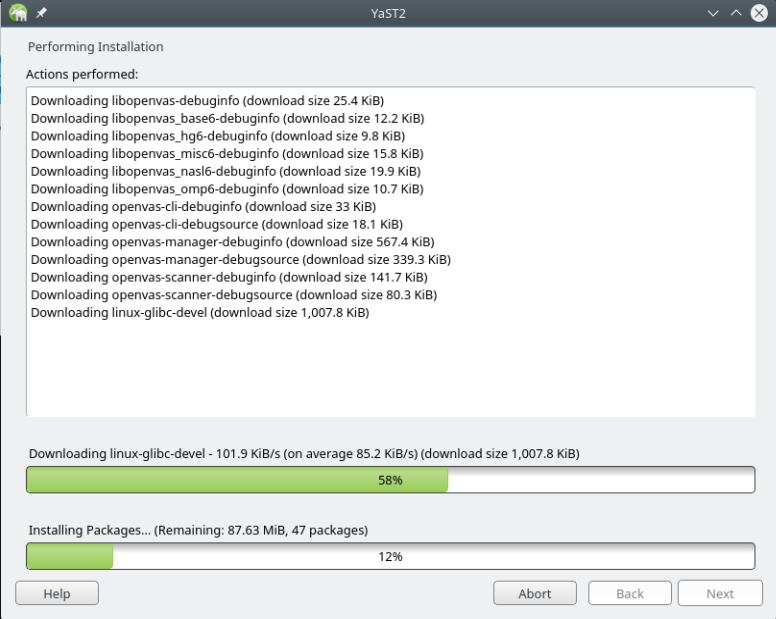
2. The YAST2 software management tool will open. Simply type the keyword OpenVAS which will prompt you to install it togather will all the libraries. You will also need to install GreenBone-security-assistant which is a nice tool to use with OpenVAS
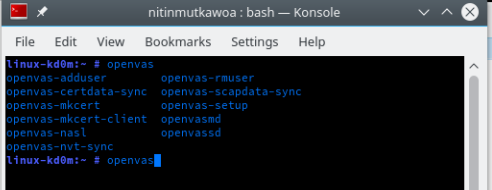
3. Once, you have installed OpenVAS and Greenbone-security-assistant, now the fun begins. Open a terminal, log in as root user, you will notice that there are several tools which have been installed from the OpenVAS.
4. Launch the openvas-setup which will download some bunch of files and libraries.
5. The next step is to create a user which can be done with the command openvas-adduser
6. Create a certificate with openvas-mkcert
7. openvasmd –rebuild which will rebuild openvas with the new configuration
8. Now set address and port number with the command openvasmd -p 9300 -a 127.0.0.1
9. After that set for administrative purpose local address with the command openvasmd -a 127.0.0.1 -p 9393
10. Setting the http for the GreenBone with the command gsad –http-only –listen=127.0.0.1 -p 9392
11. You can now navigate on your browser on http://127.0.0.1:9392 to access the Greenbone security assistant.
OpenVAS will give you information about the ports summary and information about the possible vulnerabilities that OpenVAS has discovered. Please be aware that many times you will get false positives when there are not any vulnerability or the vulnerability is not accessible to anybody. However, its cool to find out what vulnerability OpenVAS has find on your system for future security enhancements.


