
When it comes to monitoring, one of the famous web application for monitoring is Zabbix. In this article, we will see the basic installation and configuration of a Zabbix machine on a CentOS7. Zabbix is an open-source monitoring software tool for diverse IT components, including networks, servers, virtual machines (VMs) and cloud services. Zabbix provides monitoring metrics, among others network utilization, CPU load and disk space consumption. It works as a Client/Server model.

Always check the official documentation for installation. The machine has been deployed on a Virtual Box machine with the following configurations:
- 2048 MB RAM
- 1 CPU
- 10GB storage
- hostname as zabbixserver zabbixserver.local
- IP Address 192.168.0.30
1. After deploying your machine, always make sure it is up-to-date and begin by installing a web server. I chose Apache httpd which is pretty famous and can be installed pretty easily. Also, consider installing the Epel Repository. After installing the Apache httpd, start the service and set it on auto-restart mode.
yum install epel-release -y
yum install httpd -y
systemctl enable httpd
systemctl start httpd
2. We also need to install PHP. The latest PHP7 can be easily installed through a repository. Also consider other PHP packages that will connect with the database, providing the PHP CLI, MOD PHP for Apache, etc..
rpm -Uvh https://mirror.webtatic.com/yum/el7/webtatic-release.rpm
yum install php72w mod_php72w php72w-common php72w-cli php72w-xml php72w-pear php72w-devel php72w-gd php72w-mysql php72w-mbstring php72w-bcmath
3. Then, tweak the PHP configuration file (/etc/php.ini) as follows:
max_execution_time = 700
max_input_time = 700
memory_limit = 512M
post_max_size = 64M
upload_max_size = 16M
date.timezone = US/Eastern
Note that: the configuration depends on your location as well as on the sizing of the machines.
4. Let's now install MariaDB:
yum install mariadb-server -y
systemctl start mariadb
systemctl enable mariadb
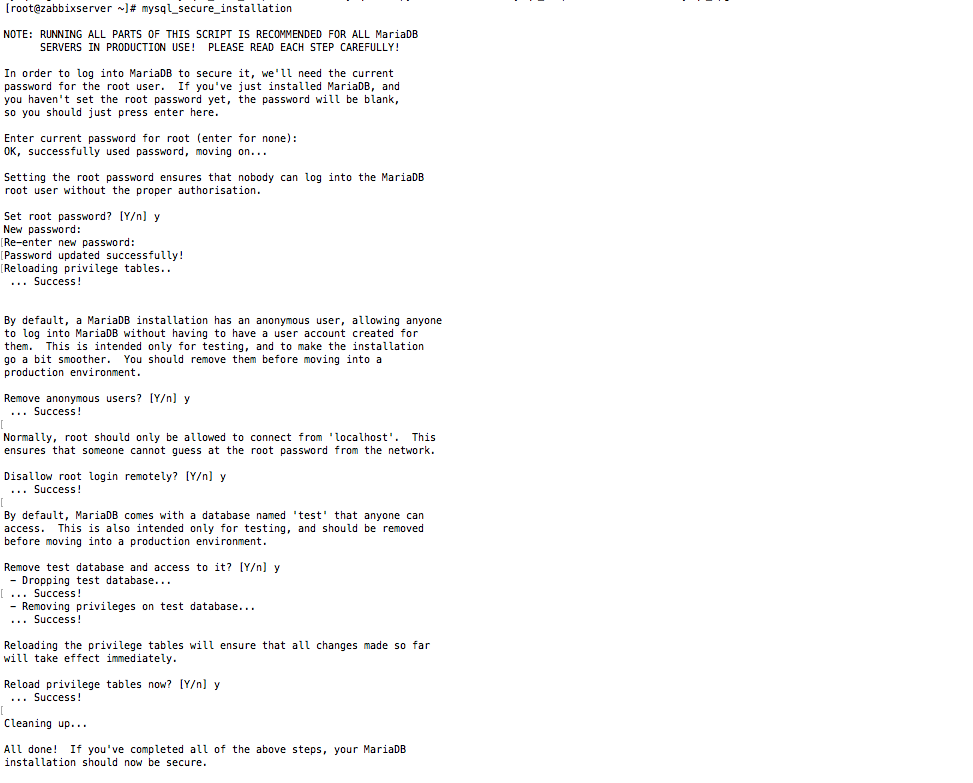
5. Configure MariaDB by launching the following command and follow the instruction as shown in the screenshot below:
mysql_secure_installation
6. To access the database you need to launch the command mysql -u root -p. However, you can also define the password in /etc/my.cnf.d/client.cnf under the [client] header enter the password as follows:
password = xxxxx
In this way, you can just launch the mysql command to log in directly to the database.
Consider also to make the database listen-only locally as we are deploying the Zabbix server to interact with the database locally. For that, you need to modify the file /etc/my.cnf and under the [mysqld] header enter the following parameter:
bind-address=127.0.0.1
7. Now, its time to create the database, assign the passwords, and privileges. Connect on the MariaDB database:
create database zabbix_server;
grant all privileges on zabbix_server.* to zabbixuser@'localhost' identified by 'zabbixpassword';
flush privileges;
quit
8. We will now install the Zabbix Server. I got the repository on the official Zabbix website.
rpm -Uvh https://repo.zabbix.com/zabbix/4.4/rhel/7/x86_64/zabbix-release-4.4-1.el7.noarch.rpm
yum install zabbix-get zabbix-server-mysql zabbix-web-mysql zabbix-agent -y
Note that, we installed both the agent and server on the Zabbix server.
9. We will now configure the Zabbix database by unpacking the tables and the schema in the database that has been created at step 7:
zcat /usr/share/doc/zabbix-server-mysql-4.4.0/create.sql.gz | mysql zabbix_server
If your Zabbix server version is different, find the correct directory.
10. Modify the Zabbix server configuration as follows at /etc/zabbix/zabbix_server.conf:
DBName=zabbix_server
DBUser=zabbixuser
DBPassword=zabbixpassword
DBHost=localhost
11. Restart and Enable the Zabbix Server:
systemctl start zabbix-server
systemctl enable zabbix-server
12. Modify the Zabbix client configuration as follows at /etc/zabbix/zabbix_agentd.conf:
Server=127.0.0.1
ServerActive=127.0.0.1
Hostname=zabbixserver
13. Restart and Enable the Zabbix Agent:
systemctl start zabbix-agent
systemctl enable zabbix-agent
14. Consider restarting all the services:
systemctl restart zabbix-agent
systemctl restart zabbix-server
systemctl restart MariaDB
systemctl restart httpd
15. Add the following firewall rules
firewall-cmd --add-service={http,https} --permanent
firewall-cmd --add-port={10050/tcp,10051/tcp} --permanent
firewall-cmd --reload
For more information about Firewalld, visit the article 35 commands to understand Firewalld in RHEL7 environment.
16. At this stage, if you try to access the following link, it should be accessible:
http://192.168.0.30/zabbix/setup.php
17. Follow the steps and login on your Zabbix machine with username admin and password zabbix.