An Aficionado Journey in Opensource & Linux – And now It's a FinTech touch!
Configuring RAID1 on a Dell R640
Linux & BSD systems, Applications and Security
Published: 2020-03-24 10:32:22
Few days back, I gave an example how to configure iDRAC static IP on a Dell server. This time it is about RAID configuration. These are pretty straight forward steps to configure RAID 1 on two hard disks installed on a physical R640 Dell server. In case, you come across this post and it is helpful to you, do comment below. Just in case, I do not forget the steps for the RAID1 configuration, I am documenting same here.
For those who are not familiar with RAID - Redundant Array of Independent Disks - Raid 1 as per wikipedia is "RAID 1 consists of an exact copy (or mirror) of a set of data on two or more disks; a classic RAID 1 mirrored pair contains two disks. This configuration offers no parity, striping, or spanning of disk space across multiple disks, since the data is mirrored on all disks belonging to the array, and the array can only be as big as the smallest member disk. This layout is useful when read performance or reliability is more important than write performance or the resulting data storage capacity". So its a mirrored pair. If one goes bad, the other will take over.
[caption id="attachment_4627" align="aligncenter" width="1200"] photo credits: Dell.com[/caption]
Here are the procedures:
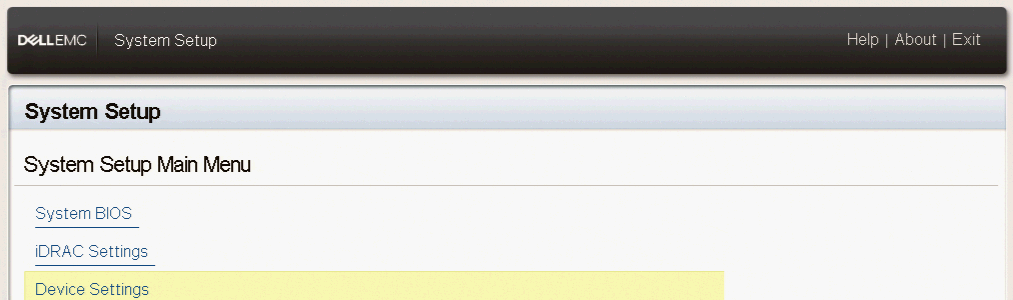
1. On boot, go the 'System Setup' using F2
2. You should come across the 'System Setup' menu. Go to 'Device Settings' and press 'Enter'
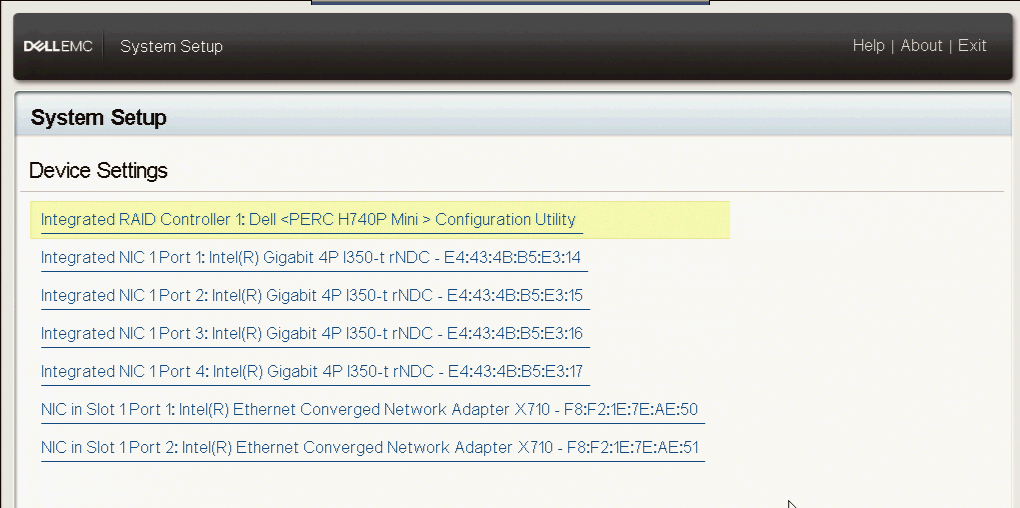
3. Then you would see the following options. Im chosing the first one.
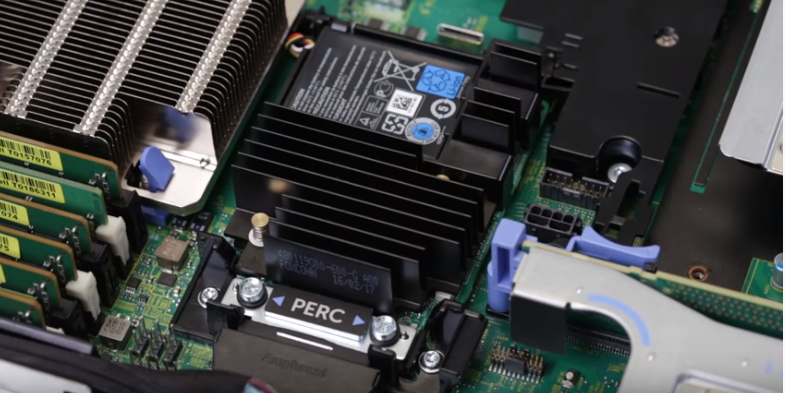
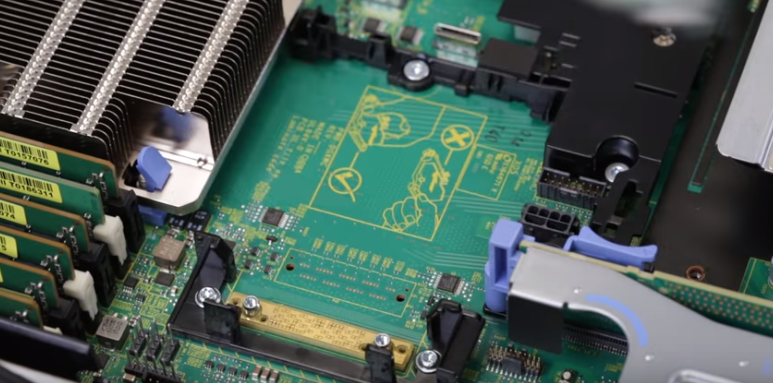
PERC - PowerEdge RAID controller or DELL PERC is a series made by DELL for PowerEdge servers. Here is an idea how is it inside the Dell R640 server. We have the PERC cable labelled which have two bolts connected to the PERC controller.
So, here is why I am choosing the PERC option. Make sense right?.. The disks are connected to the PERC controller inside the server.
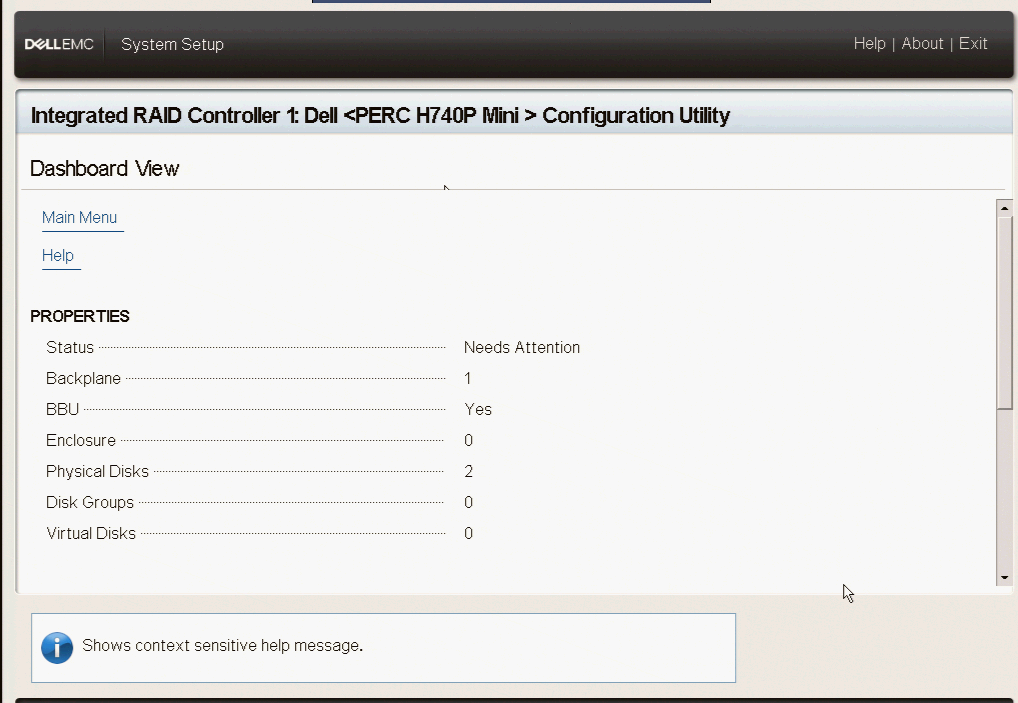
4. You should now see the following screen. It will show you the 'Main Menu' option as well as the number of physical disks detected on the physical machine. As you can see below there is no virtual disk.
Logically, we need to make those two physical disks into one virtual disk configured on RAID 1 for mirroring.
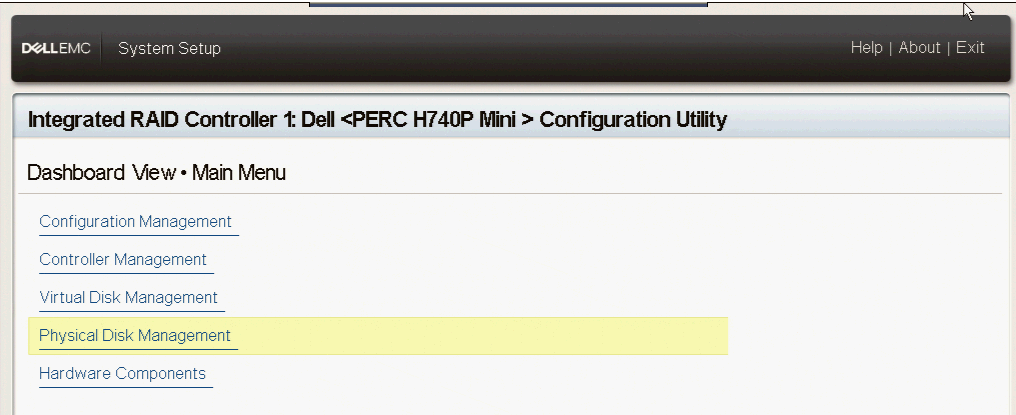
5. Click on 'Main Menu' and you will see a screen similar to this below.
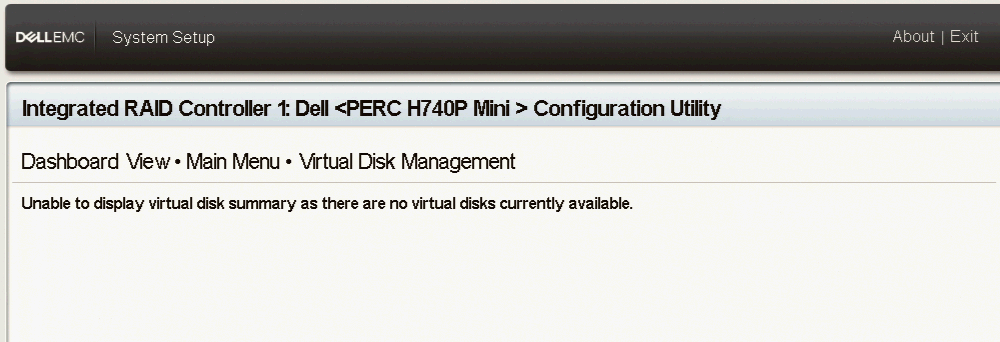
6. Go to the Virtual Disk Management. You should notice something like this which means that there is no virtual disk configured yet.
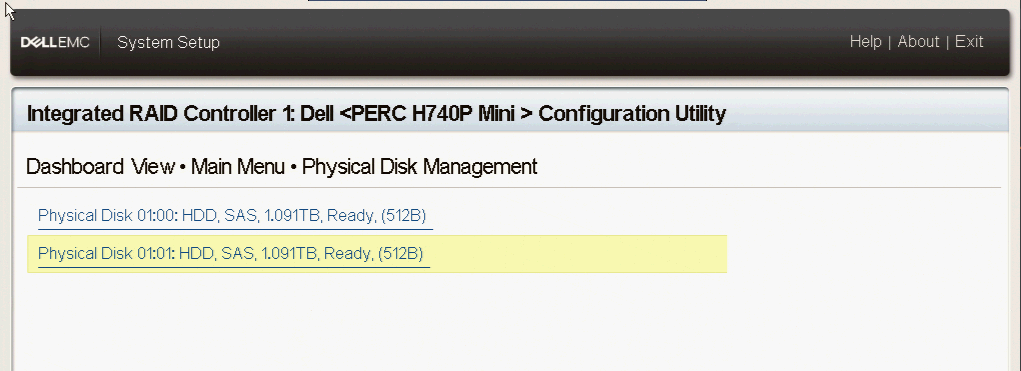
7. However, if you go back to the 'Physical Disk Management', you should be able to see your two physical disks.
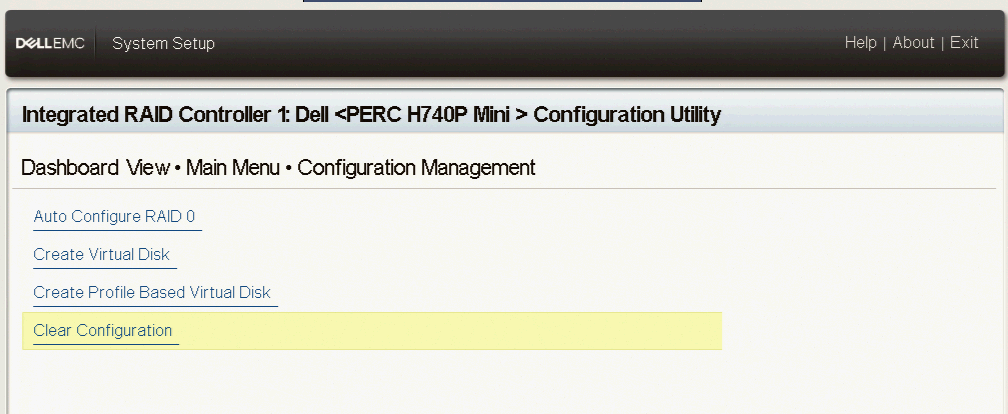
8. So coming back to the previous screen in step 5, go to 'Configuration Management' and press Enter. You should see this.
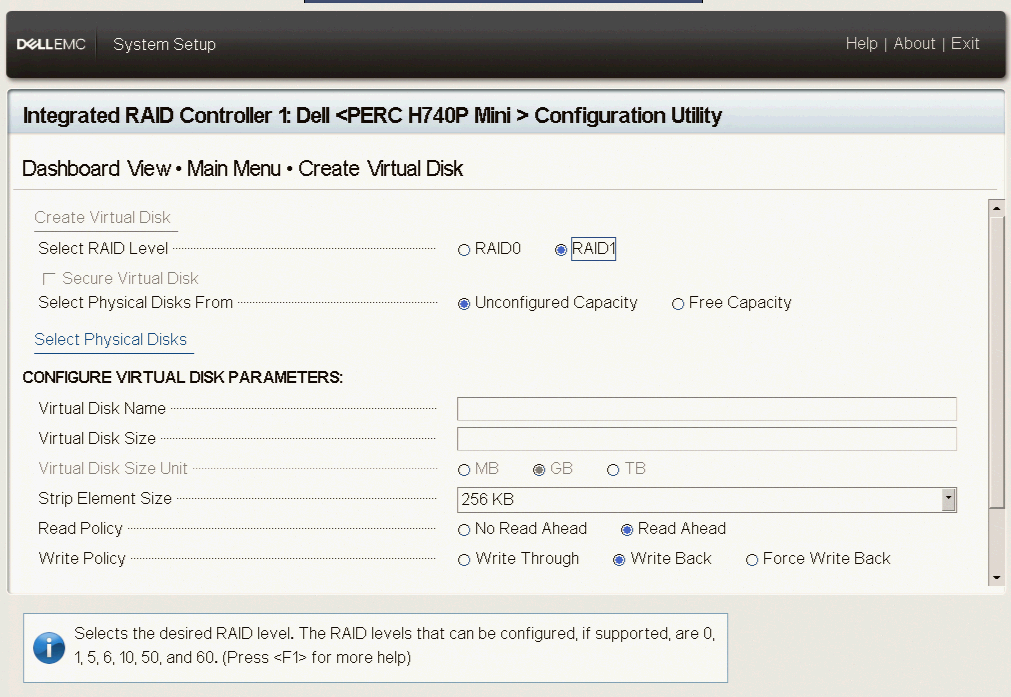
9. Then, click on 'Create Virtual Disk'. Make sure RAID level is on RAID1
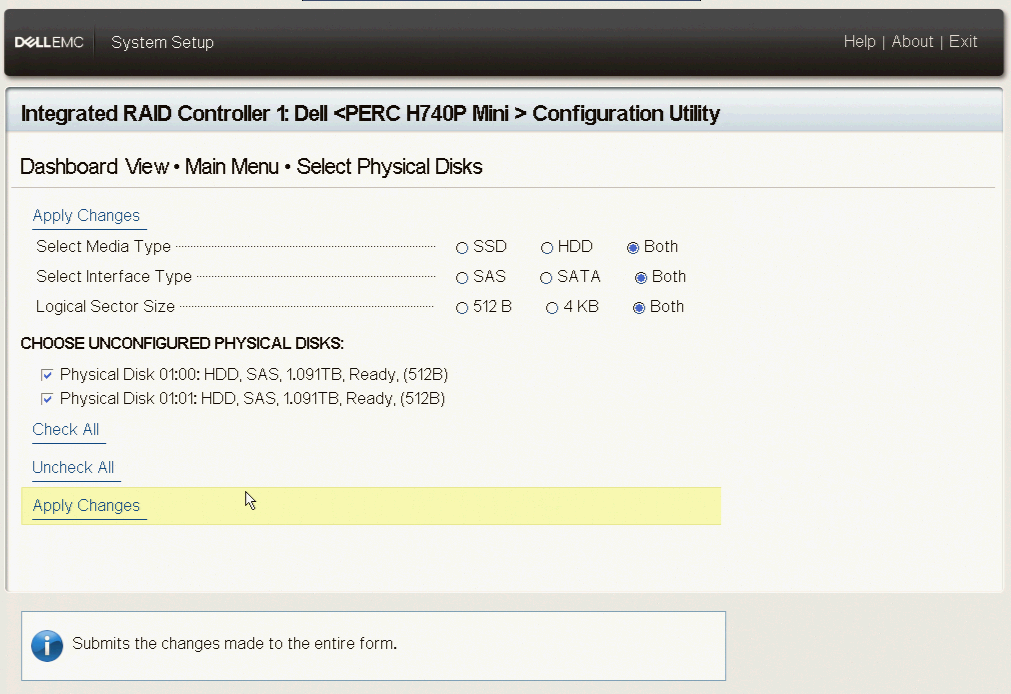
10. Then, scroll to 'Select Physical Disks'. Press enter. Click on 'Check All' and, then on 'Apply Changes'. Then, Press 'OK'
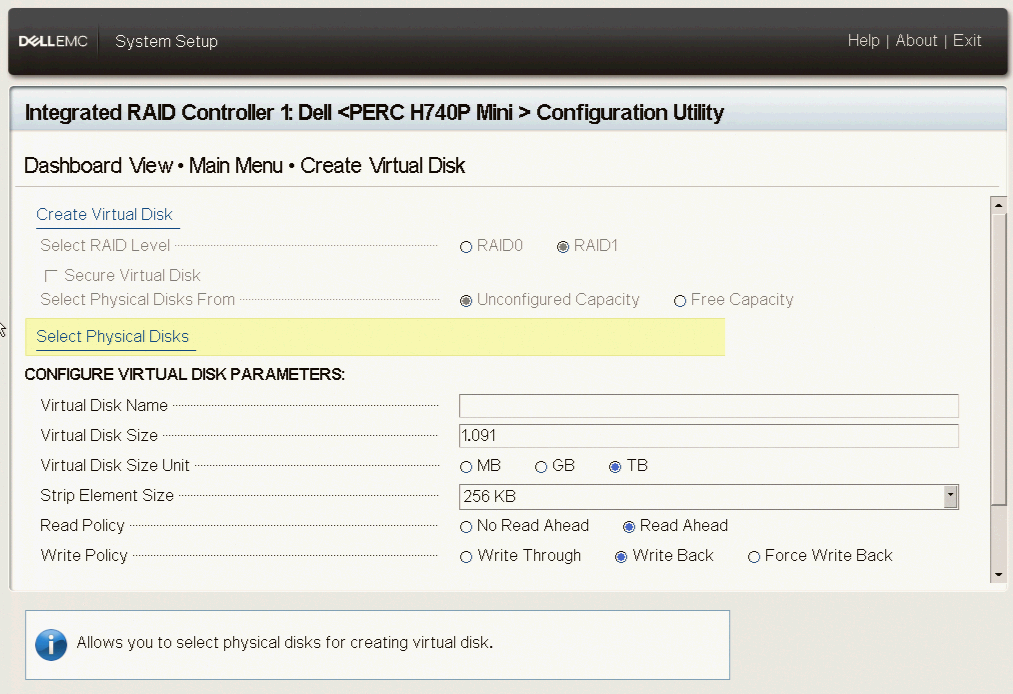
11. You should then see something like that.
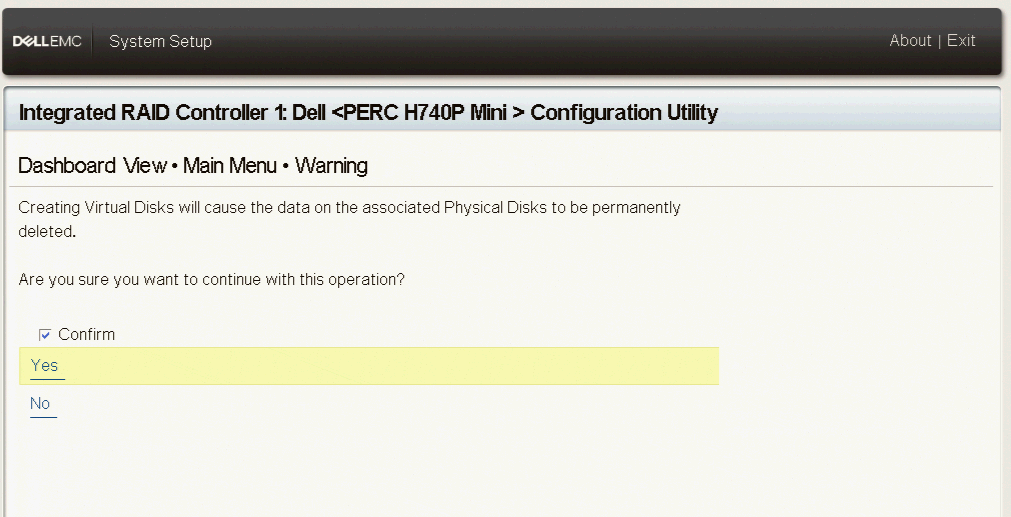
12. Continue scrolling down. Go to 'Create Virtual Disk'. Confirm and tick 'Yes' and exit.
13. After pressing 'ESC' to go back to screen at number 5. If you now go to the 'Virtual Disk Management' and you should see the virtual disk has been created.
14. Also the screen showed at number 4 will show one virtual disk
Now, that the disks have been configured in RAID1. It should be good and ready for OS installation. I hope the steps are useful in the future.