An Aficionado Journey in Opensource & Linux – And now It's a FinTech touch!
Playing around with EC2 Image Builder
AWS and Cloud Computing
Published: 2024-01-13 07:00:53
This Blog post is about EC2 Image Builder in AWS which is used to automate the creation of Virtual Machines or Container Images. It also provides flexibility for maintenance, Validation, and testing before the Image goes live in the Production system.
The EC2 Builder Service will create an instance called the Builder EC2 Instance.
The Builder will have the installations of the required packages as well as their configurations.
Once the Build process is completed via the automation system, it will create an AMI and re-run the test defined in advance.
After the testing phase, AMIs are distributed to multiple regions to allow the application to be global.
It can be run on a scheduled basis depending on when it is scheduled.
The service is free. Only the resources are billable.
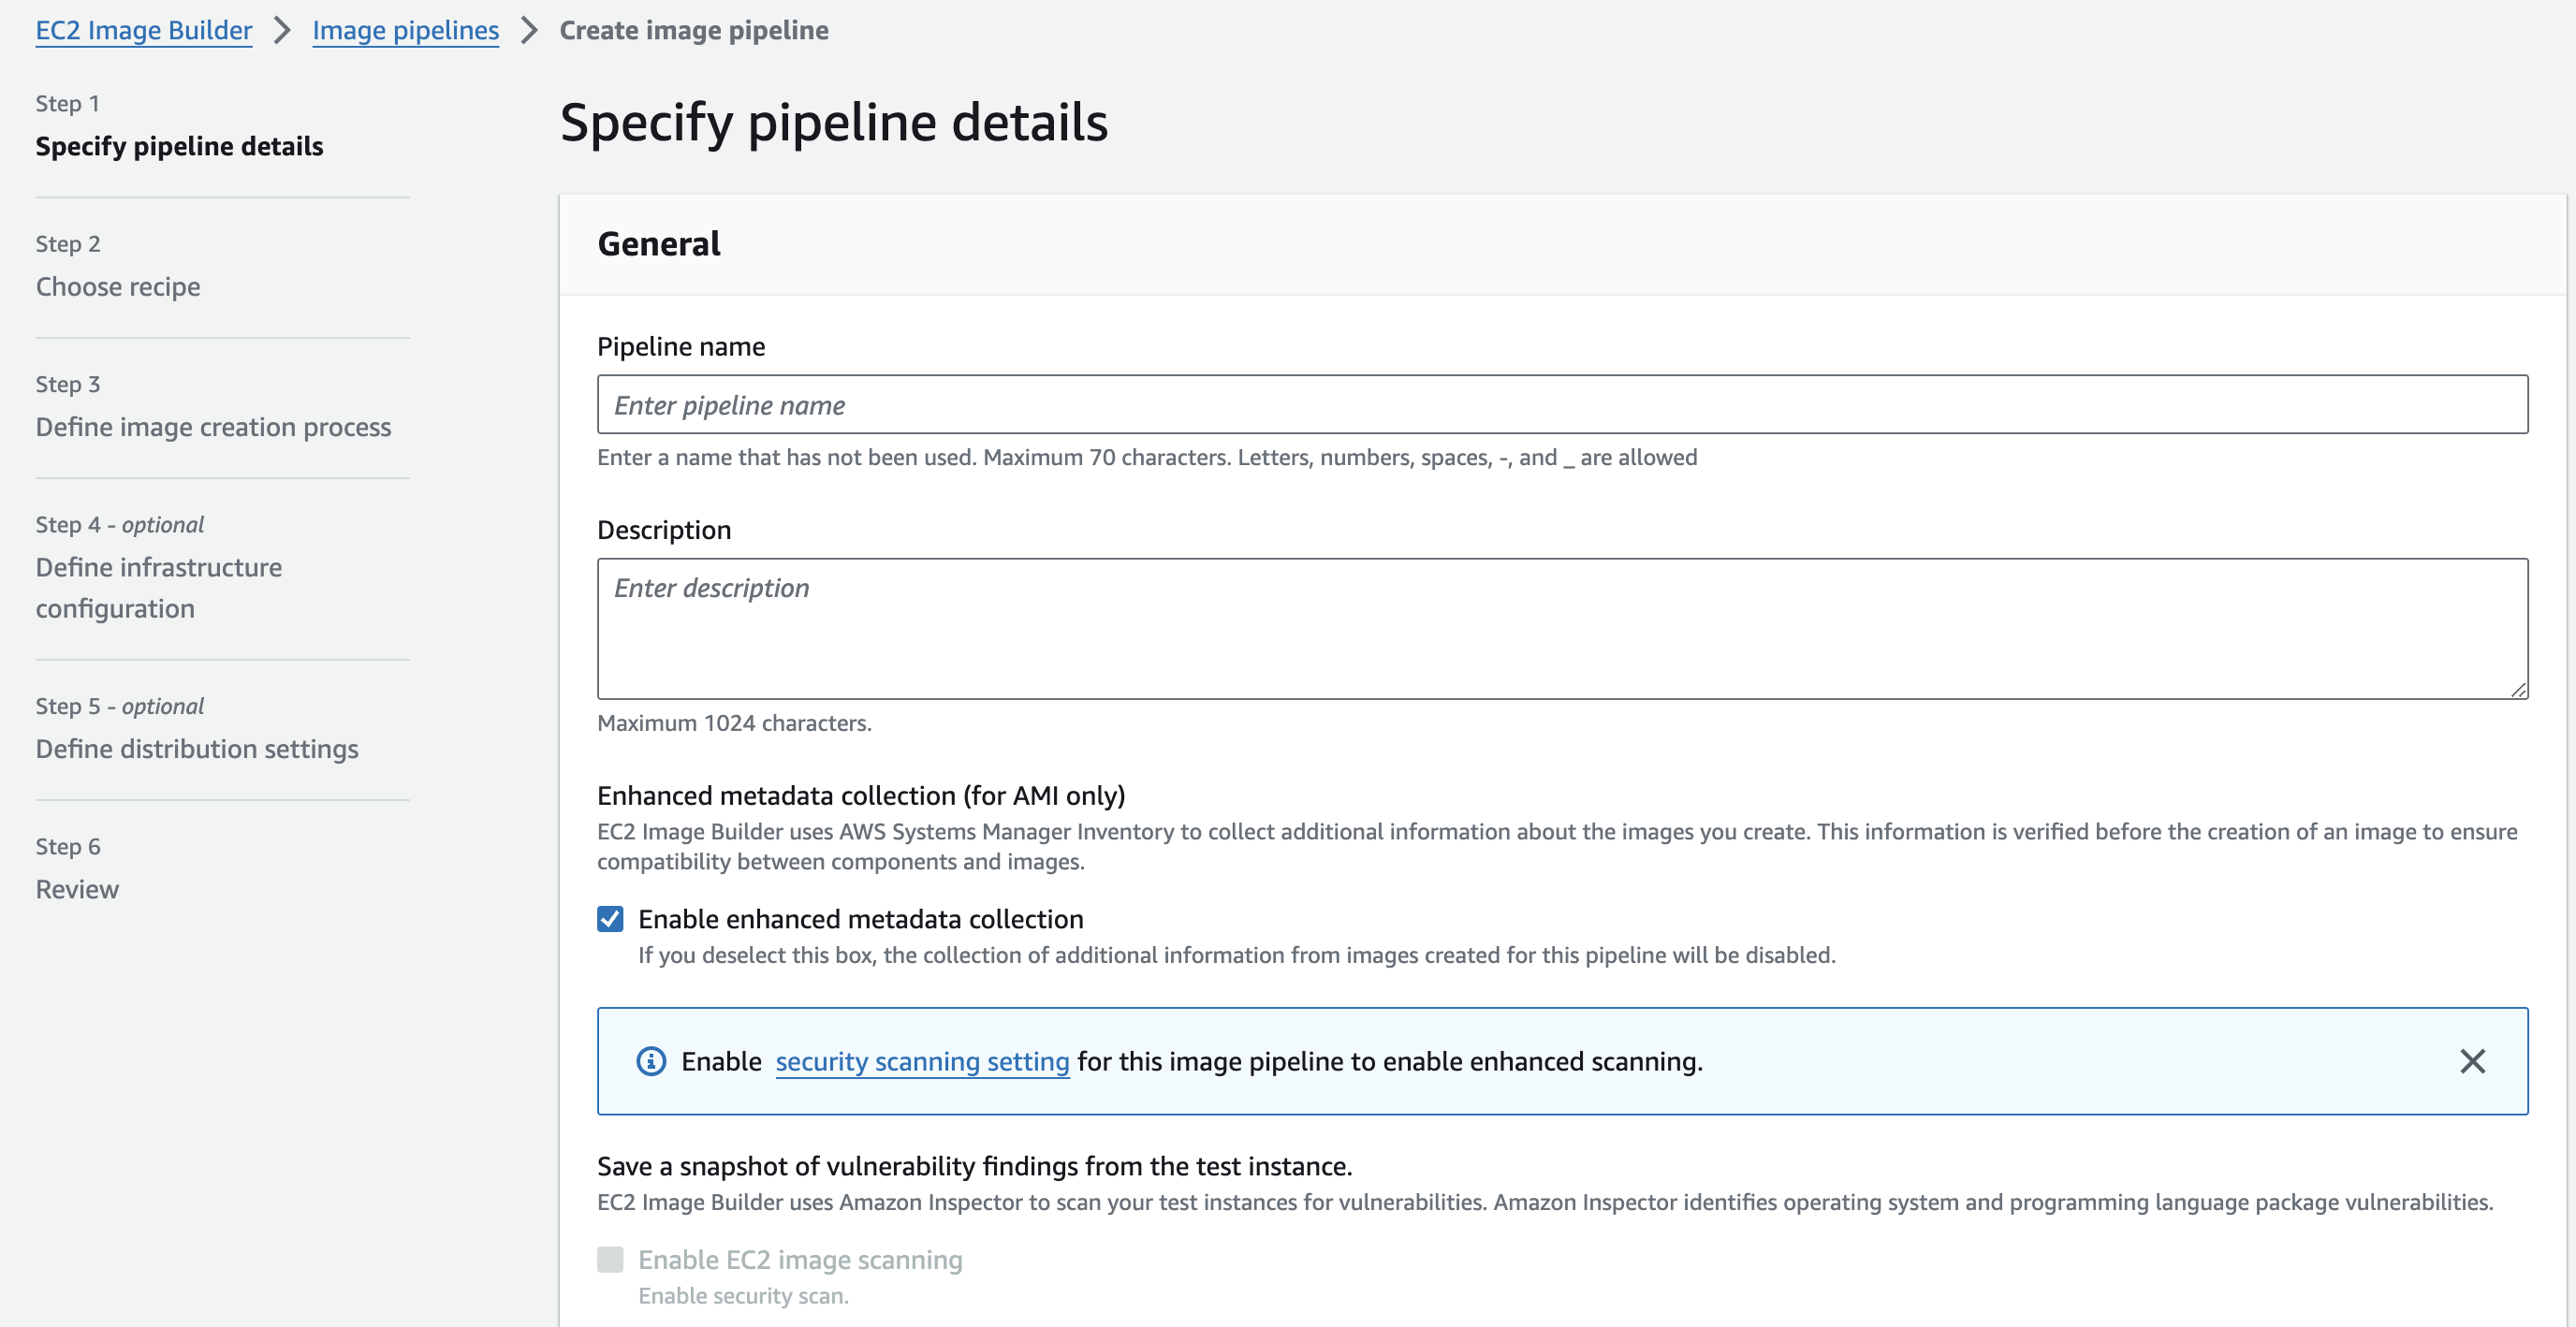
1. Console -> EC2 Image Builder -> Create Image Pipeline
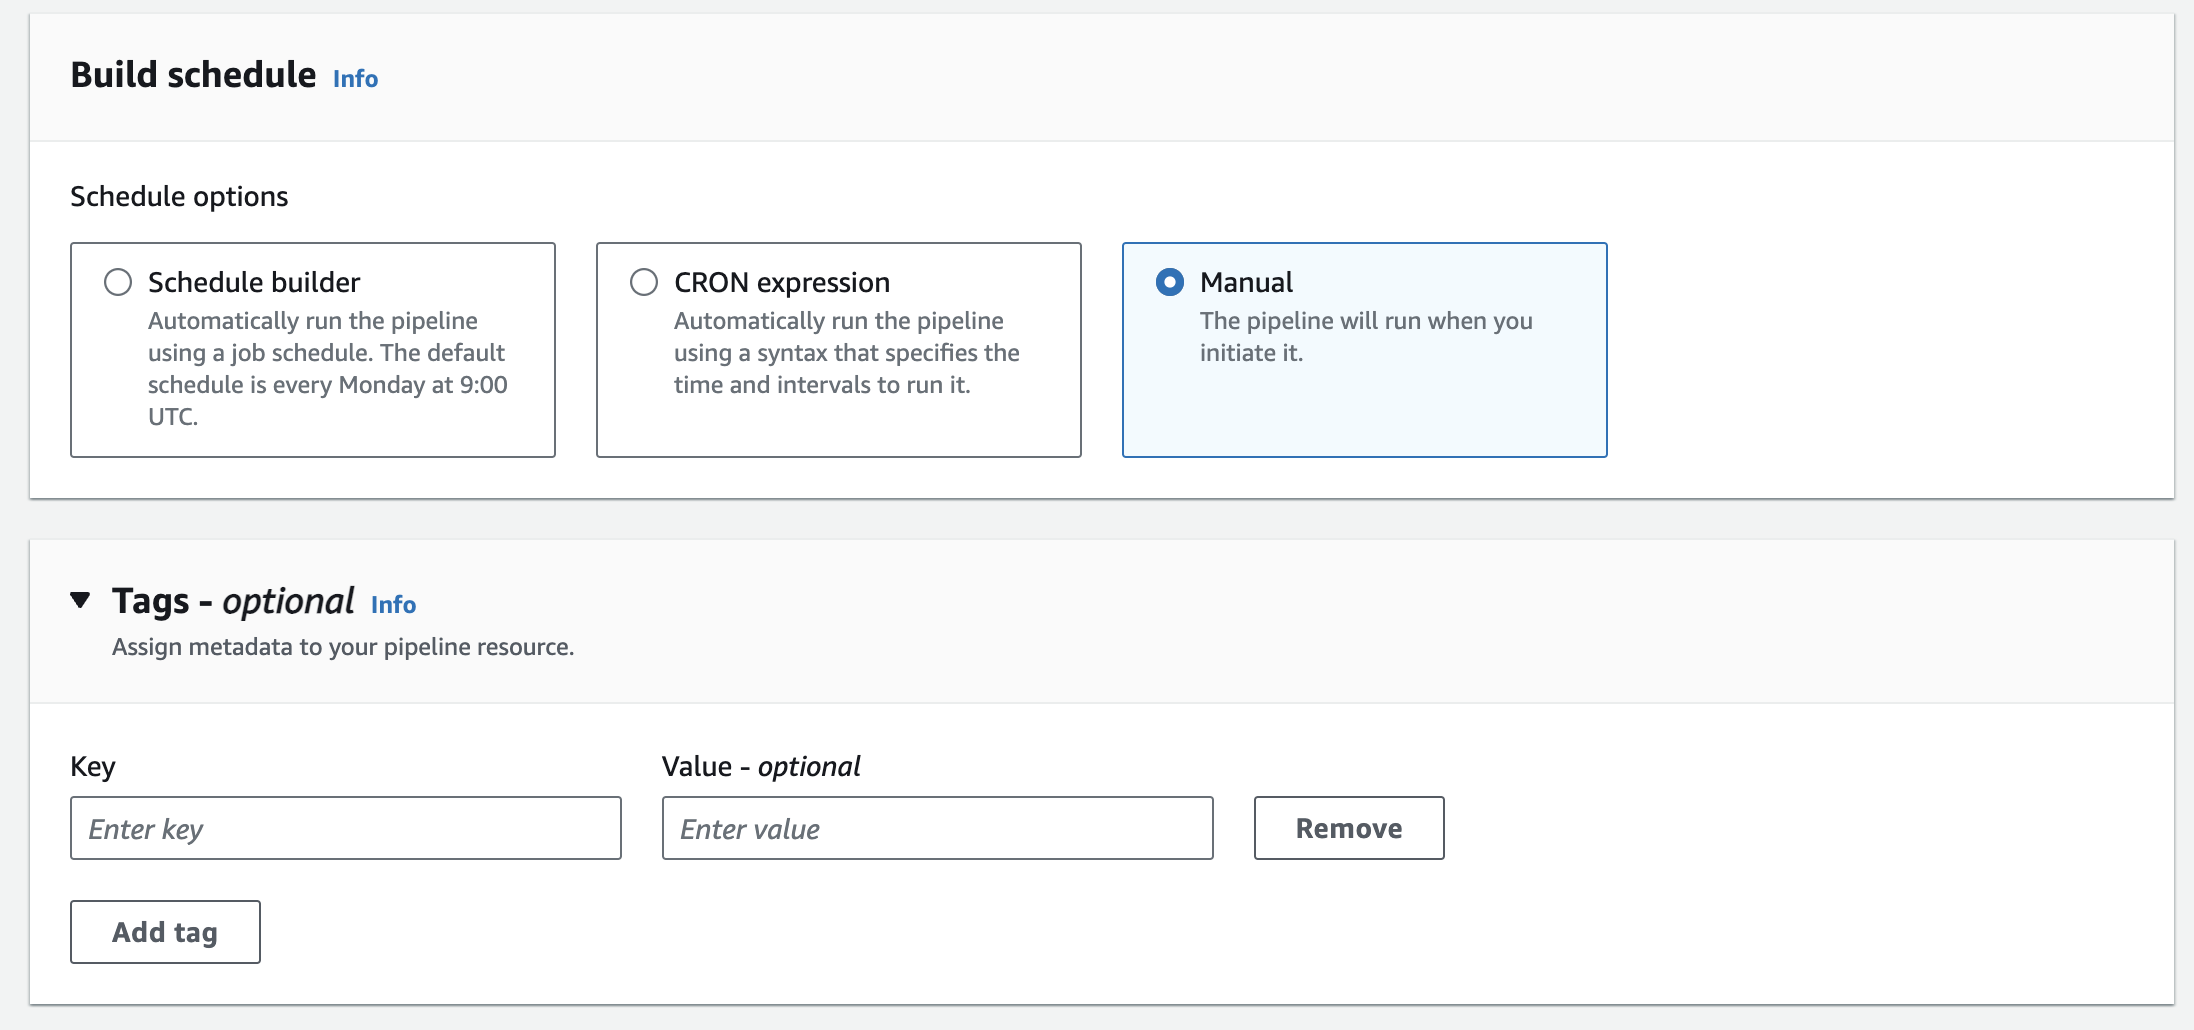
2. I named my pipeline as "MyPipeline1", under "Pipeline name". Then, under "Build Schedule", you can choose the schedule you want to execute. I just chose manual as this is just a lab. Hit Next.
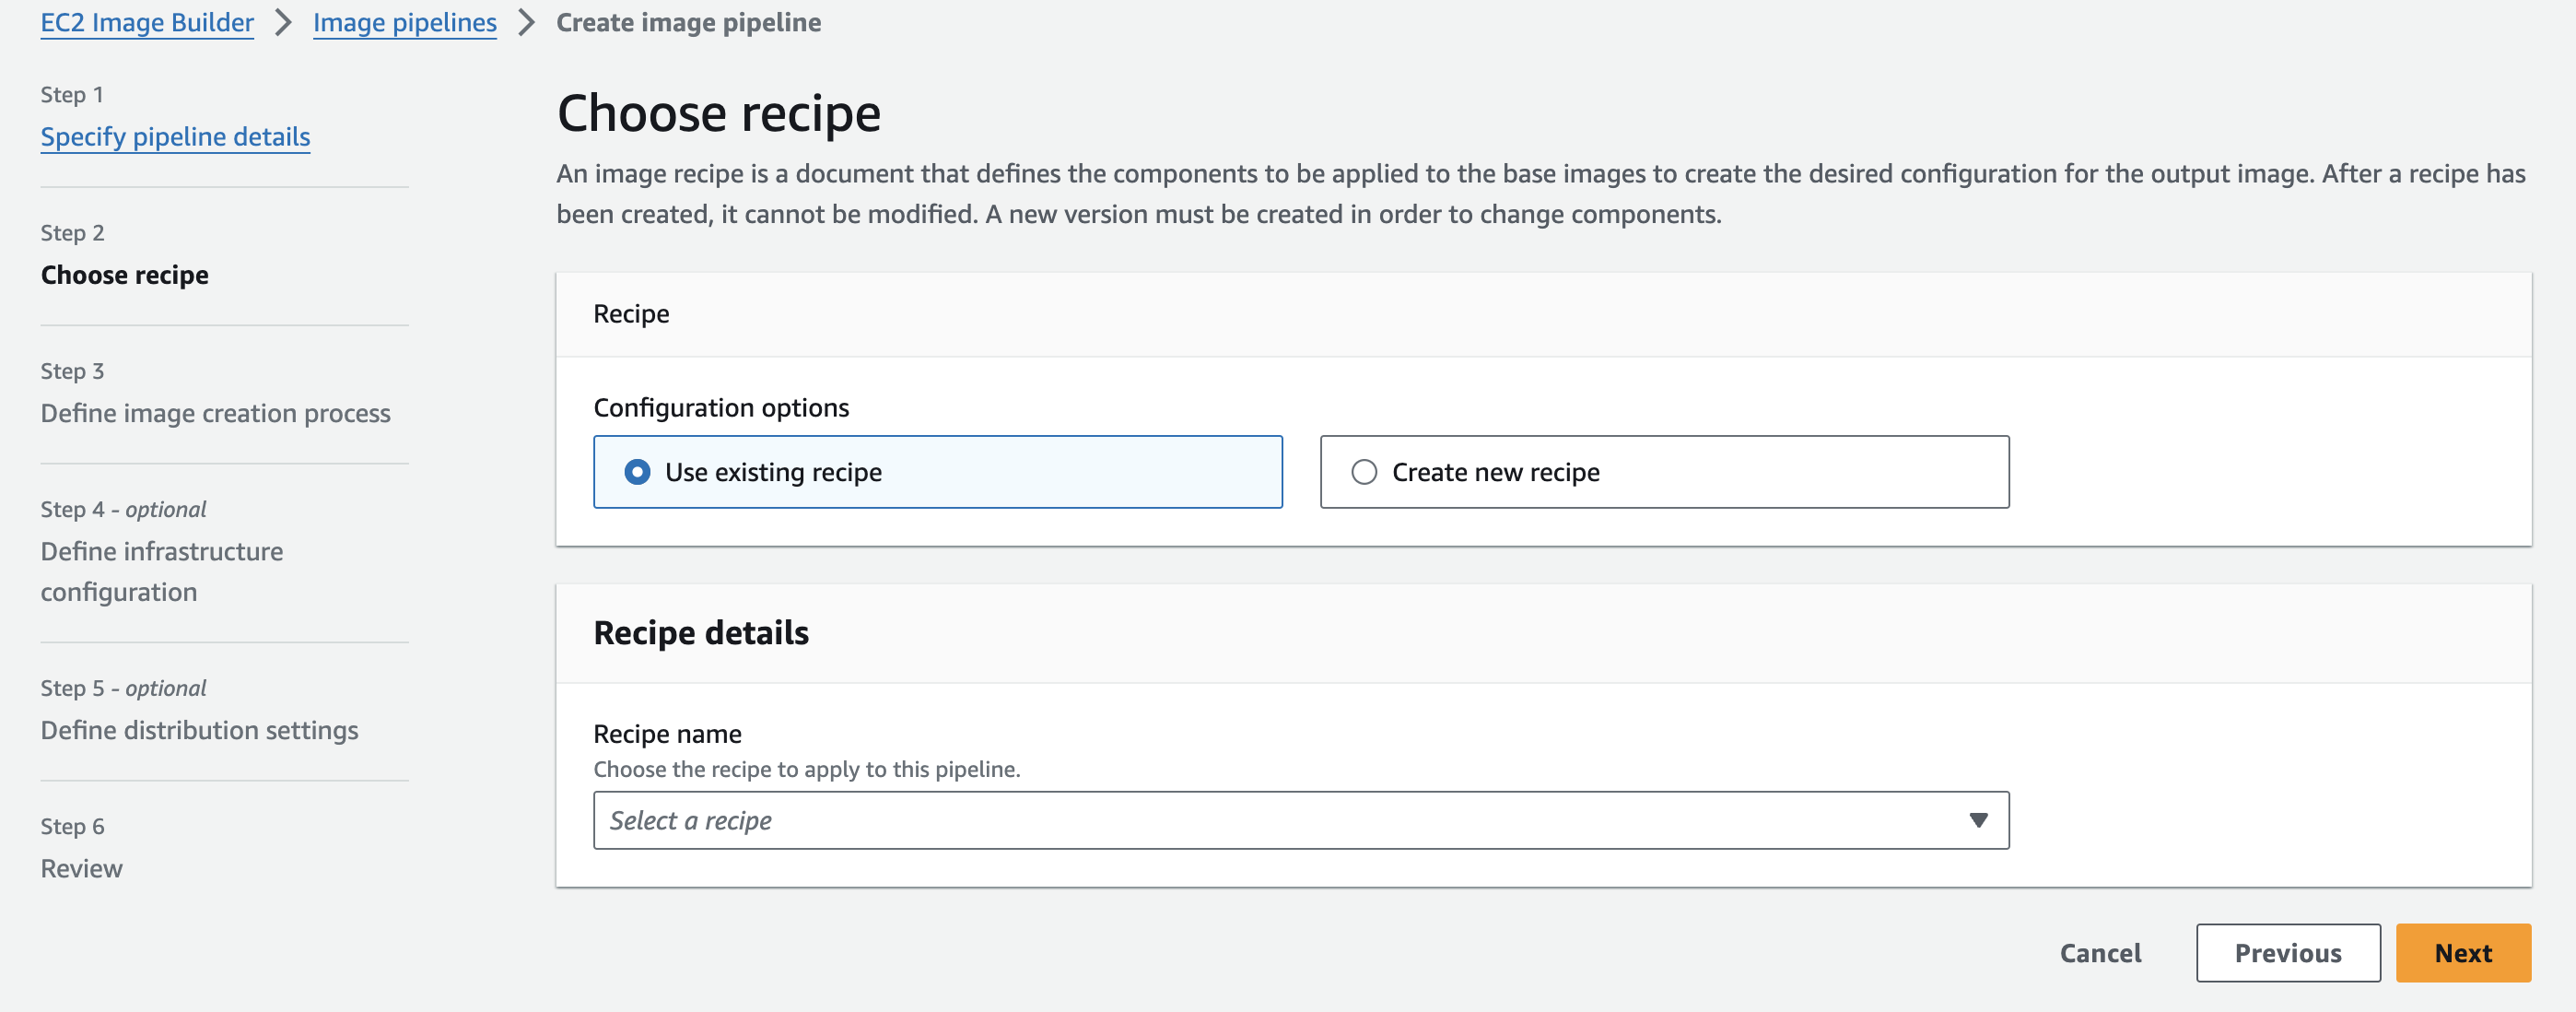
3. This should bring you to the "recipe" section which defines how the source image will be set up.
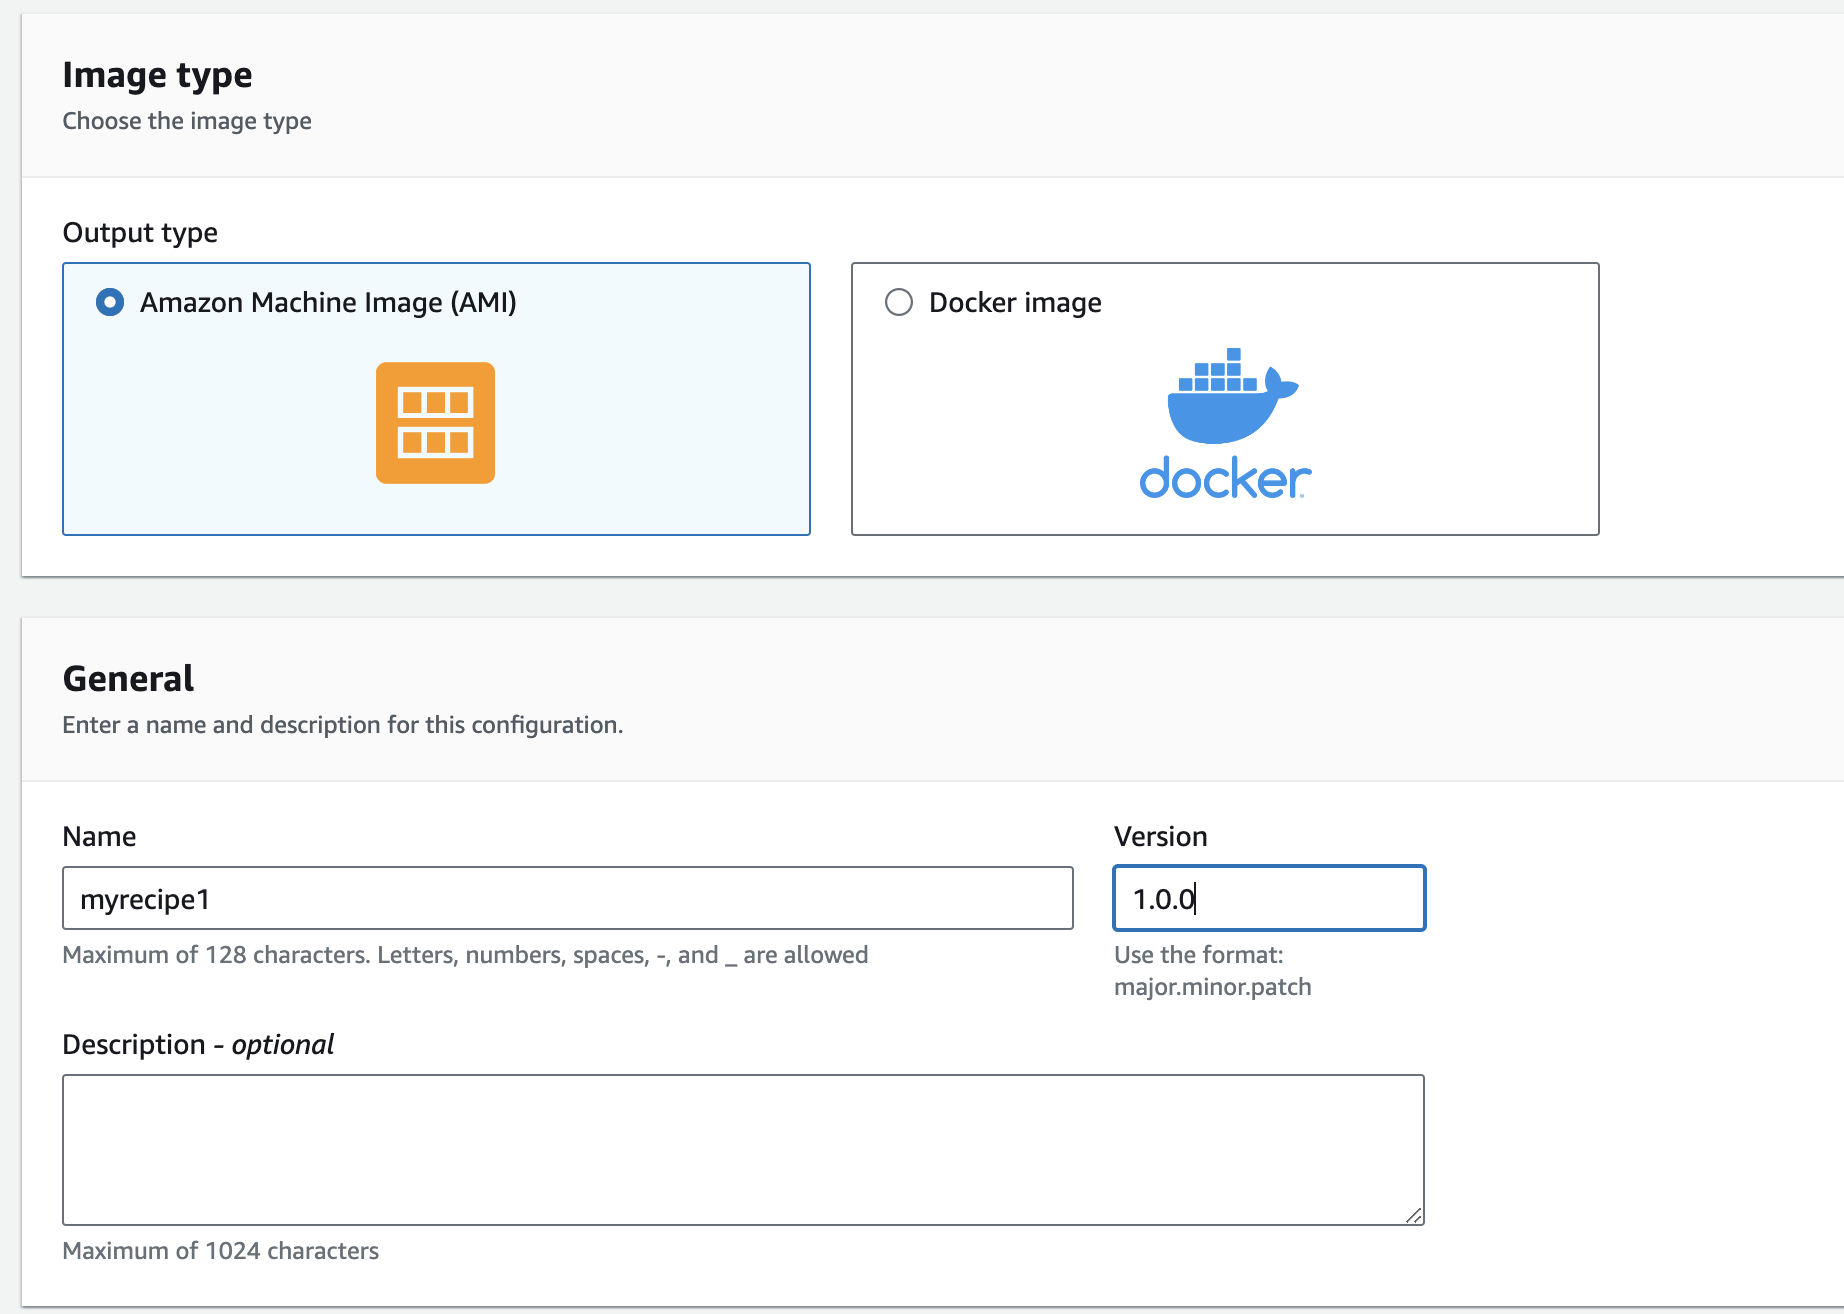
4. Choose "Create new recipe". As I want a new AMI instance. I chose AMI. Then, give the recipe a name, say myrecipe1. Then enter the version 1.0.0
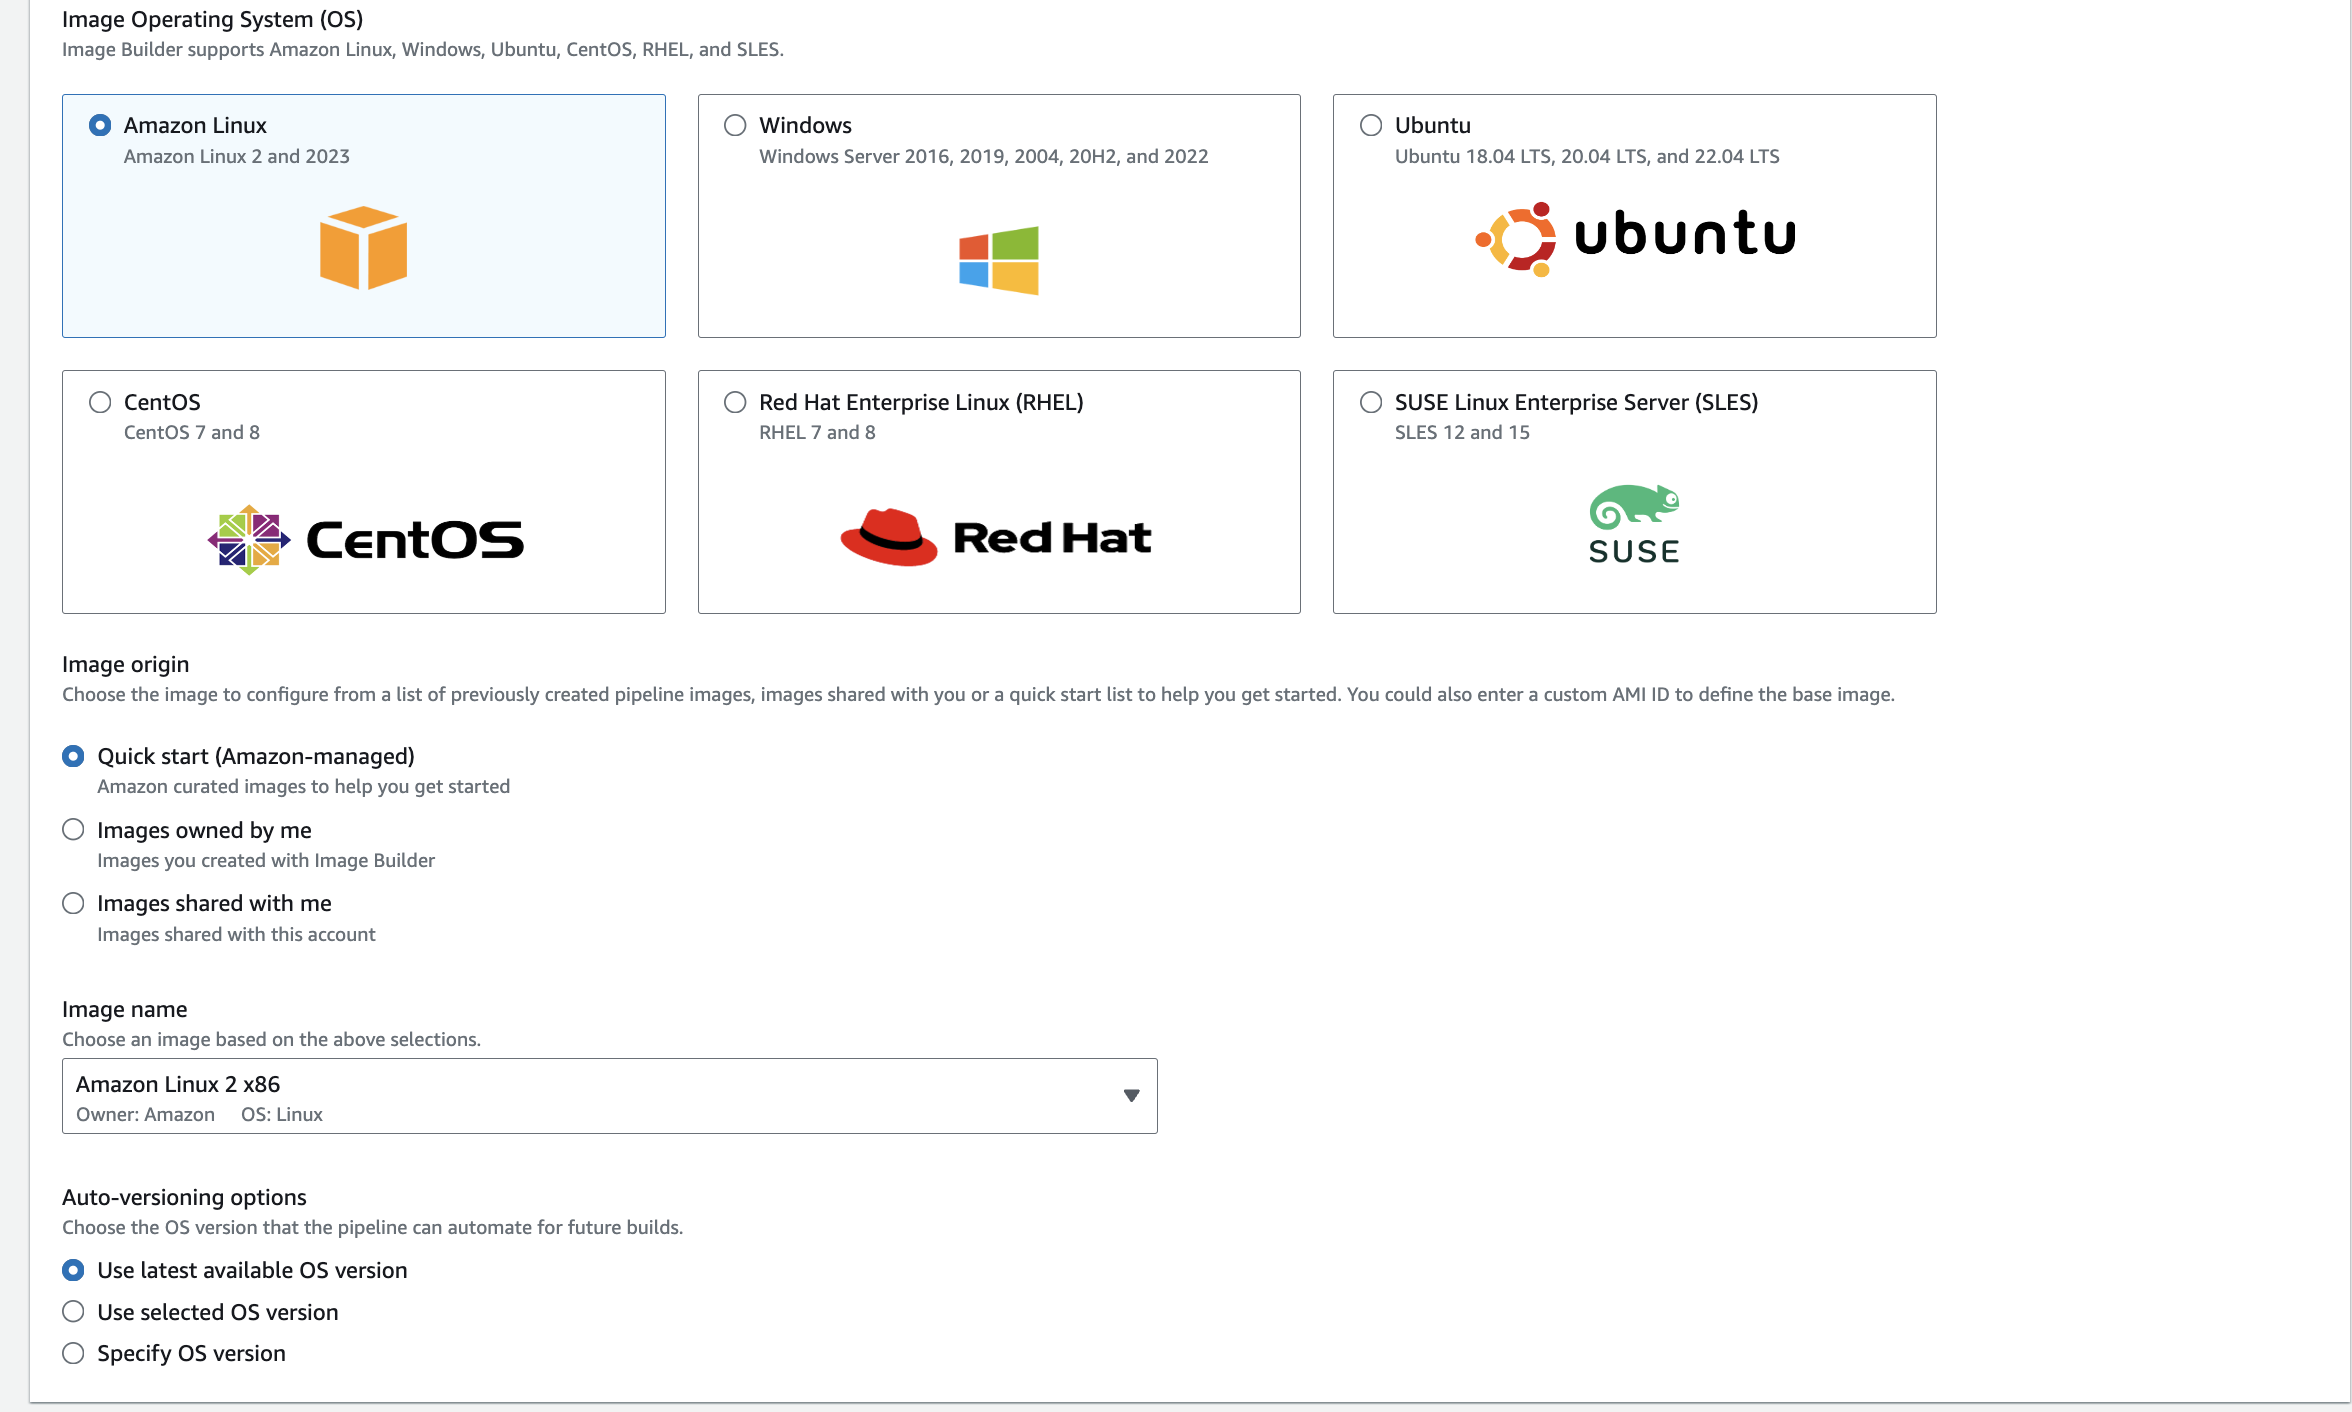
5. Scroll down on the same page. As I'm using the image from AWS, I chose Amazon Linux and specified the default "Quick Start". Also specified the OS as Amazon Linux
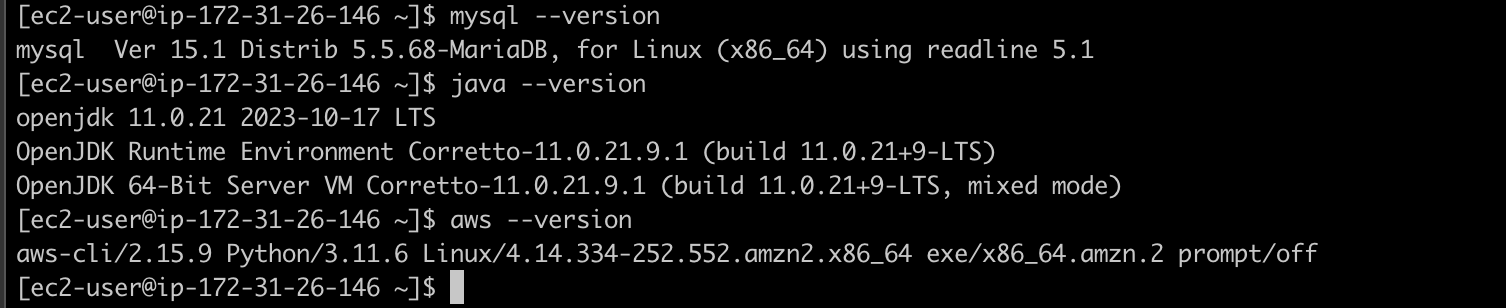
6. In the component section, we can specify if we want certain packages to be built together such as Java, AWS CLI, etc... For this lab exercise, I selected MariaDB, aws-cli, and Corretto packages. The selected components section also defines which order it is going be be installed
7. The step 2 section is going to define how we test if the AMI is working:
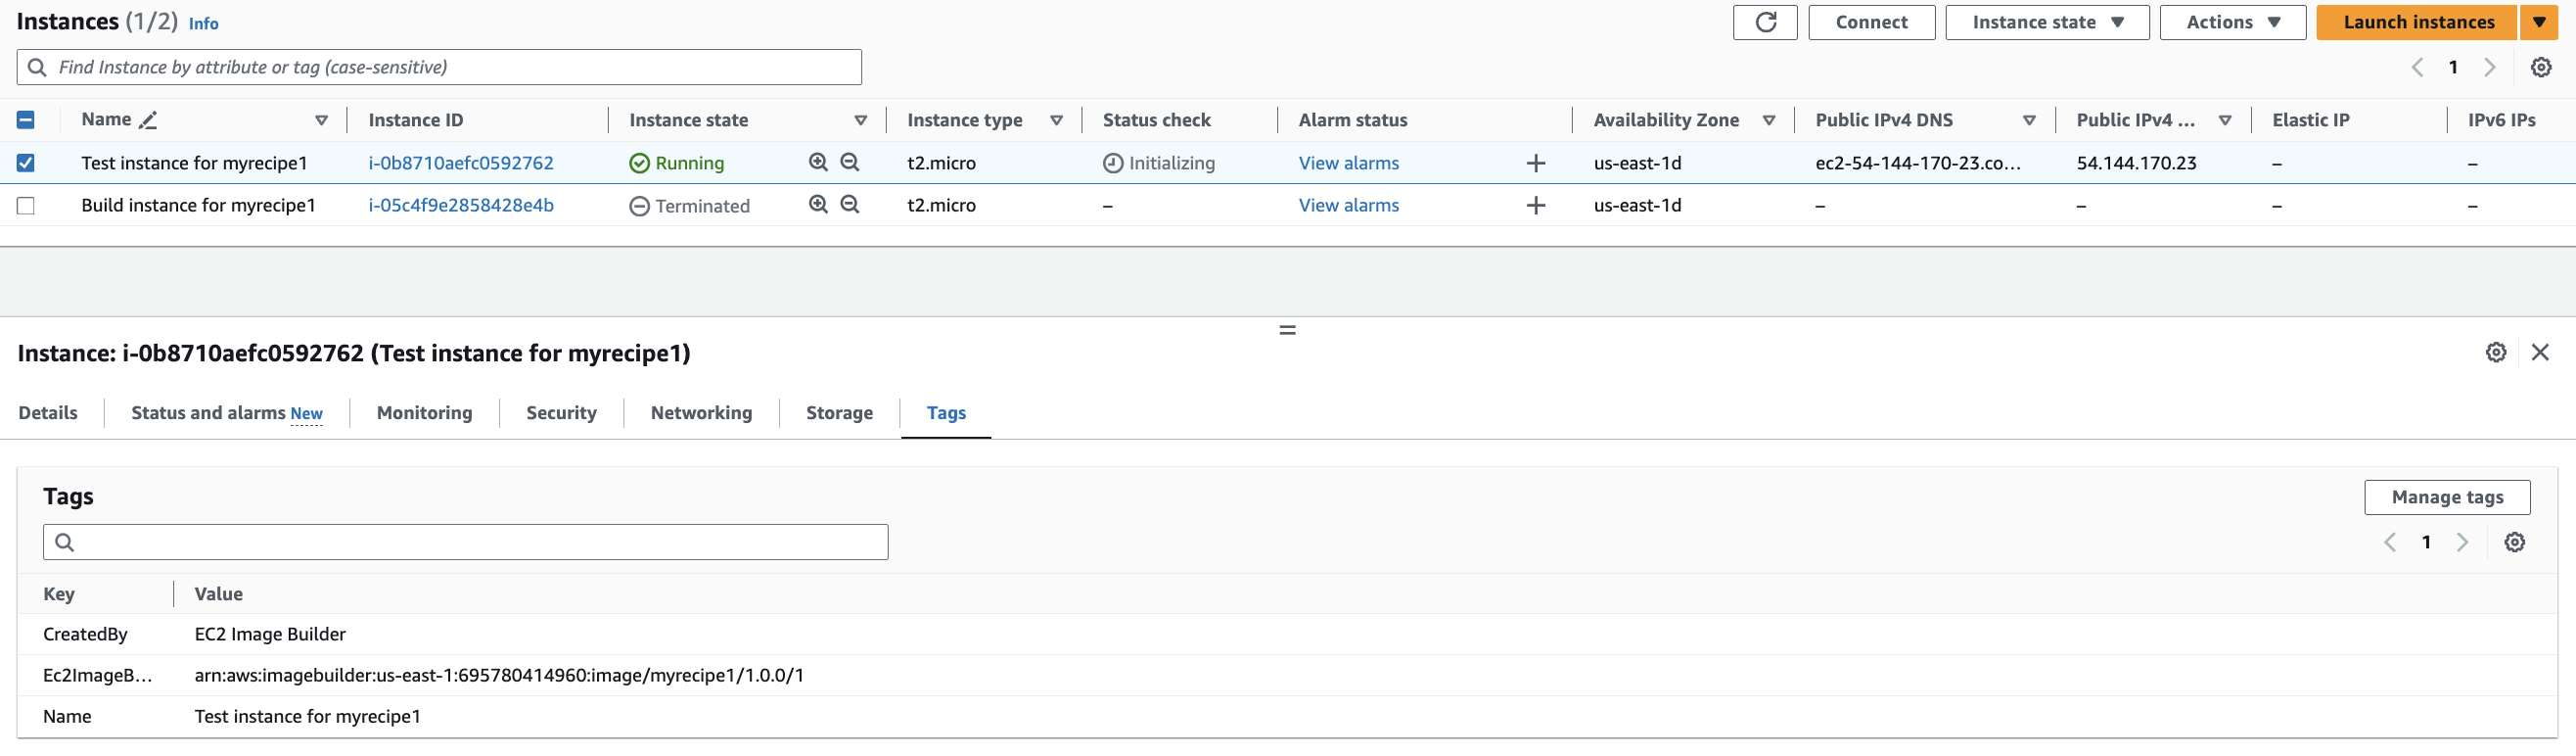
In a future blog post, I will elaborate on the creation of test components.
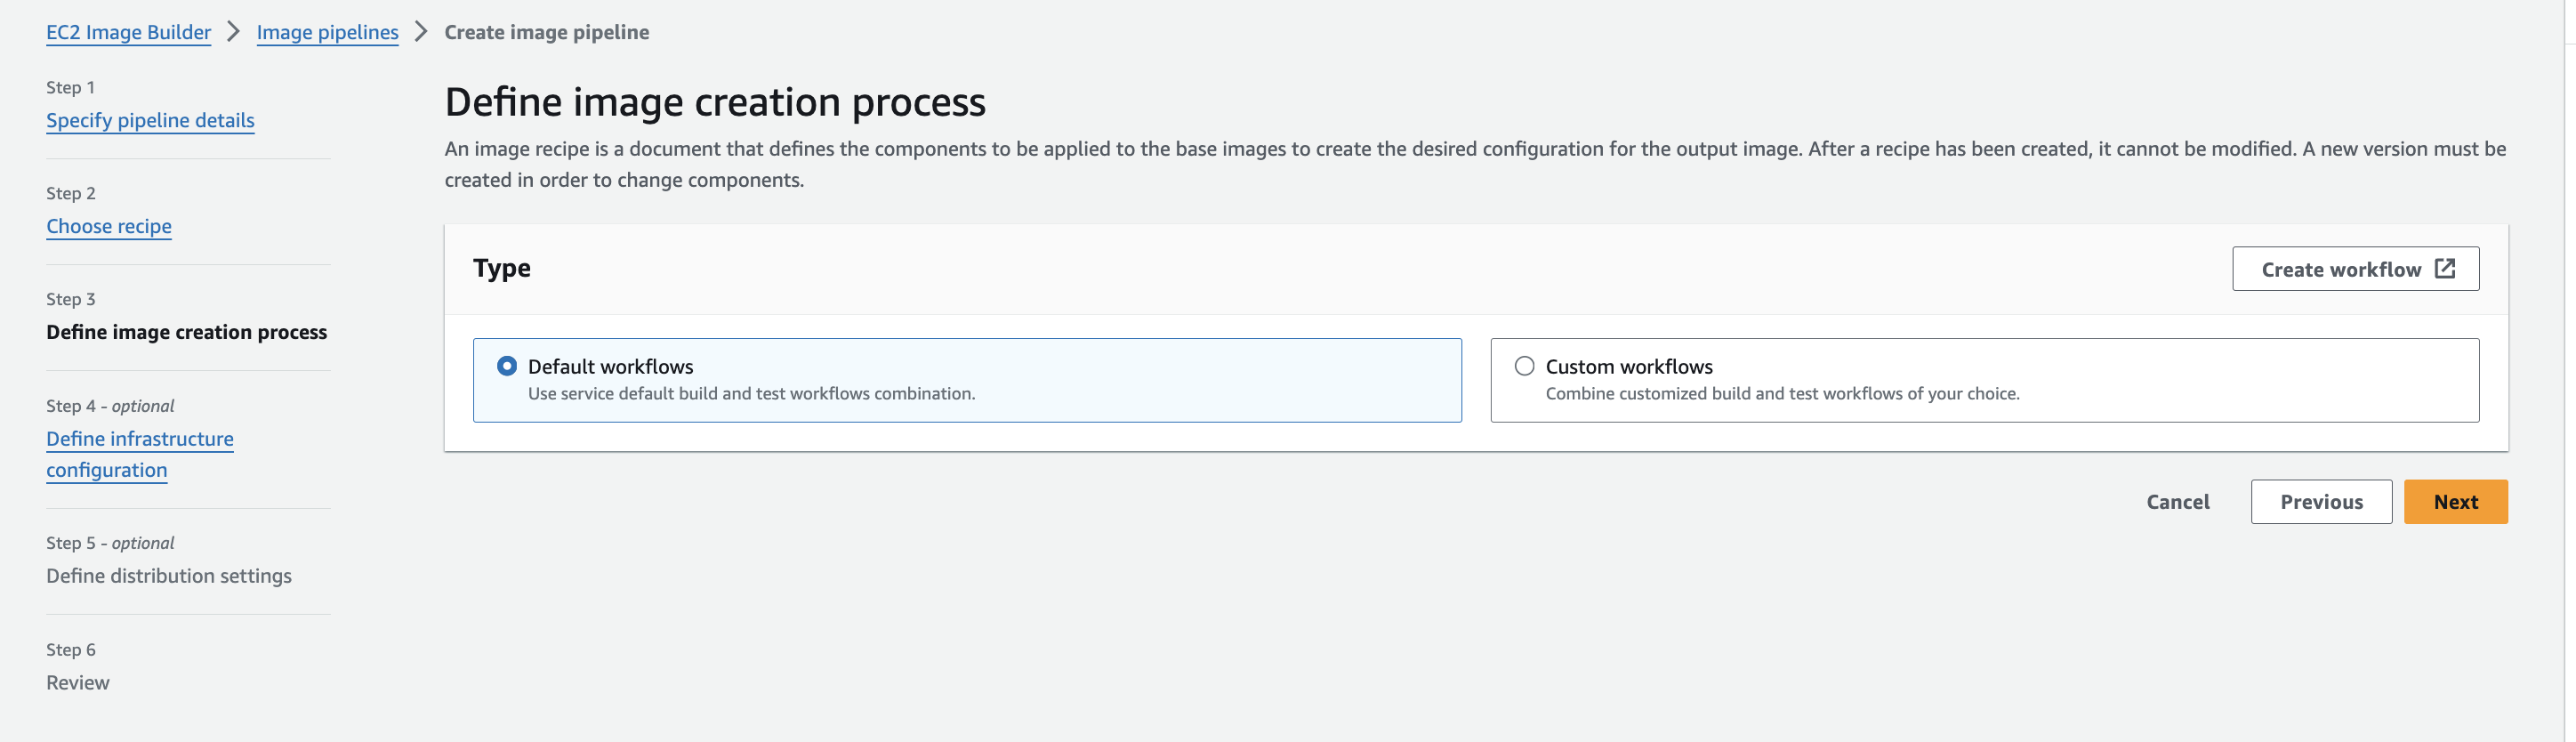
8. Hit next and this will bring you to "Define image creation process". I'm using the default one,
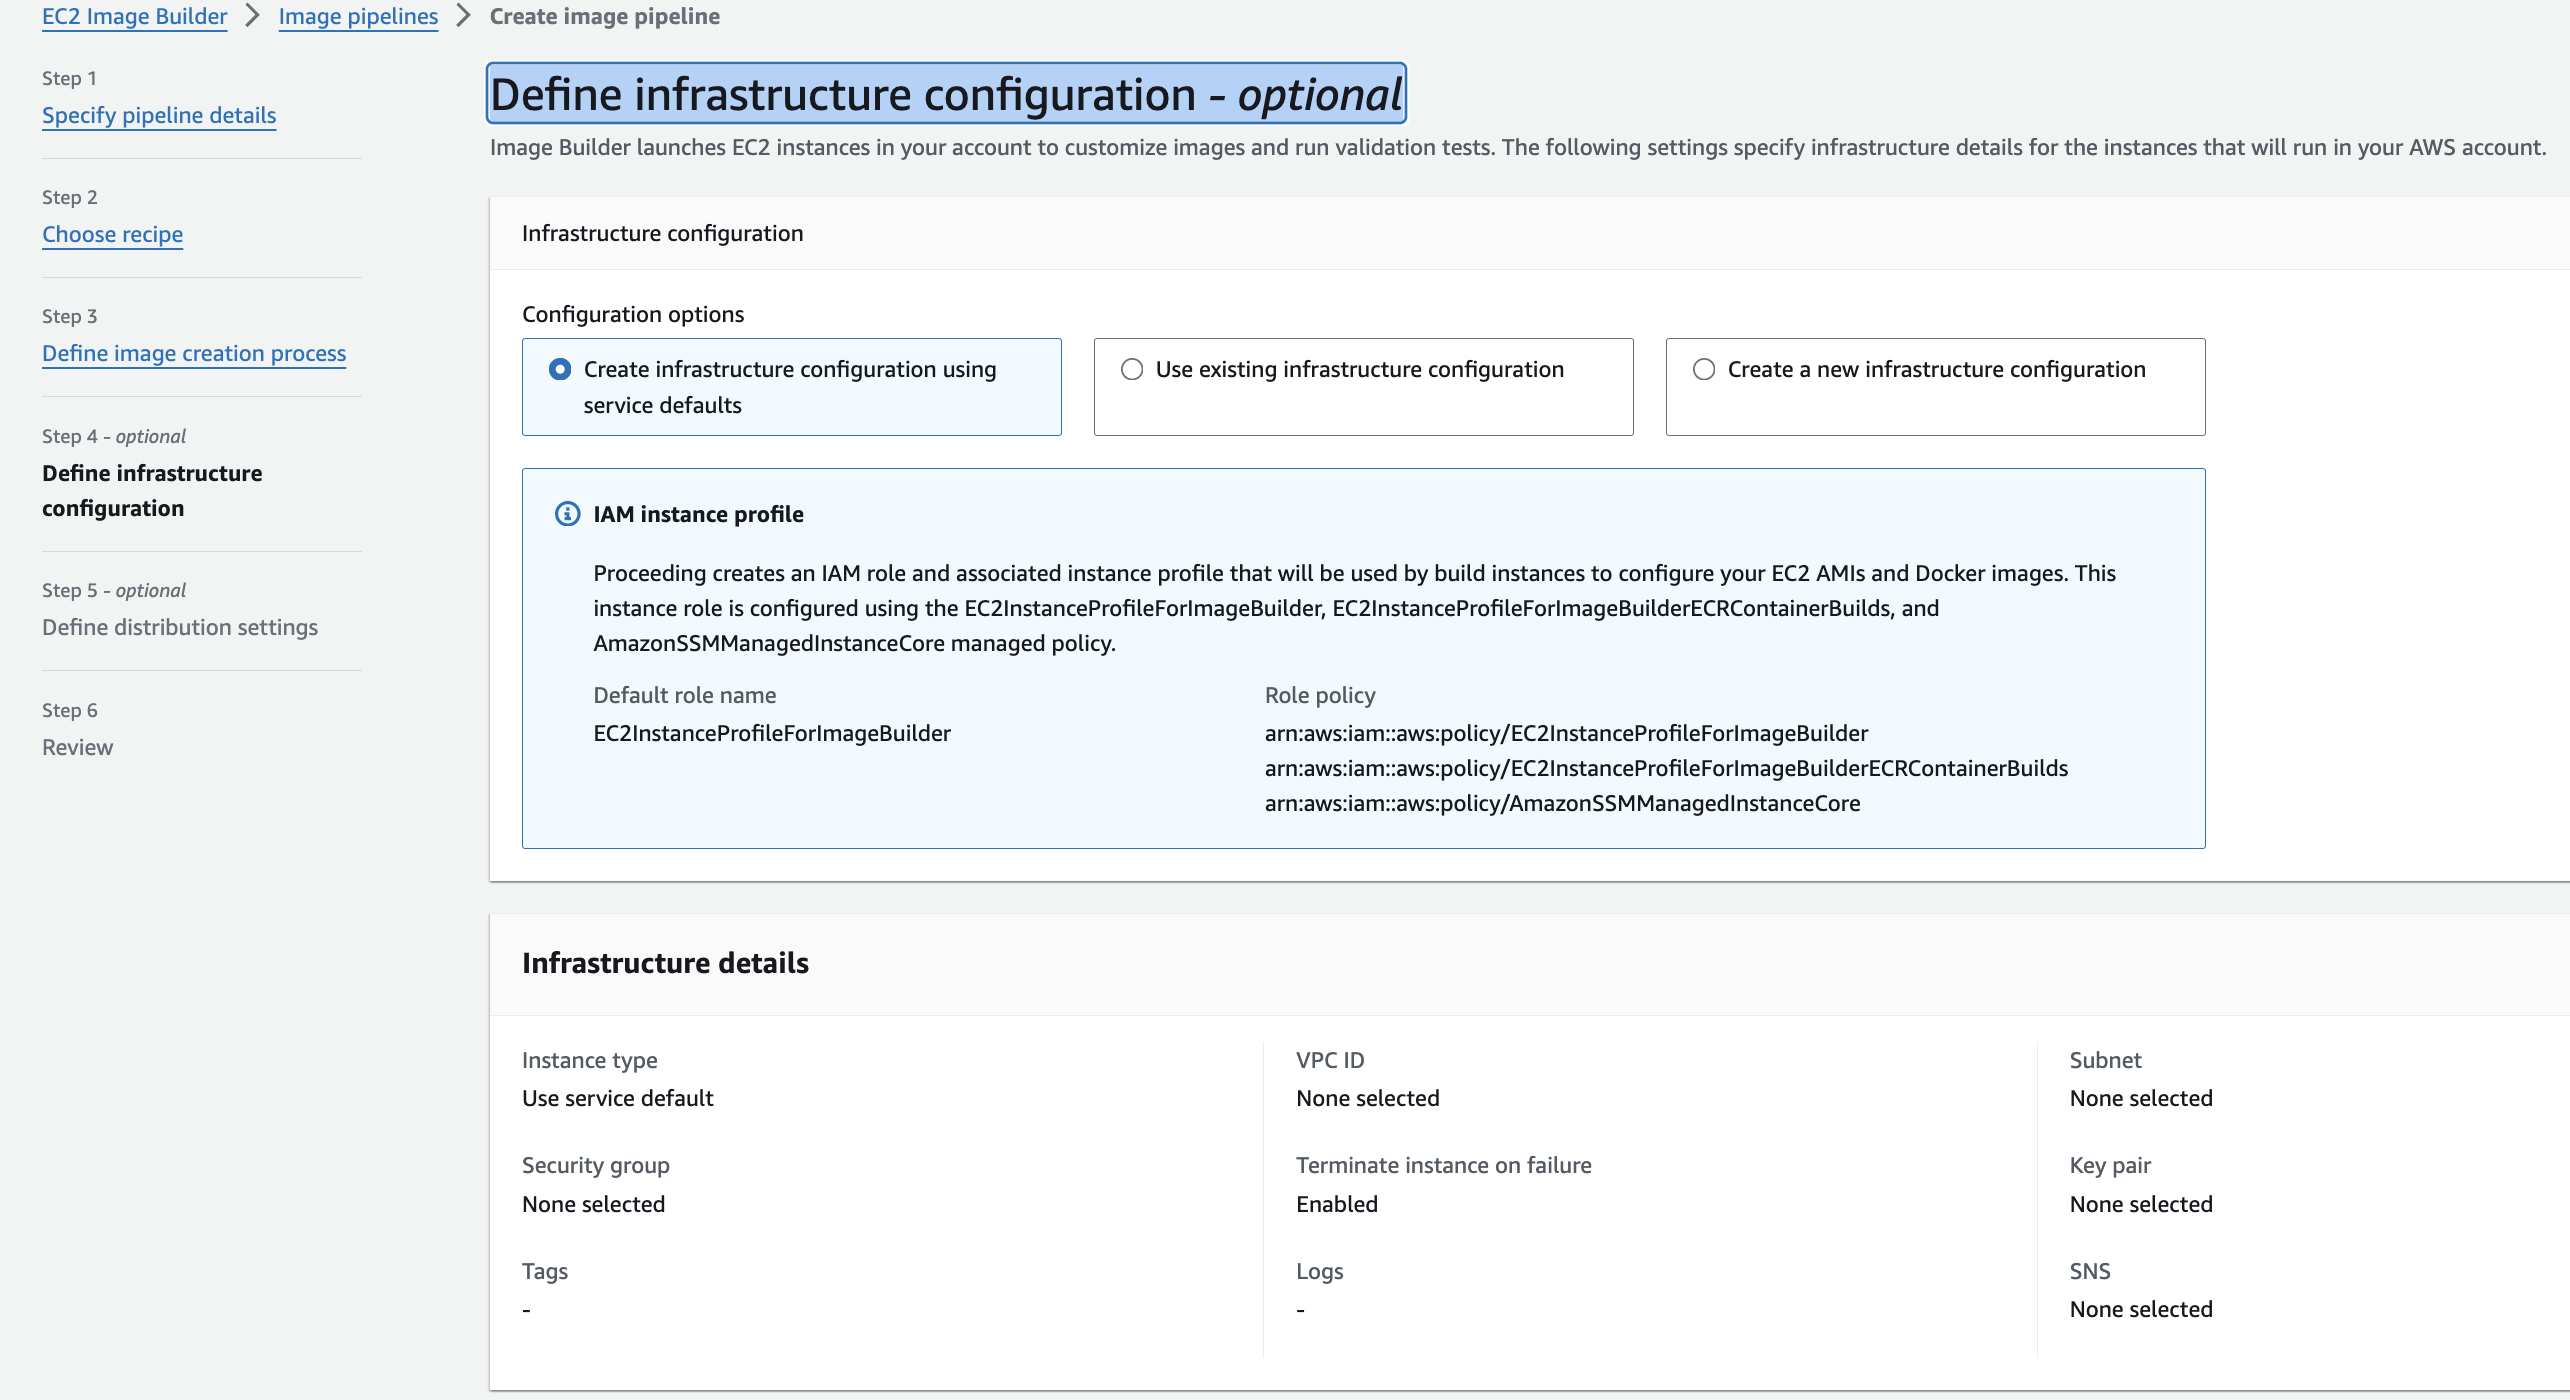
9. On the next configuration, it asked to set up the Infrastructure Configuration - This defines on which infrastructure we want the image to be created.
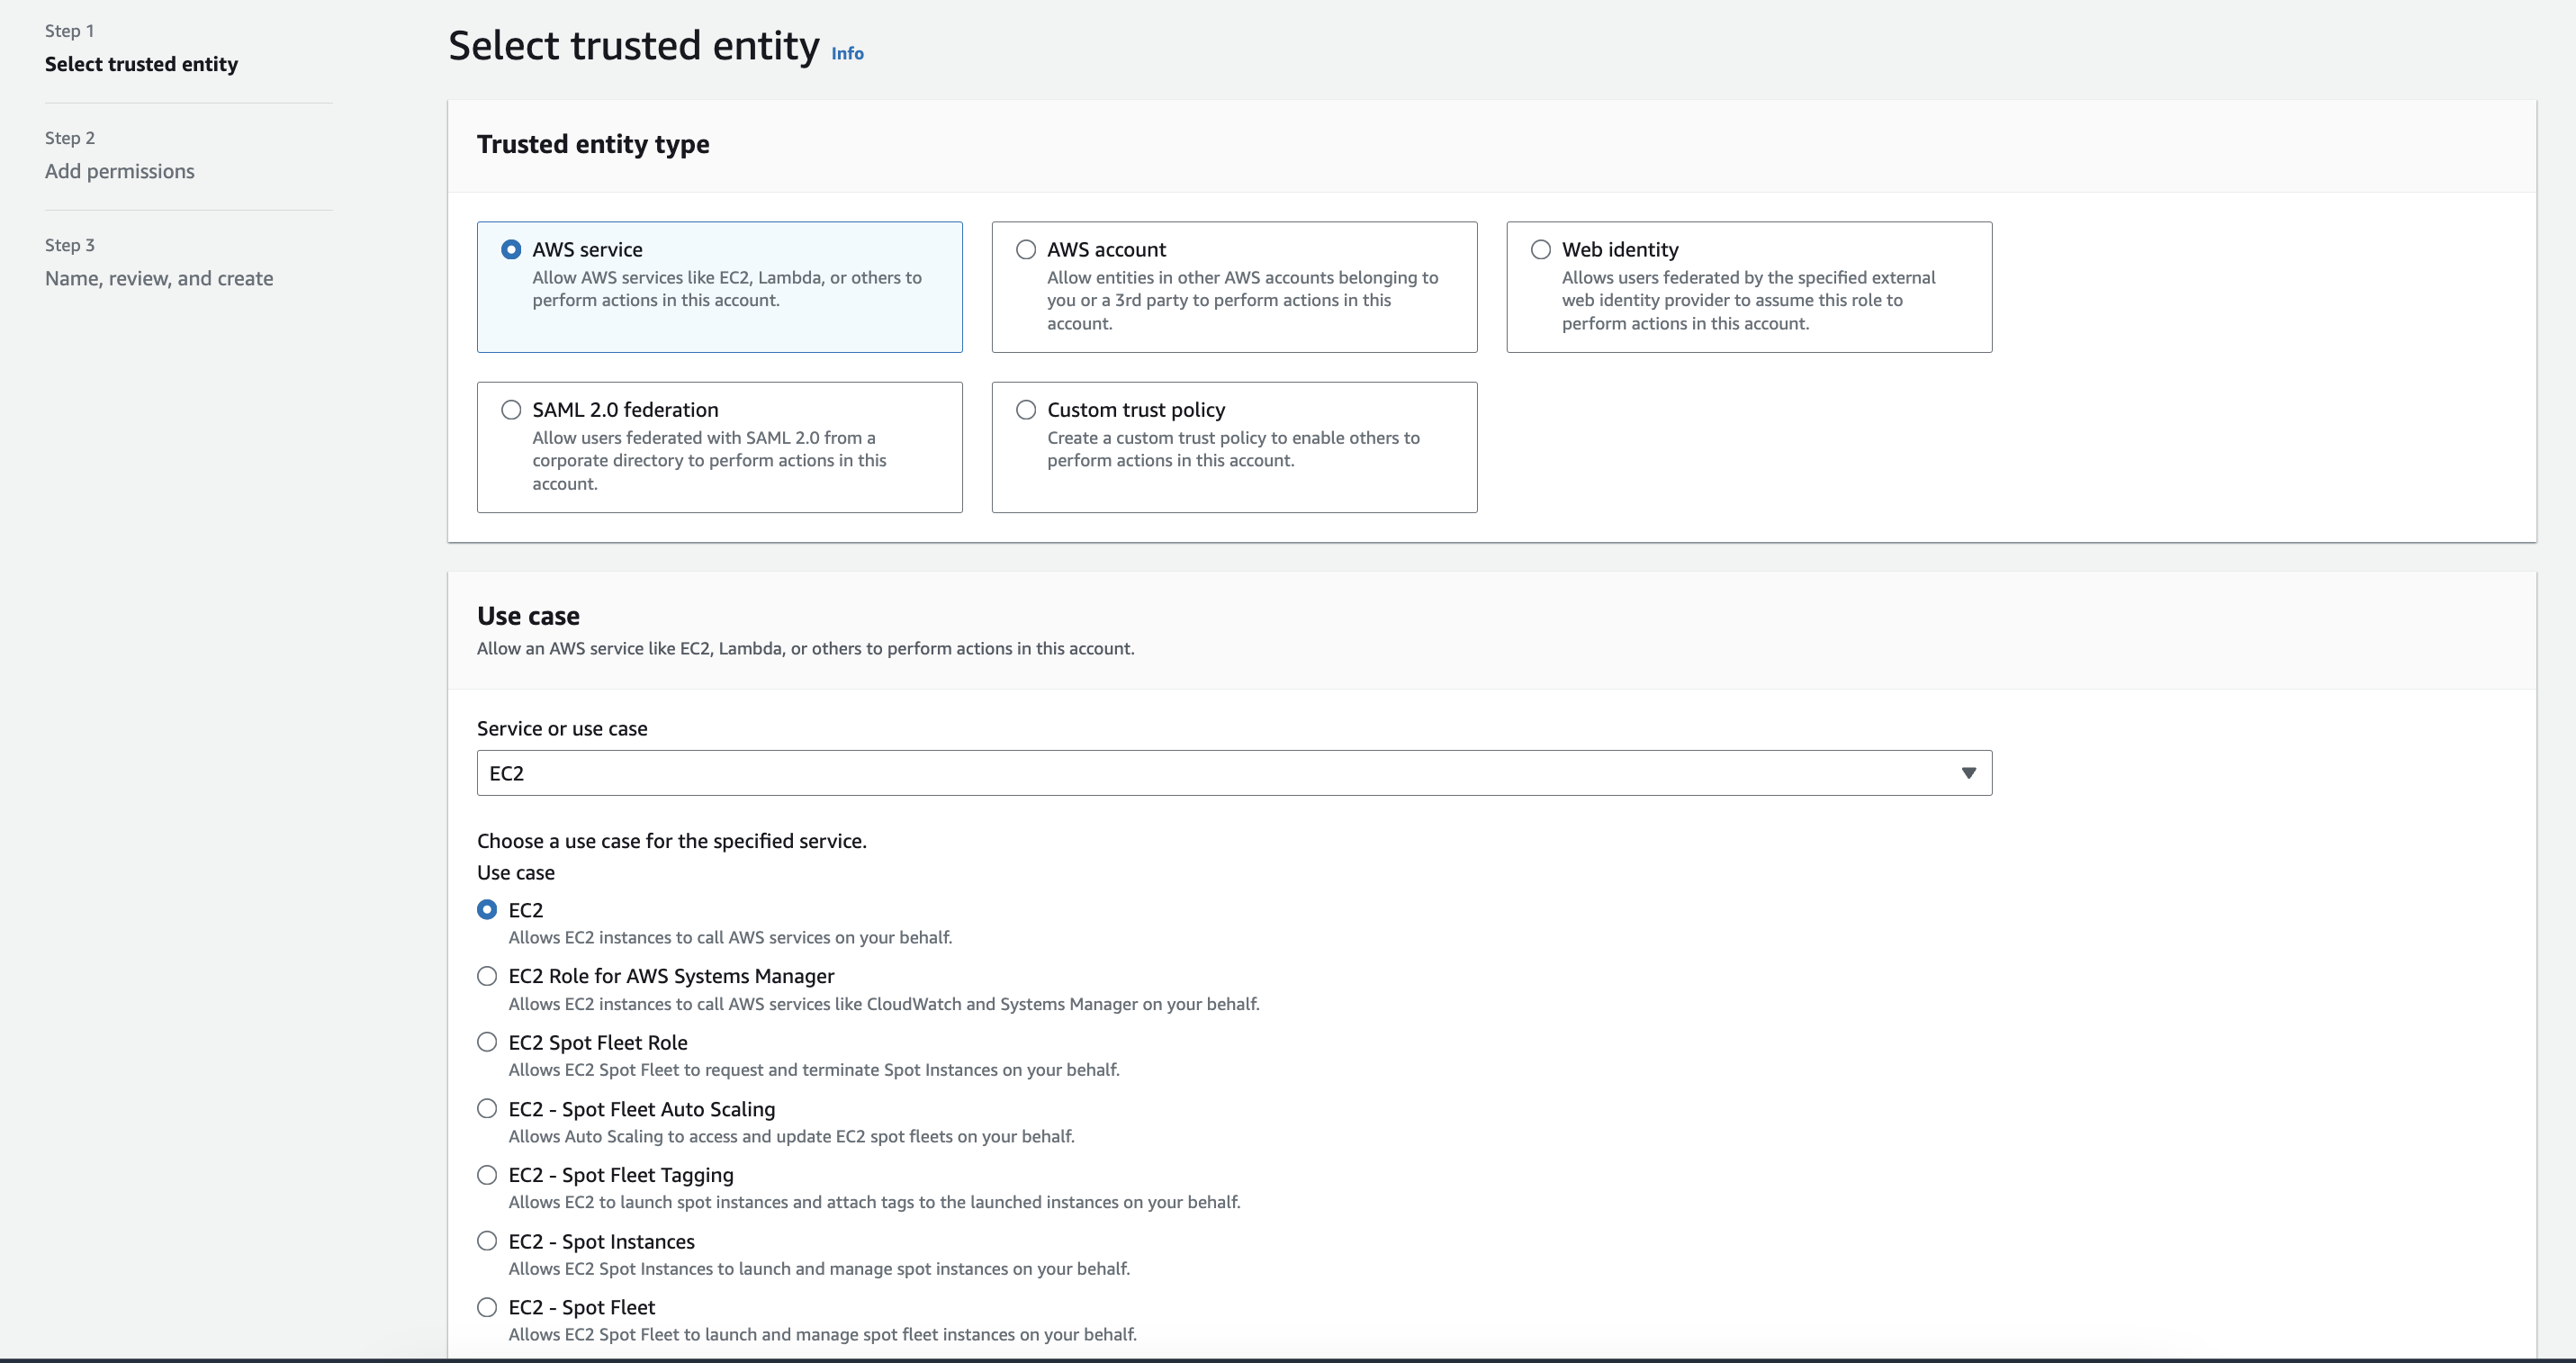
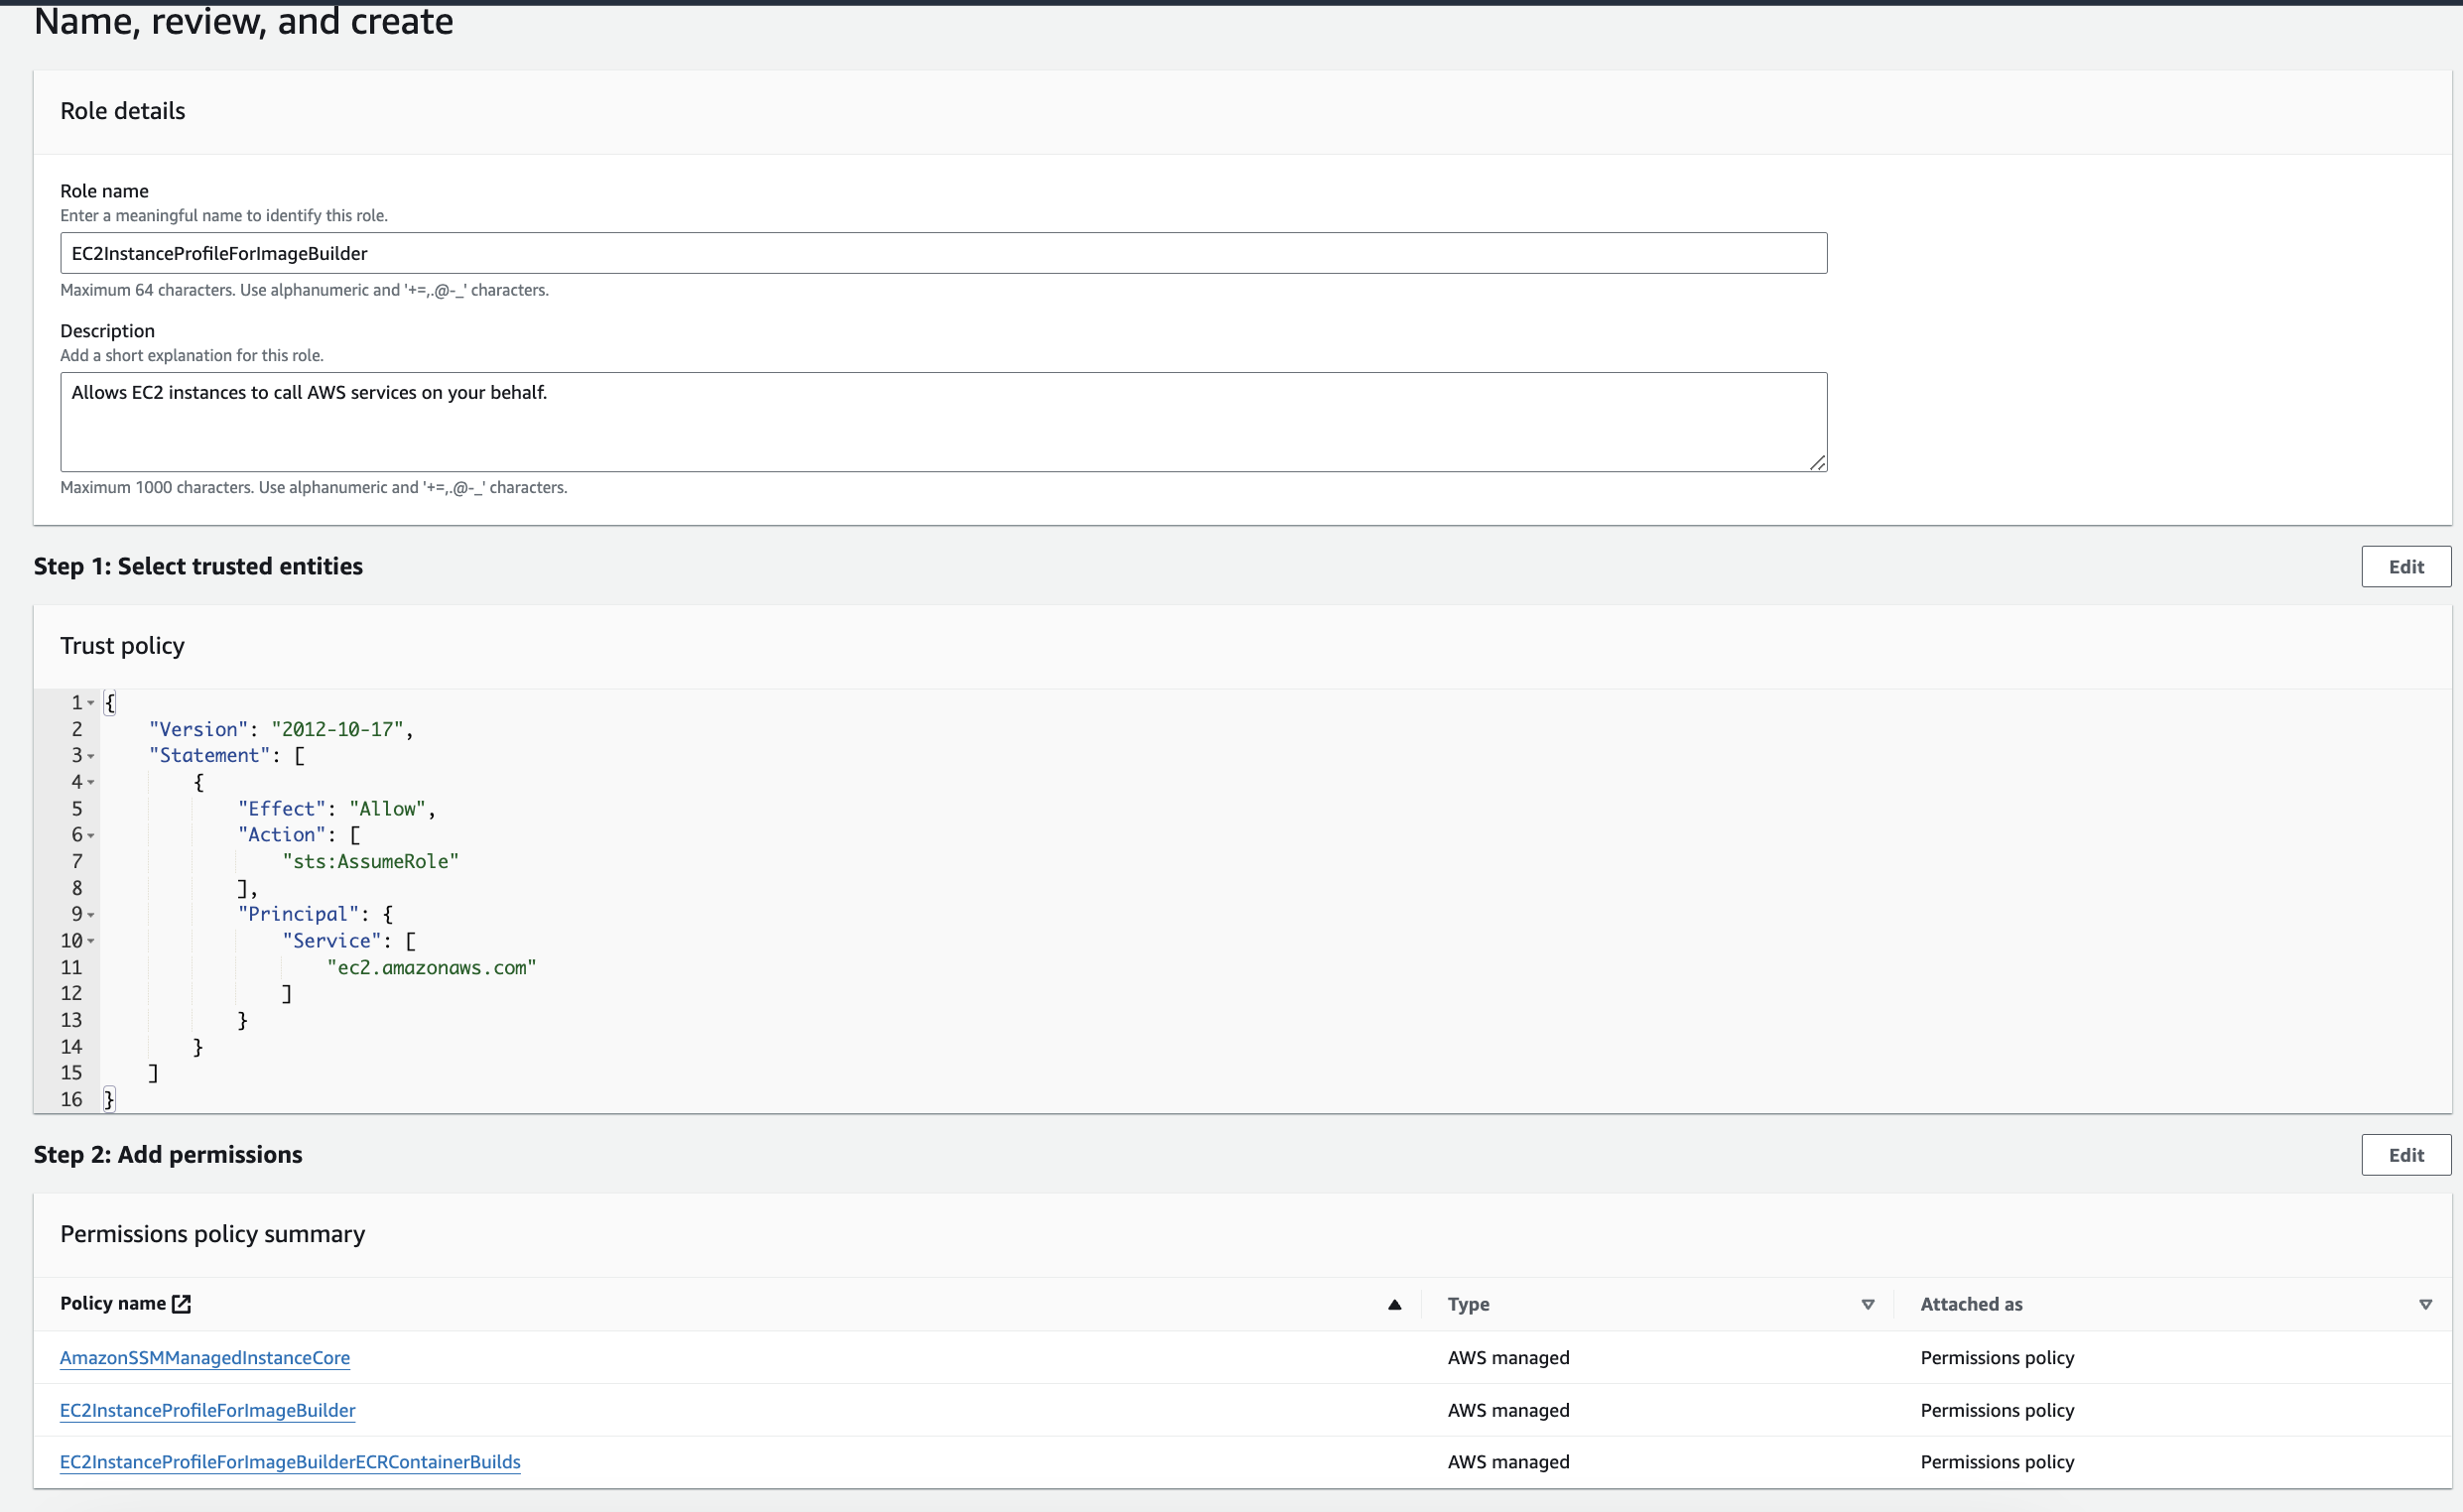
10. We can "Create a new infrastructure configuration". Then click on "create new role" to create a new IAM role. That will open in another window tab.
IAM -> Role -> Create role -> AWS Service -> Chose "EC2" as service
11. Then Hit next to start attaching policies to the IAM role which are:
AmazonSSMManagedInstanceCoreEC2InstanceProfileForImageBuilderECRContainerBuildsEC2InstanceProfileForImageBuilder
Also, give the role a name - EC2InstanceProfileForImageBuilder_2
11. Here is the role:
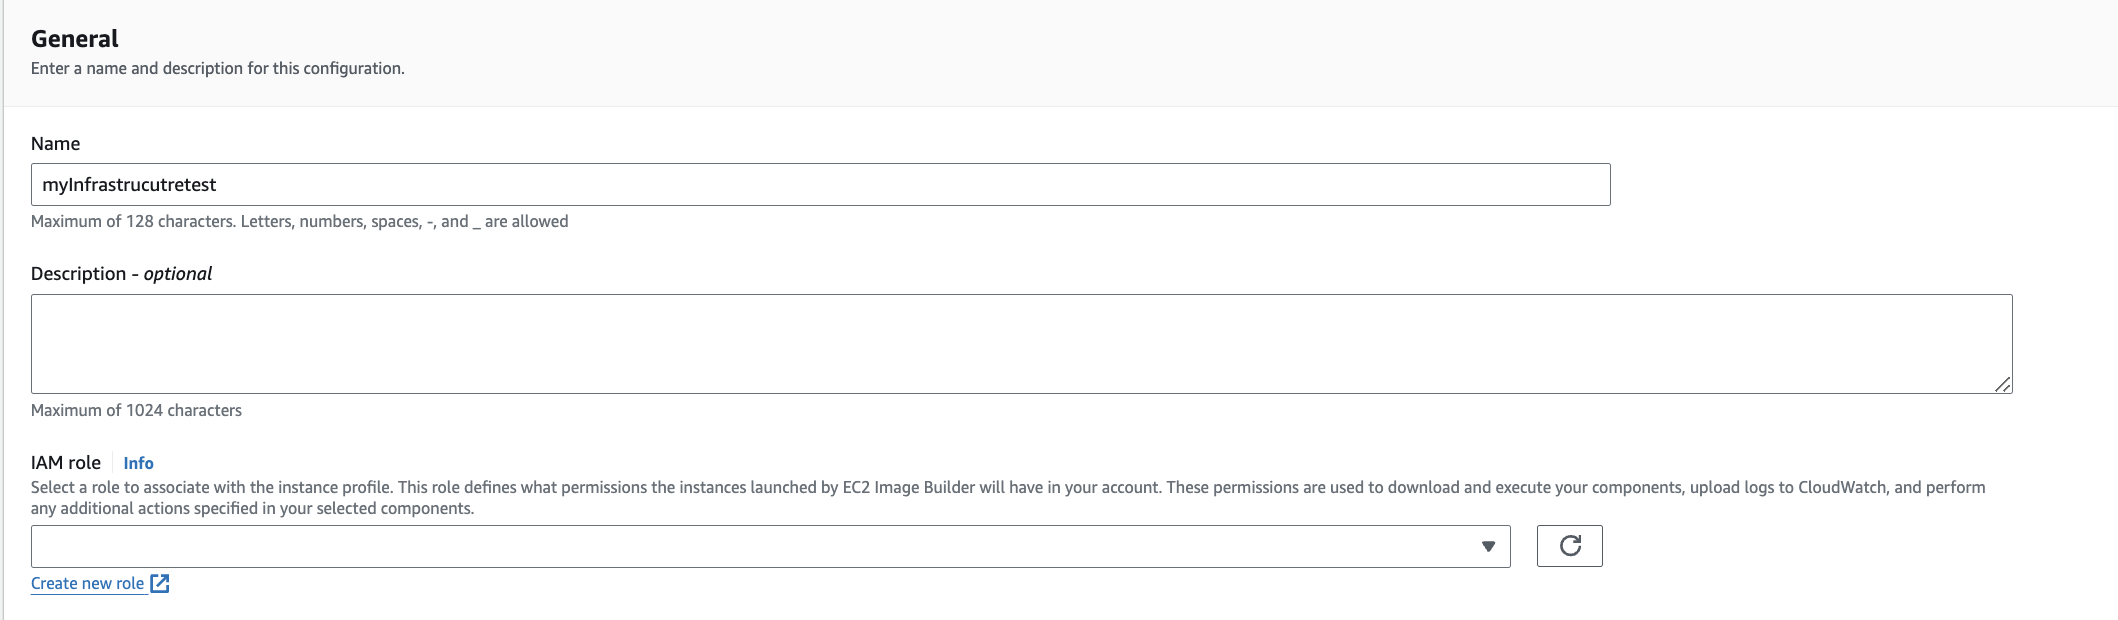
12. Now that my role has been created, we can now go back to the image builder.
Under Create Image pipeline -> Create a new infrastructure configuration -> Give it the name "myinfrastructuretest". Then attached the role
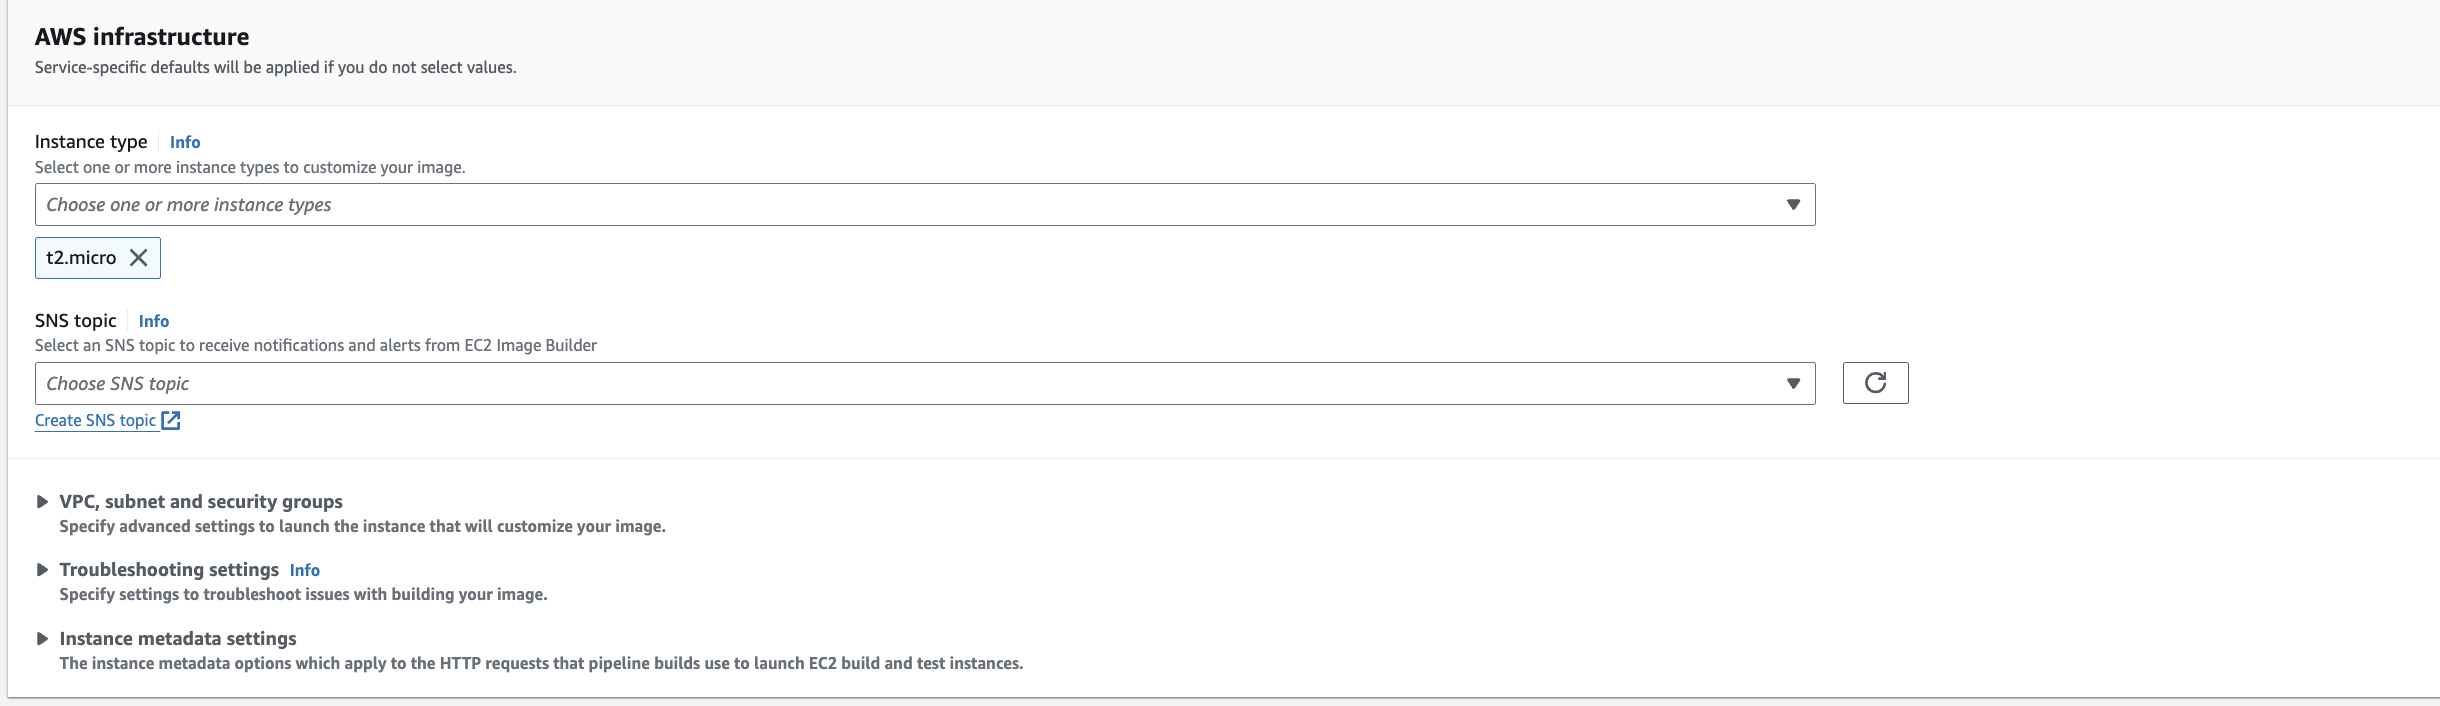
13. Scroll down and under AWS Infrastructure, choose an instance size type. I chose t2 micro
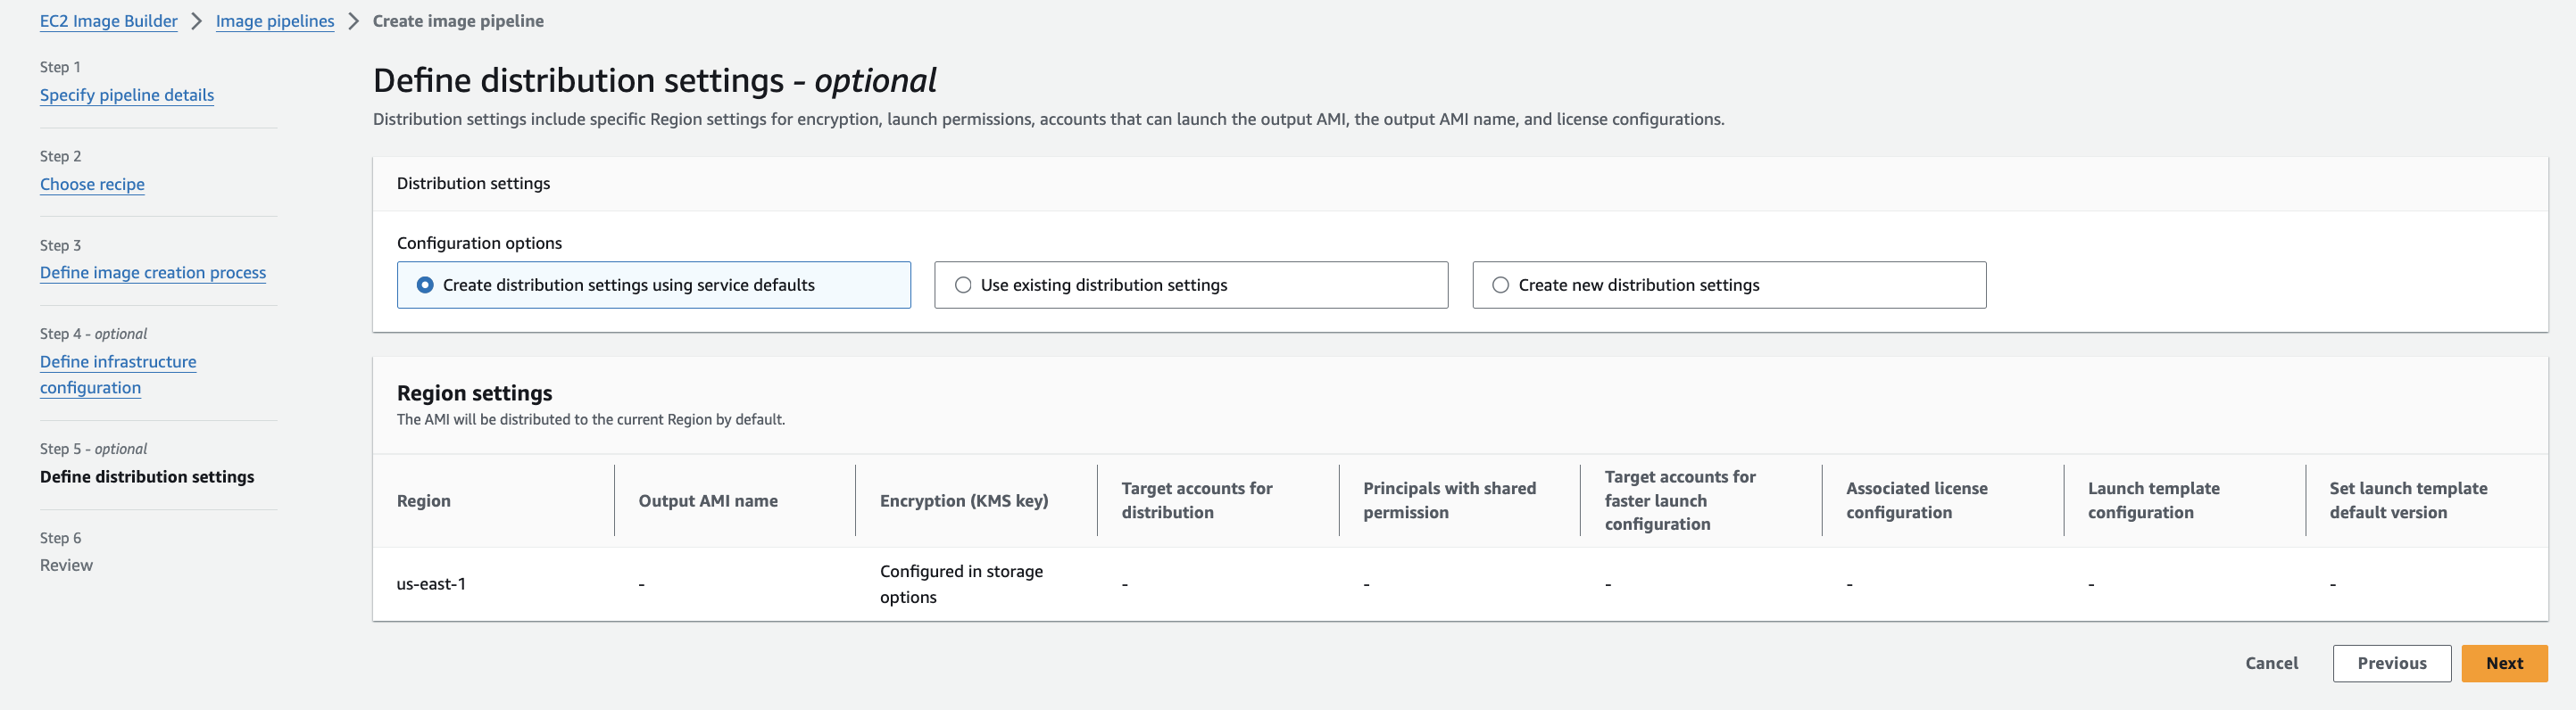
14. Hit "next" and leave it on default Settings as I wanted it to be on the us-east-1 region.
In the "create new distribution settings", many regions can be specified as to where the image can live.
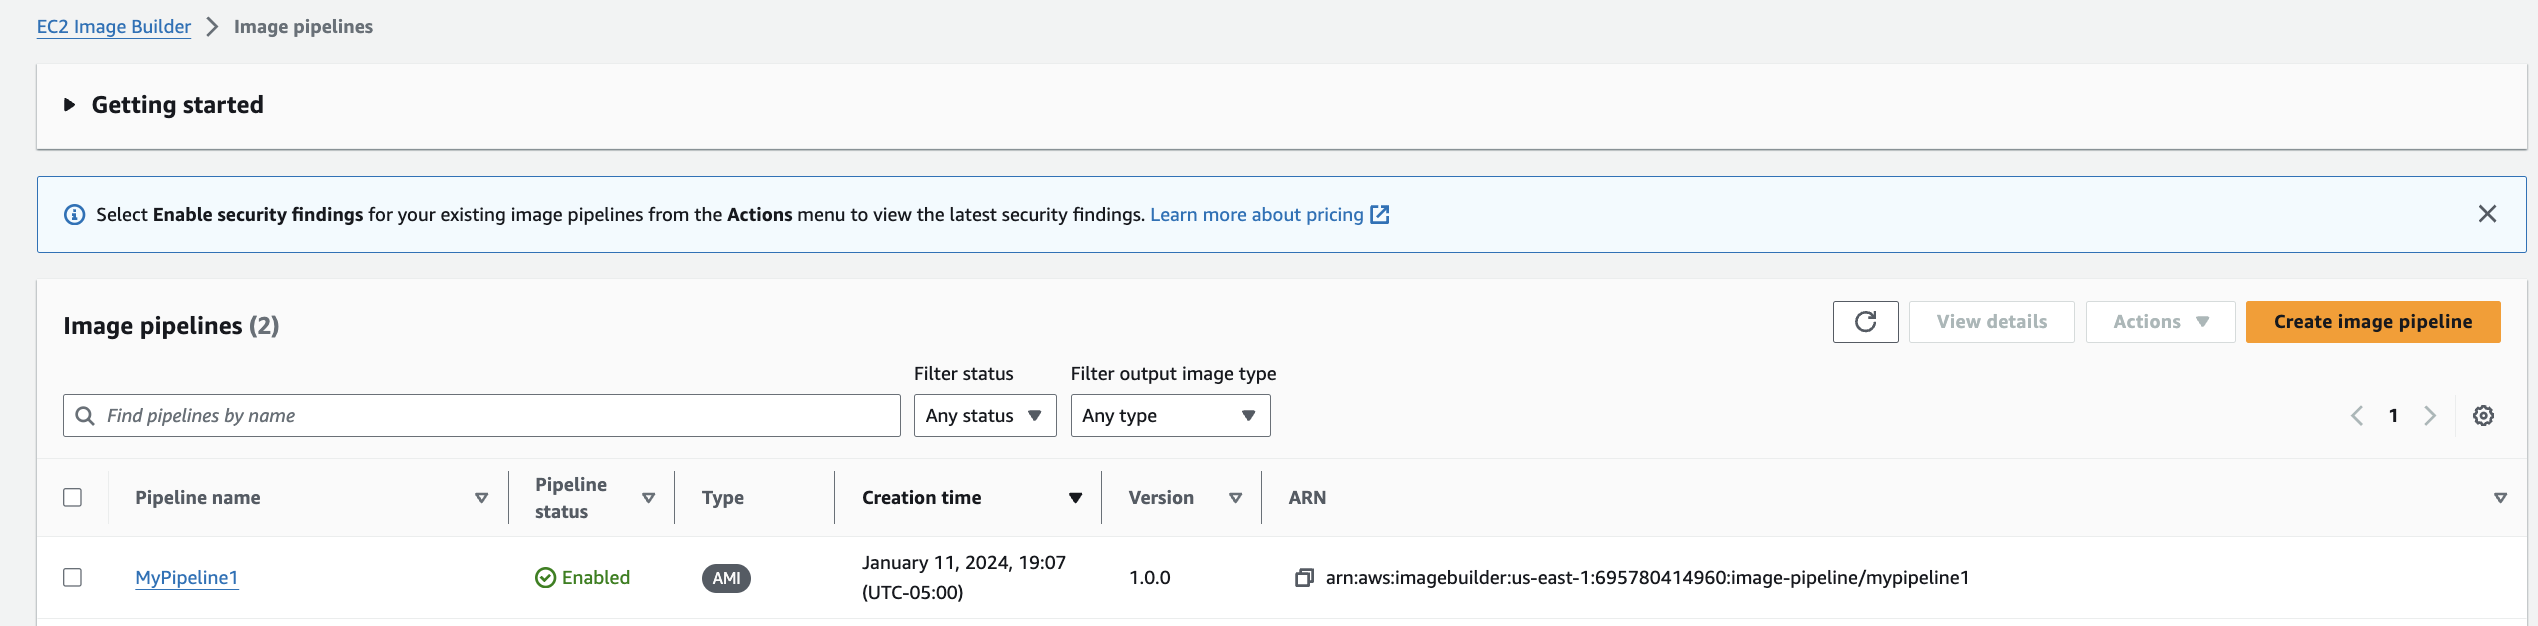
15. Hit next, review, and create a pipeline. This consequently generated the pipeline
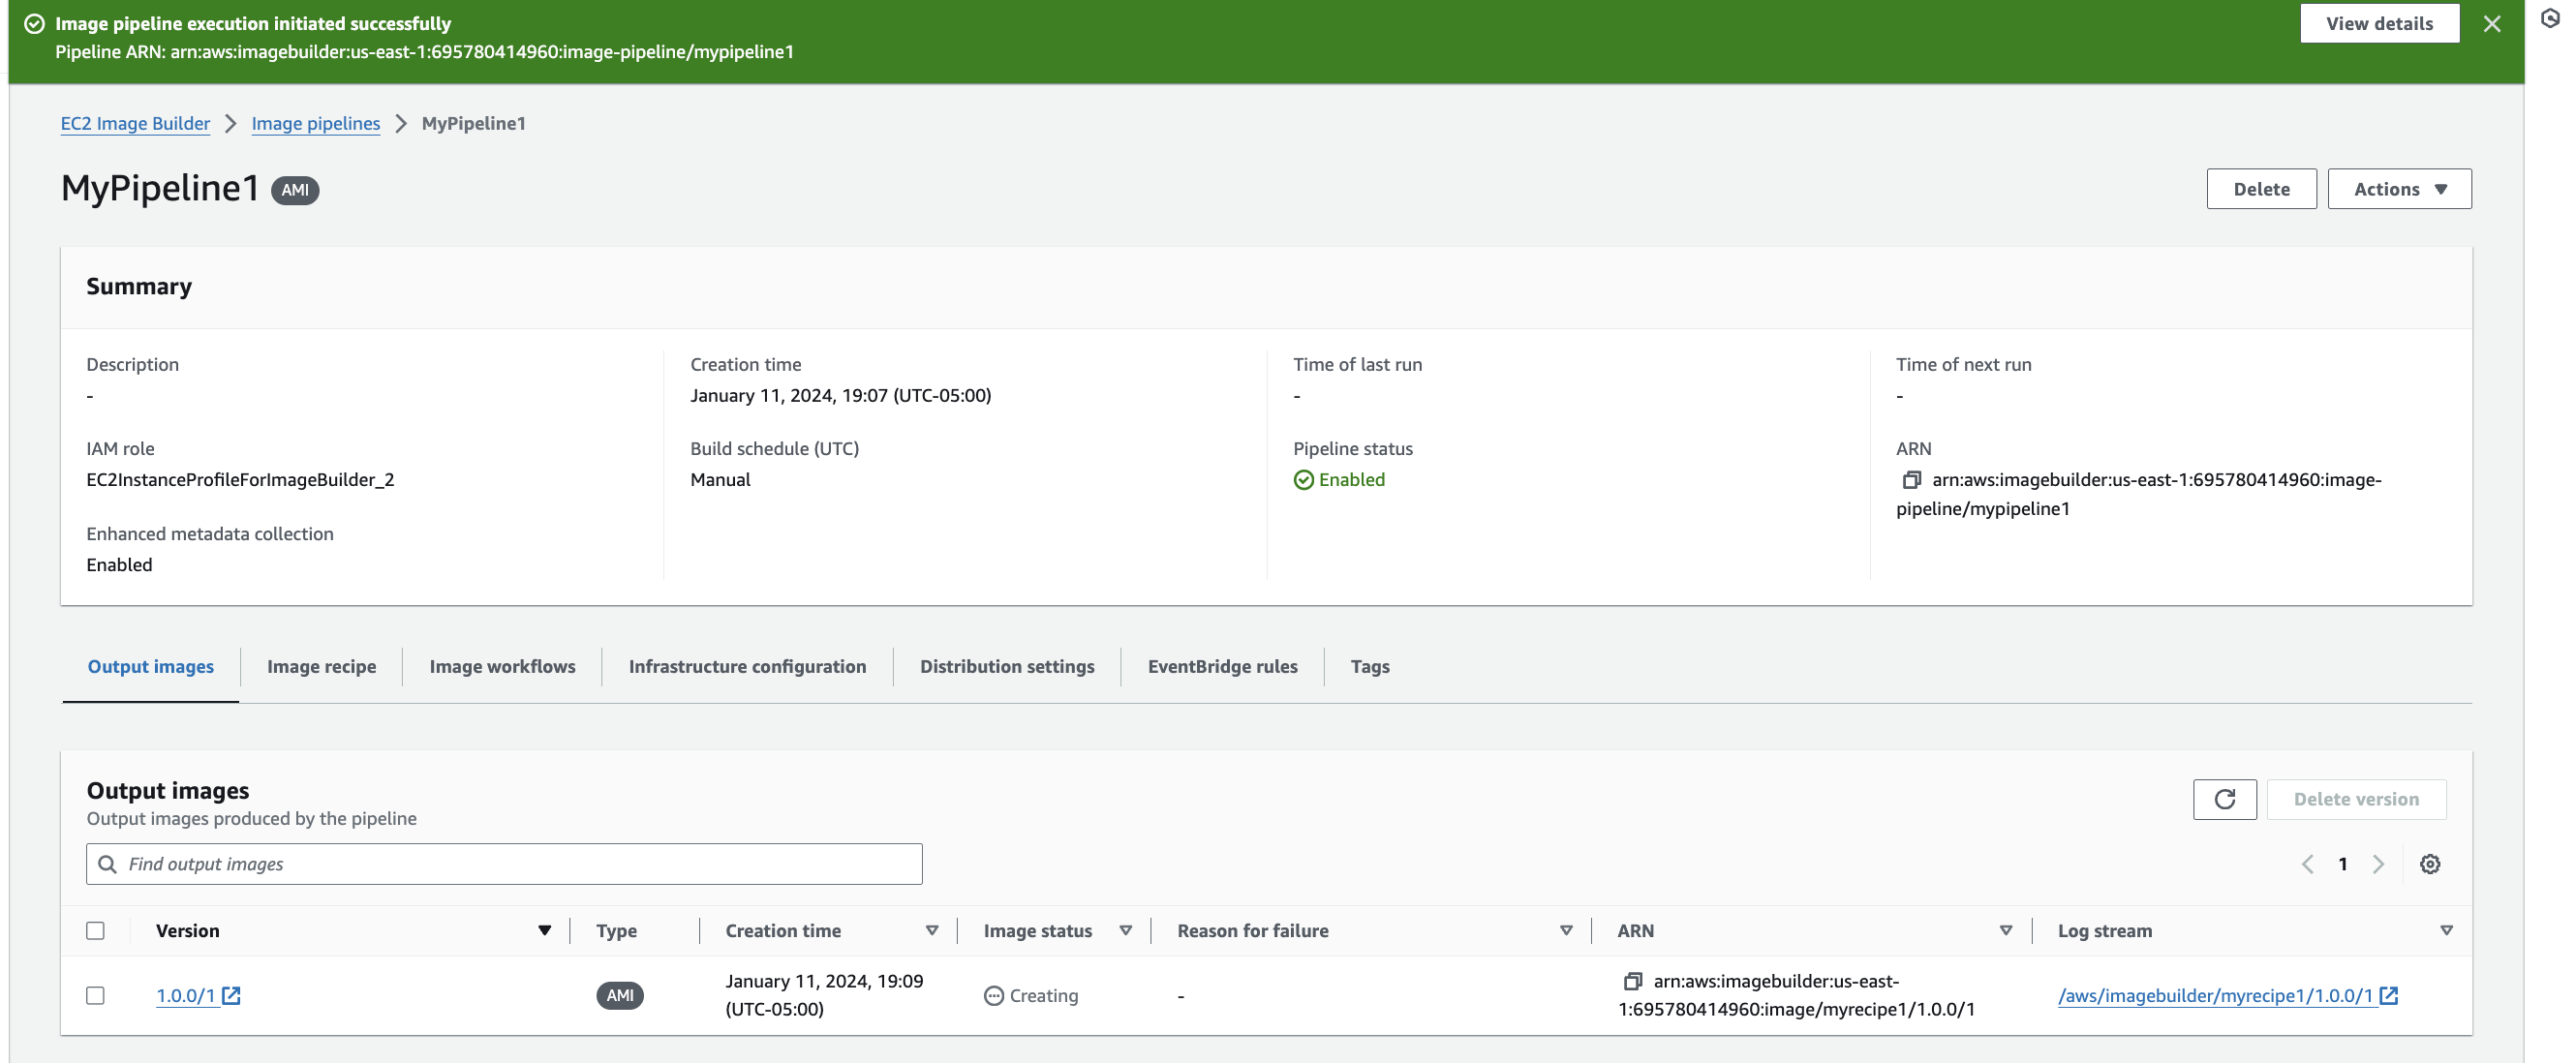
16. Now click on the Pipeline -> Actions -> Run Pipeline
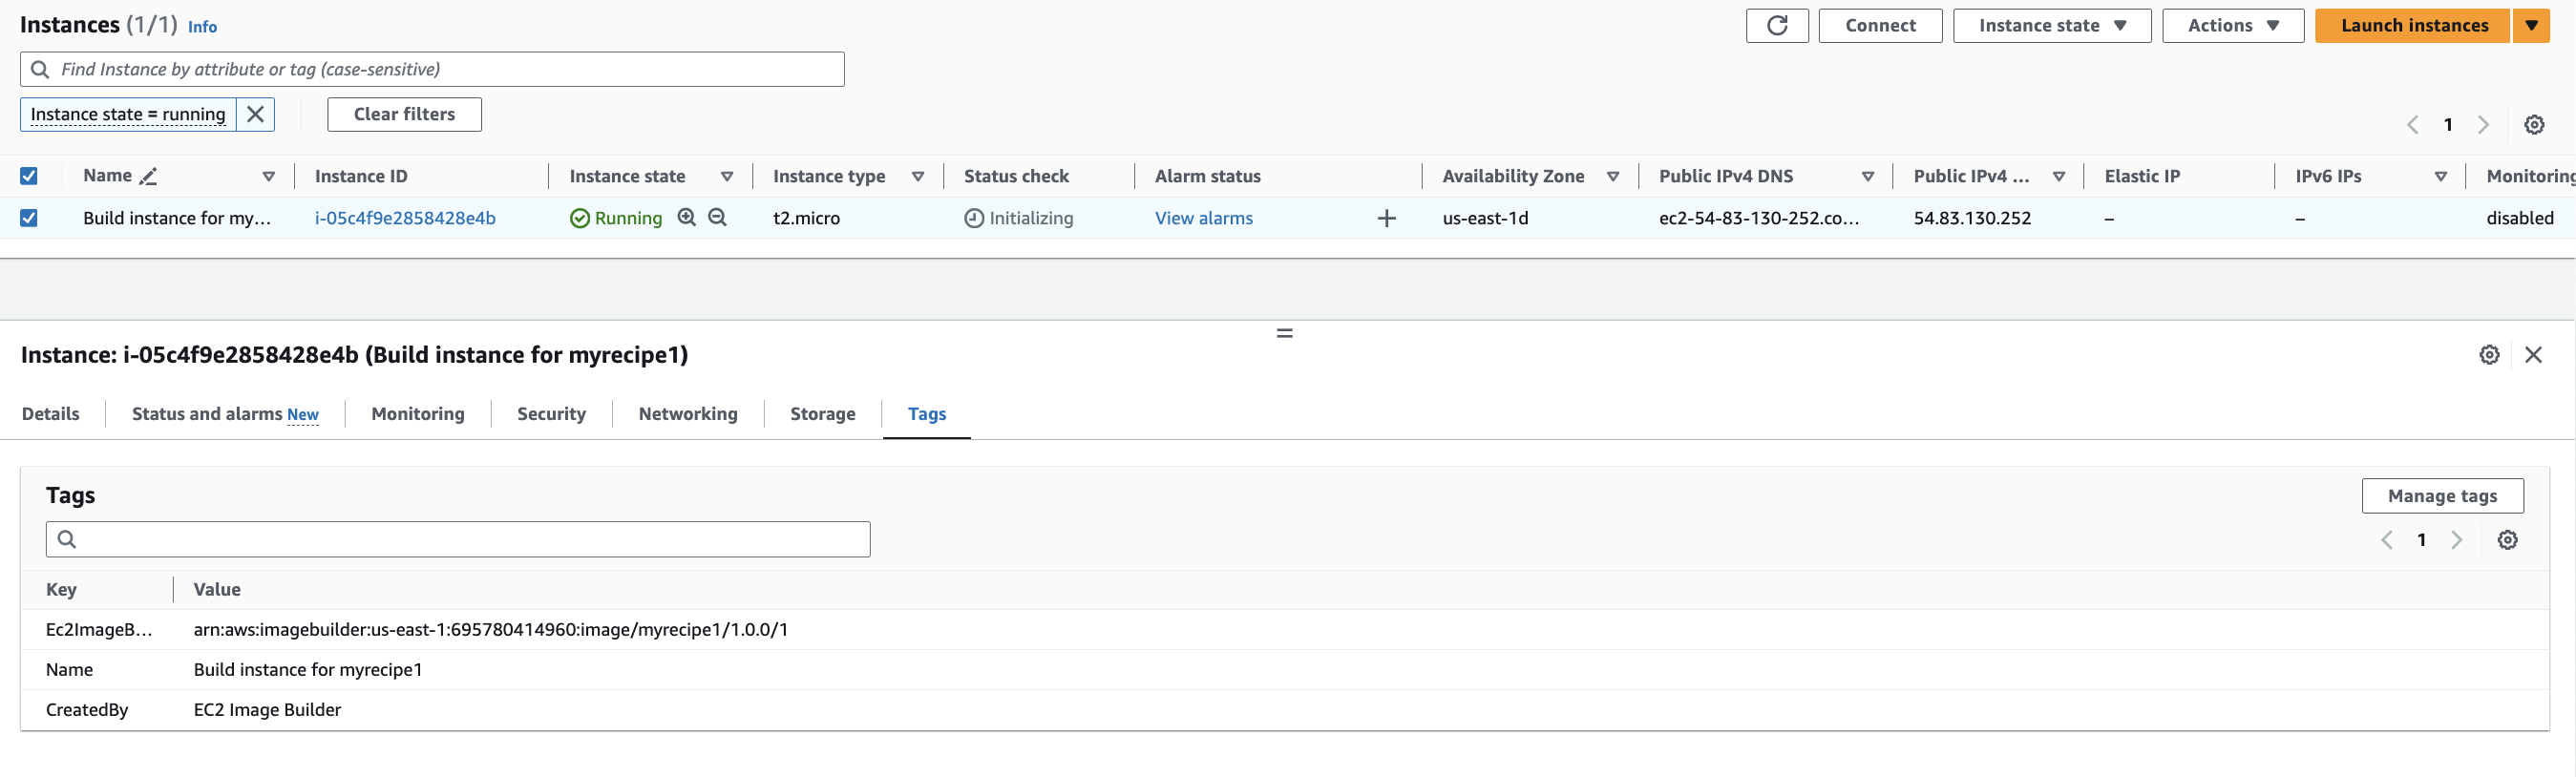
17. When it's in the building stage, the EC2 instance is created
18. On the EC2 instance dashboard, I can see the instance being run.
19. When the Build is completed, it starts executing the testing phase
The test is done from a new AMI created by the EC2 Instance Builder Service. That EC2 instance will eventually be destroyed automatically as well
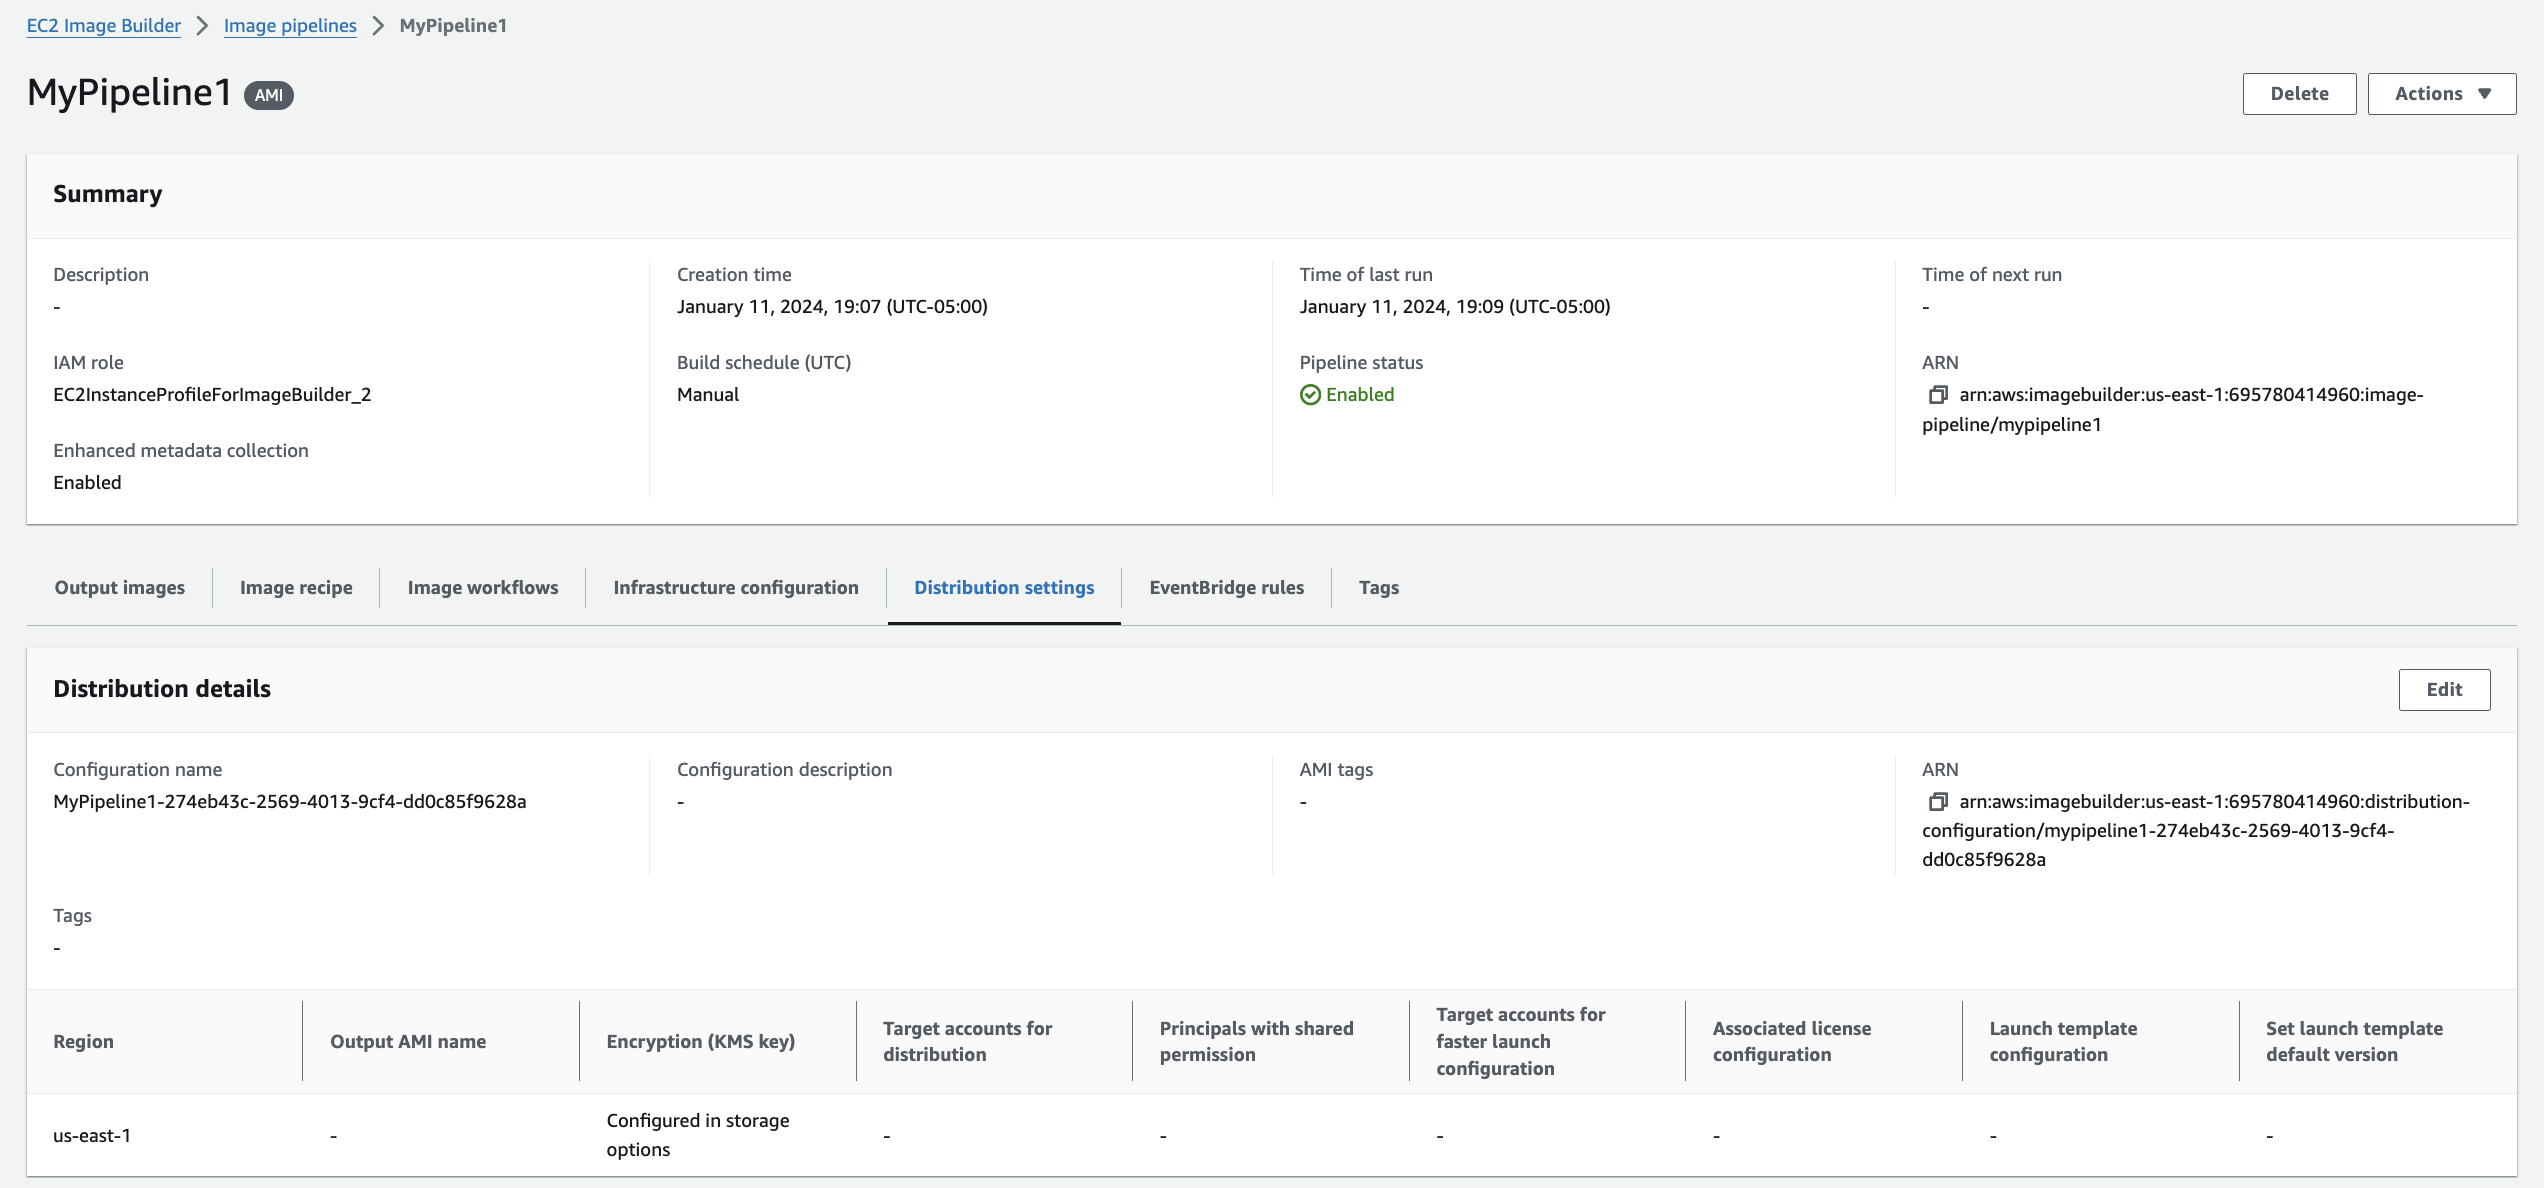
20. Under the Ec2 Image Builder -> Image pipeline -> MyPipeline1 (pipeline which was created).Go to distribution settings, this should confirm where the AMI was created. In this case: Regions us-east-1
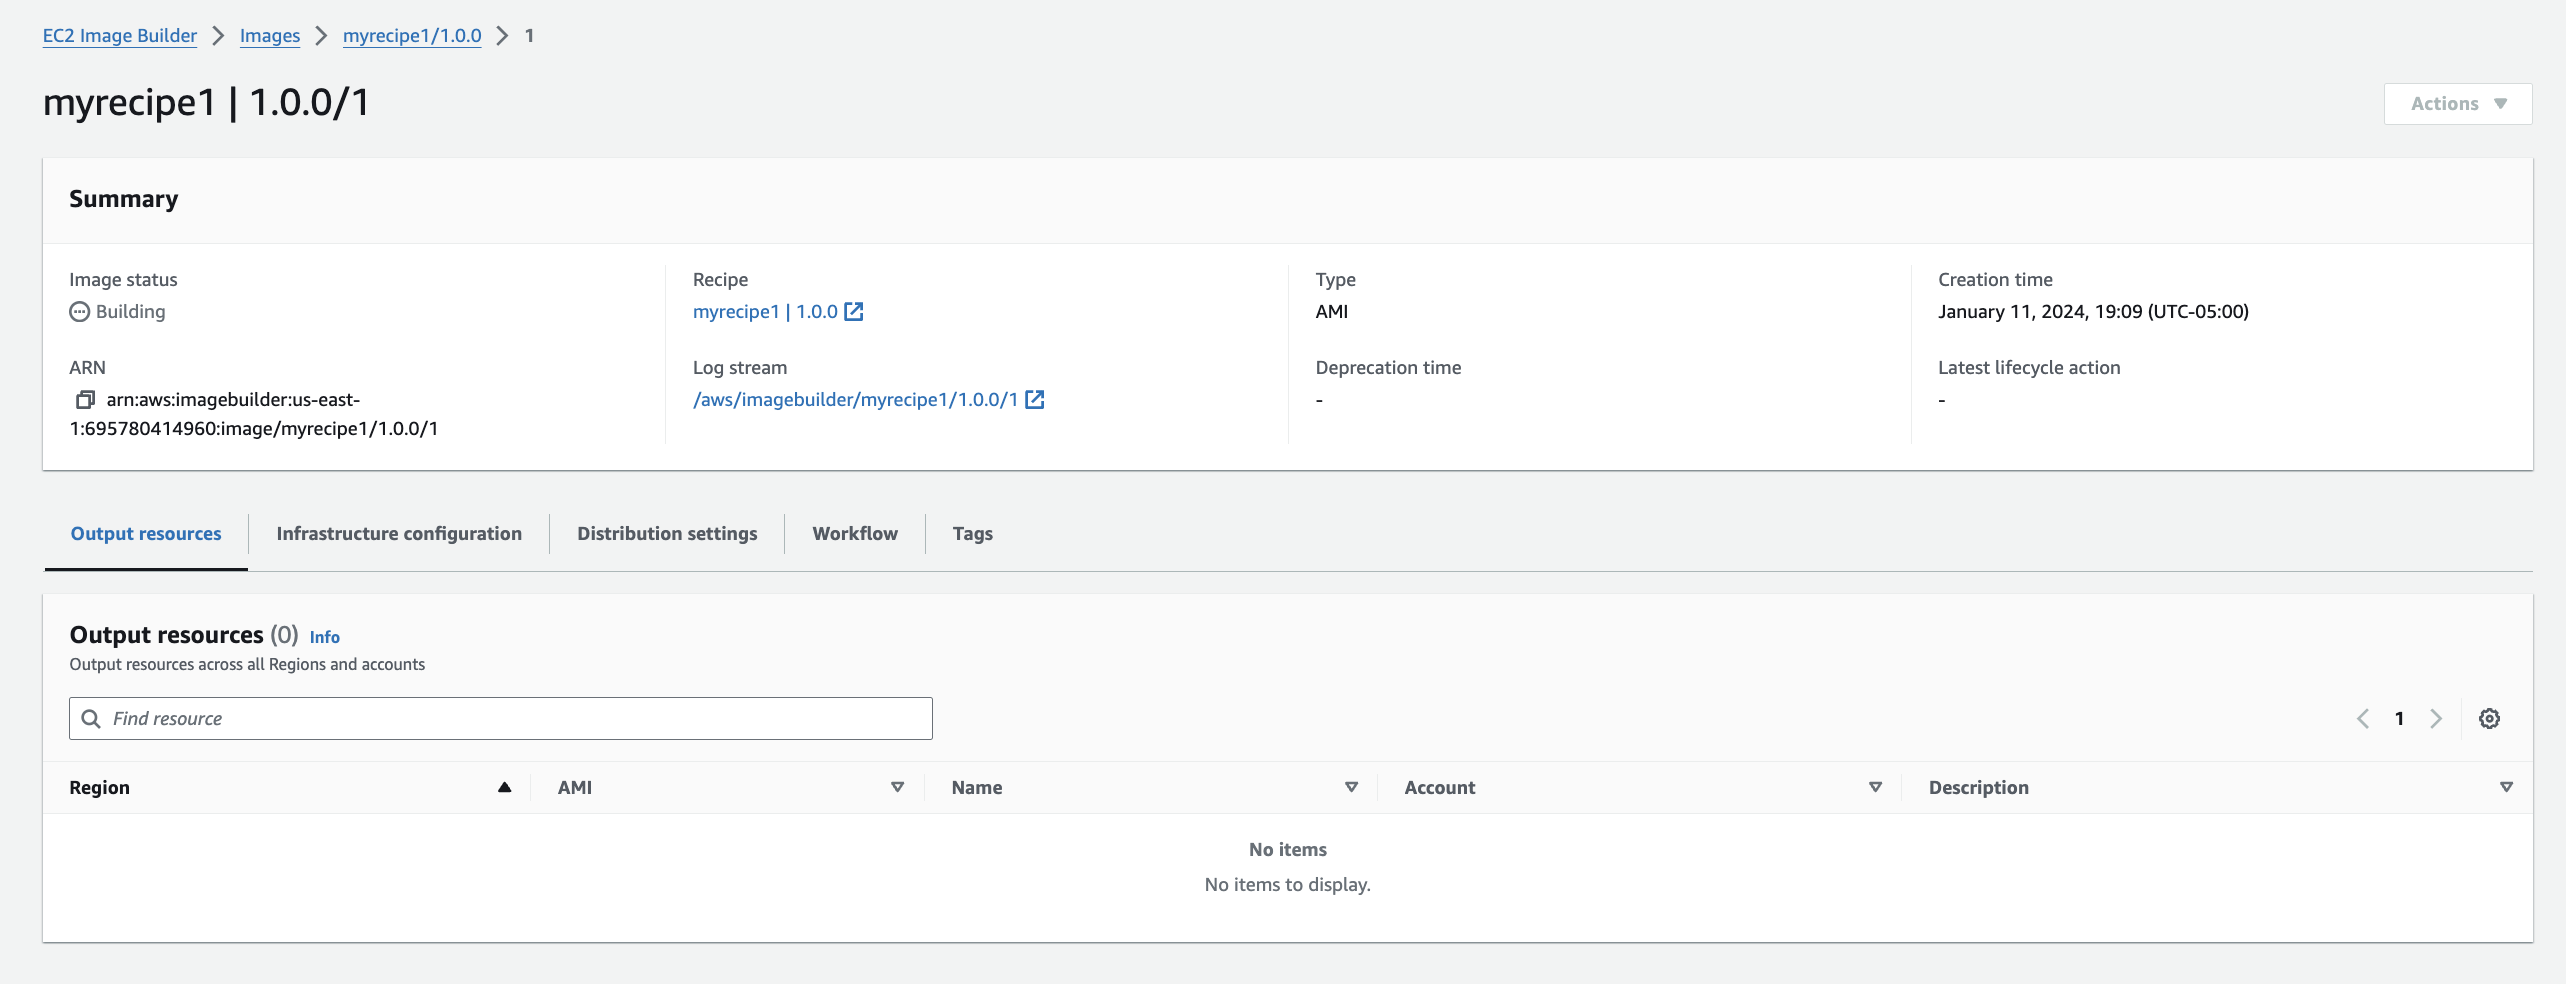
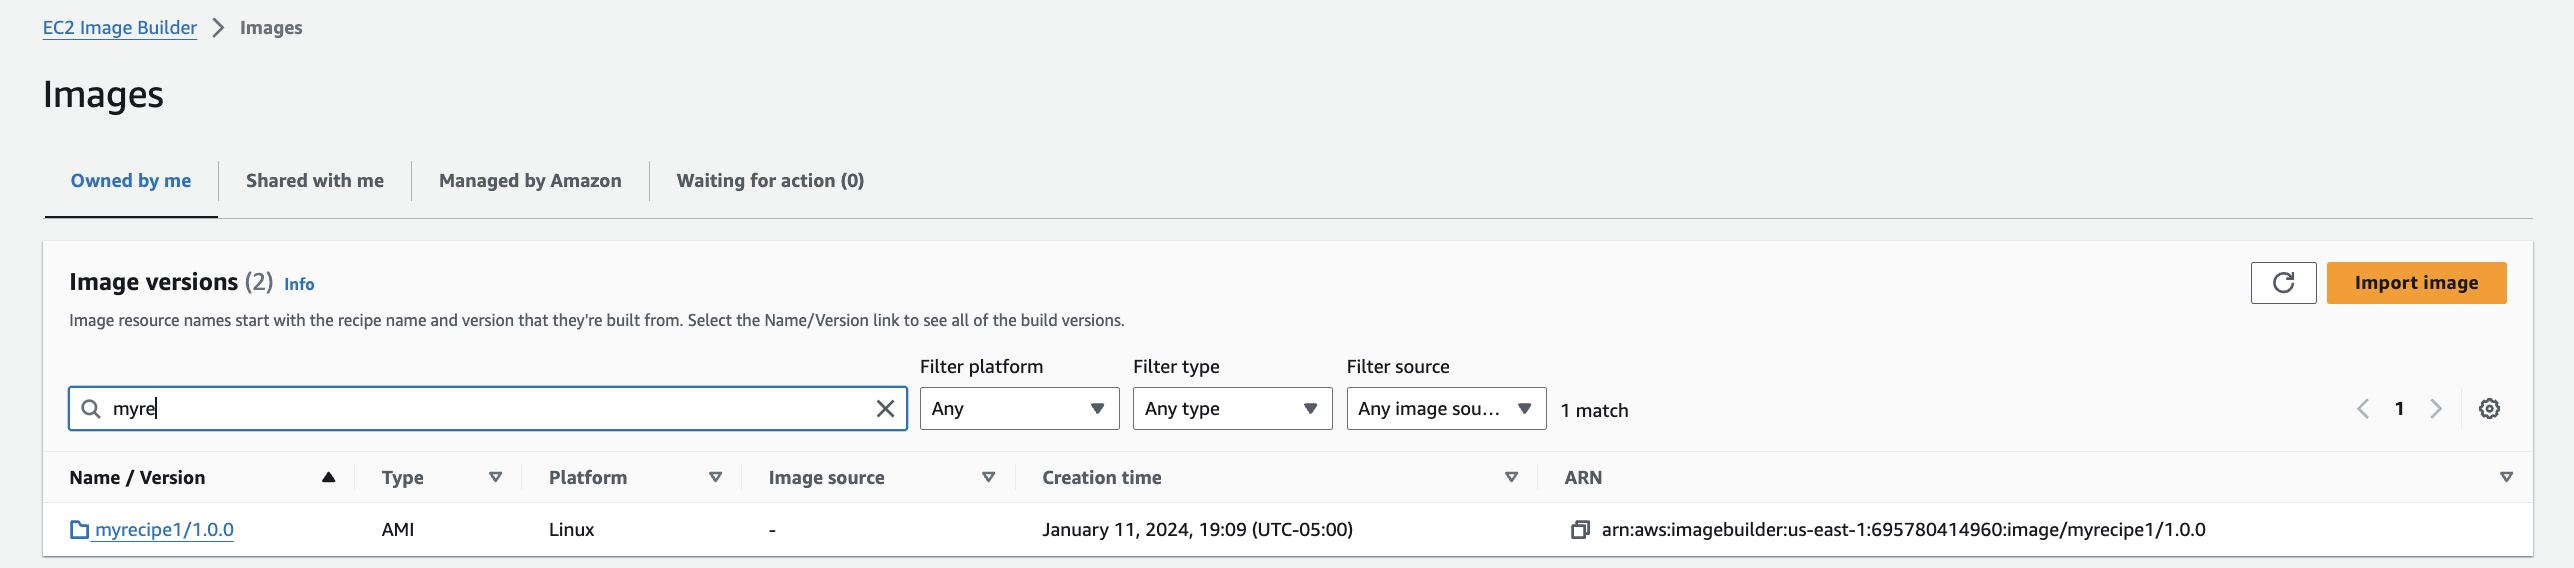
21. On EC2 Image Builder -> Images, it should show the images that have been created:
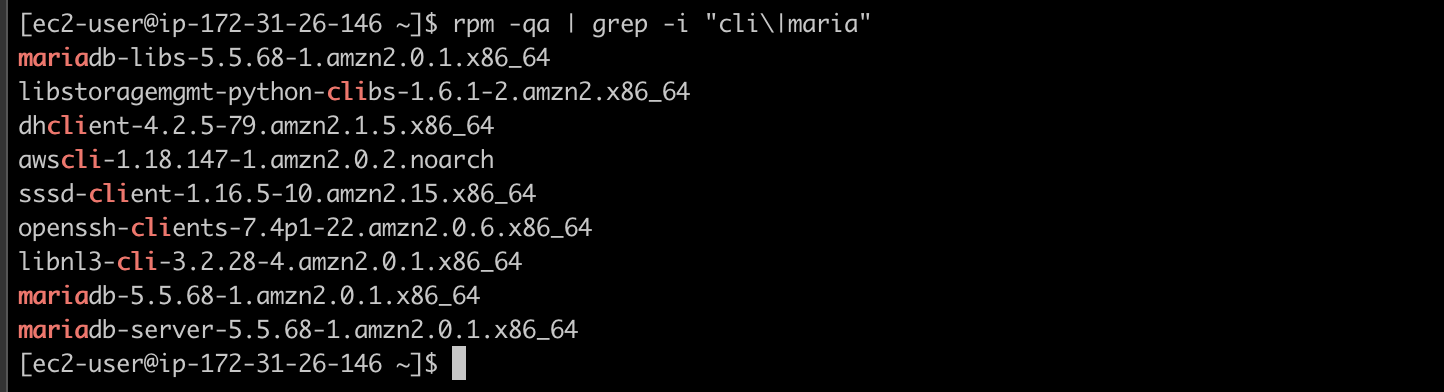
22. Finally after launching the ec2-instance and connecting, I can see the packages have been deployed correctly.