An Aficionado Journey in Opensource & Linux – And now It's a FinTech touch!
Playing with EC2 Placement Group
AWS and Cloud Computing
Published: 2023-12-26 17:10:08
The placement group in AWS is a feature to arrange servers in the data center. It's like a classroom where you have a group of students (servers) and you want to optimize seating per the specific needs. So there are three types of placement groups: Cluster, Spread, and Partition.
Cluster - is like a group of students who are working collaboratively and need to talk a lot between themselves. (Low latency group single AZ)
Spread - is like minimizing the noise and disturbances between the students. So spread them apart into different tables and corners. (Max 7 instances per group AZ)
Partition - is like different groups working on different projects and you want to make sure that one group does not affect the other. (different racks within an AZ)
Interesting right?
So let's see how to configure that:
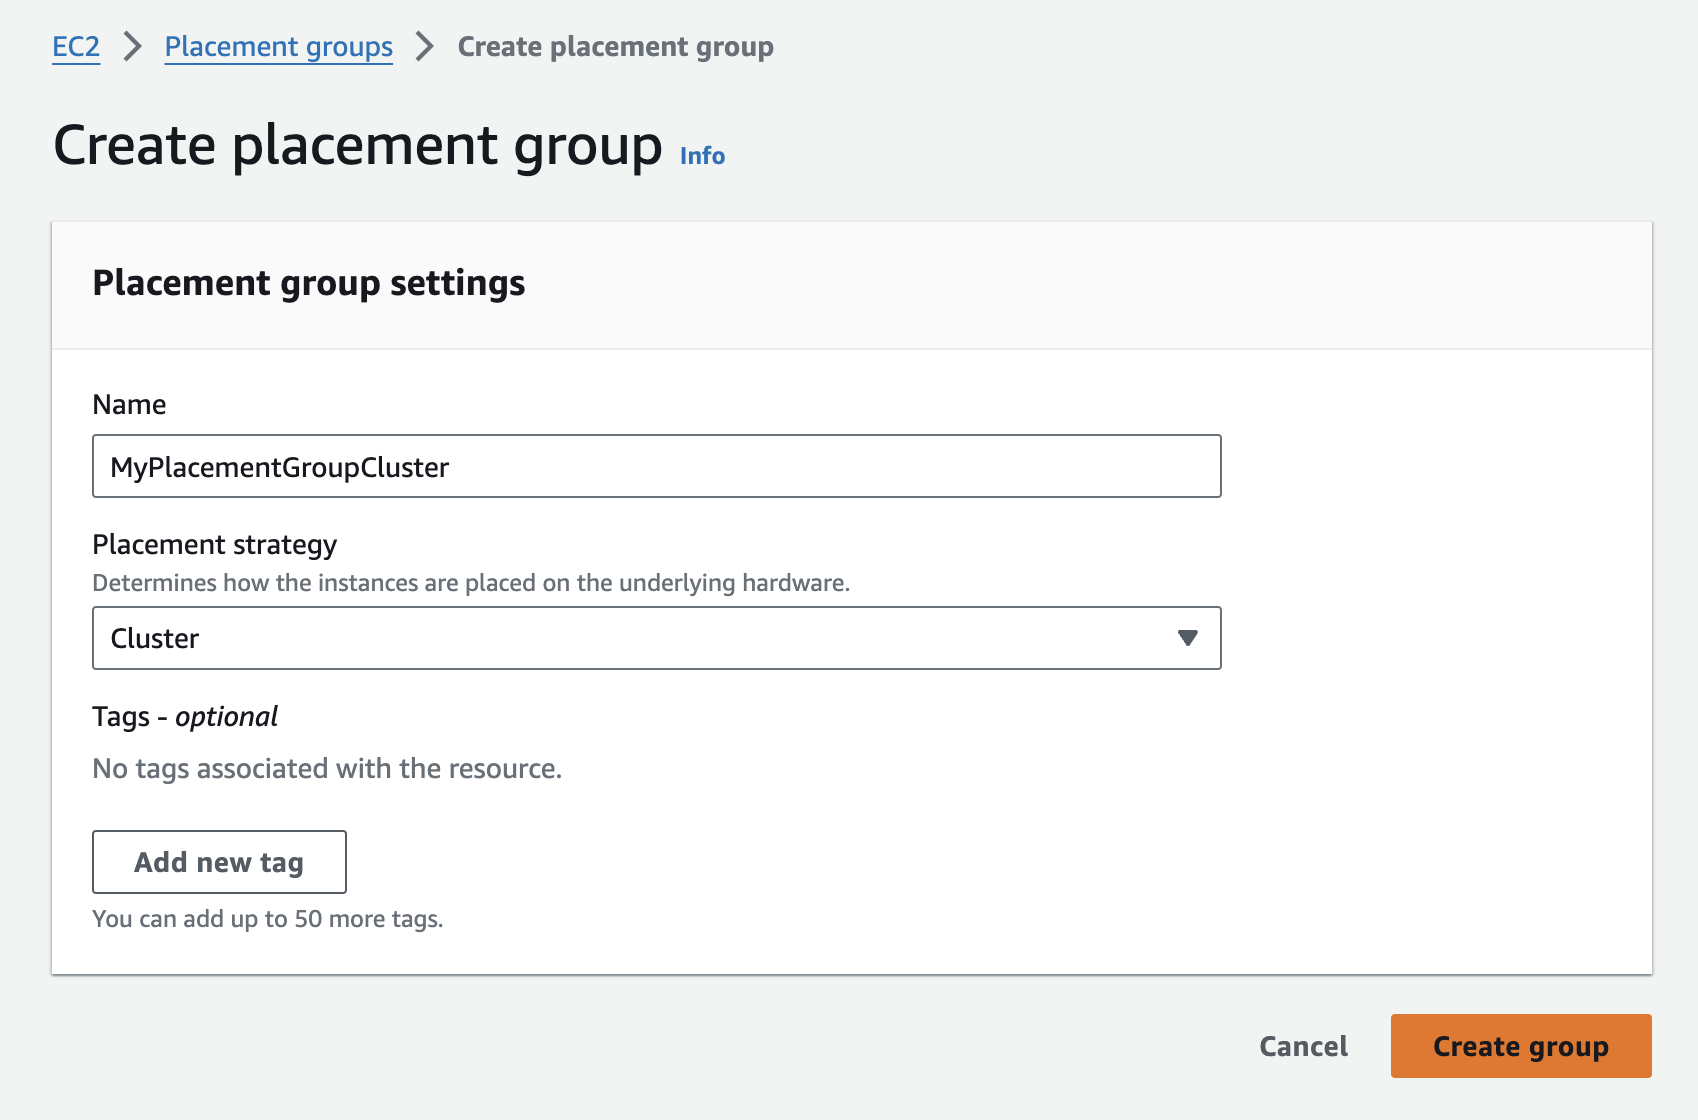
On the EC2 Console -> Network & Security -> click on Placement Groups -> Create placement group
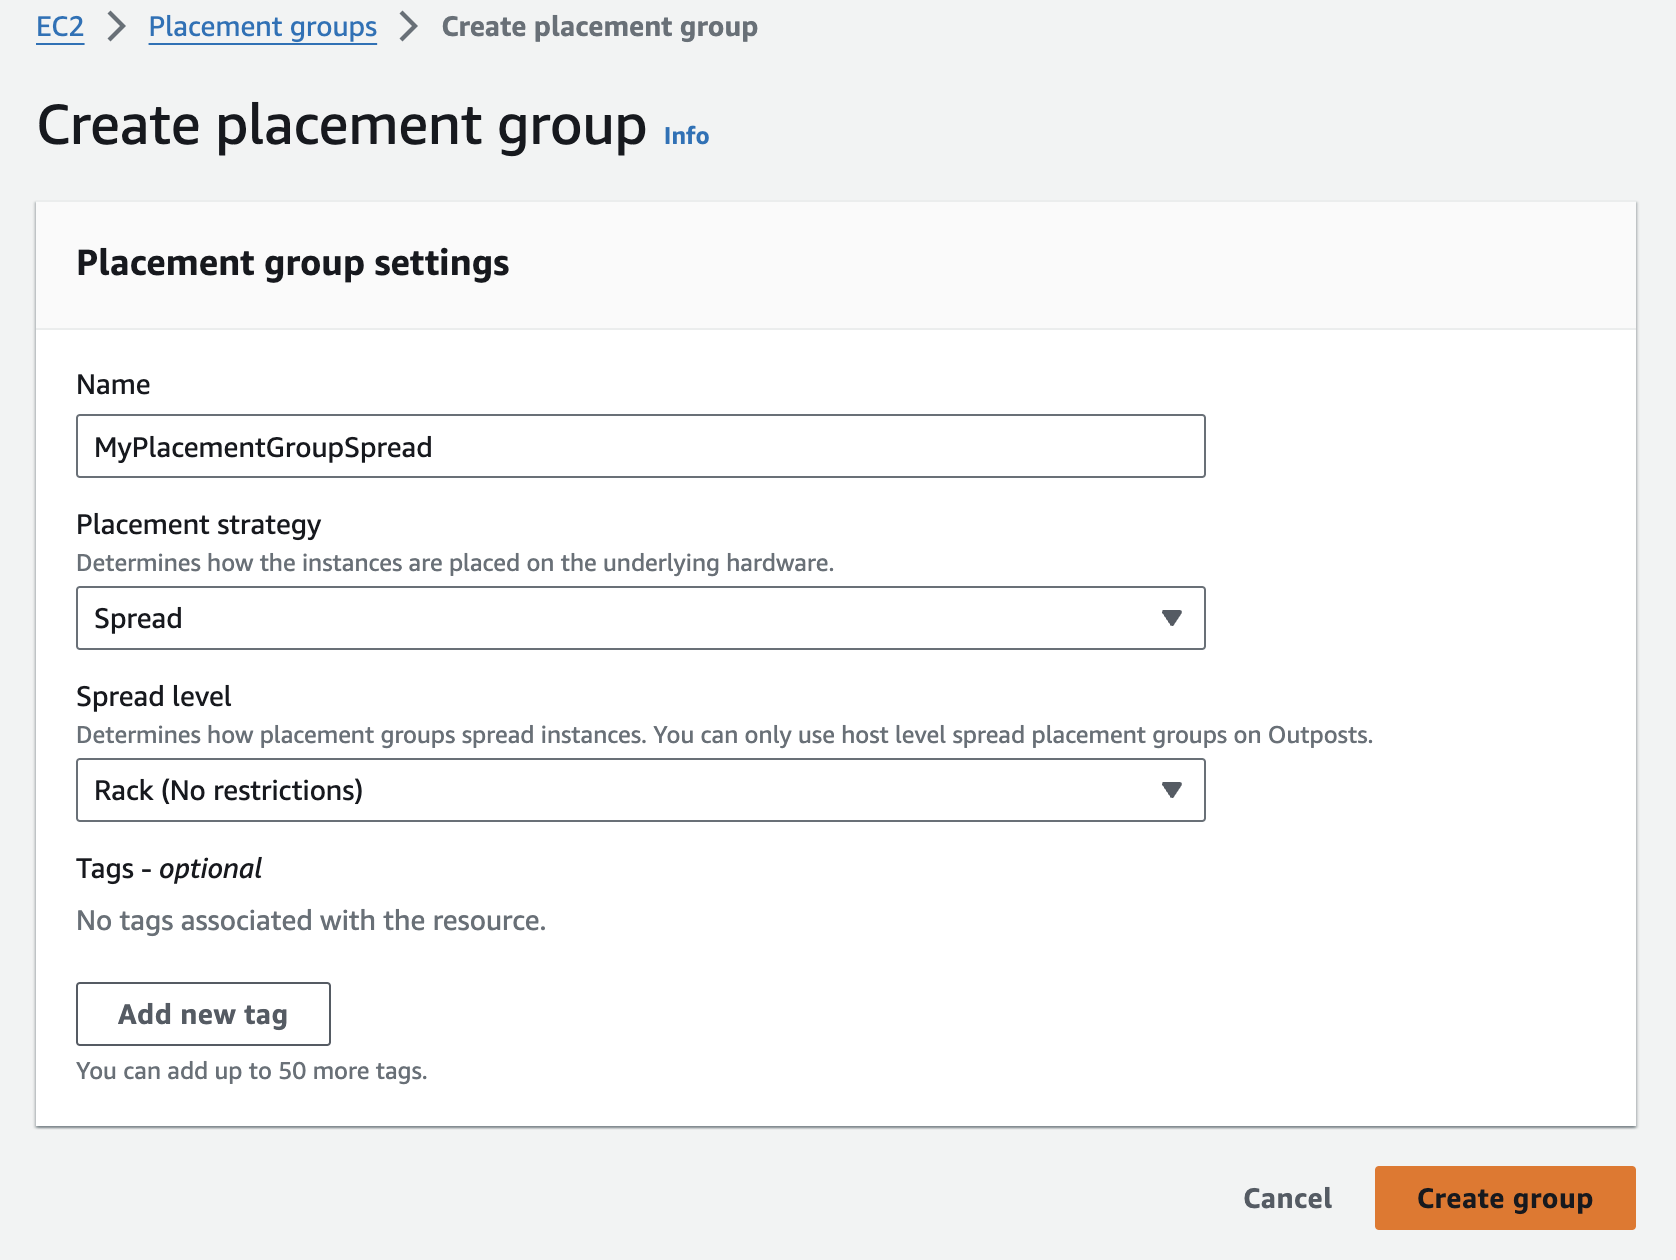
I created a second one for the Spread group.
And a third one for the Partition one
So, at this point, we have three placement groups to experiment with
The next step is to launch instances in the placement group.
Go to EC2 Instances -> Launch instance (I assume that you will configure the name of your instance, keys etc.)
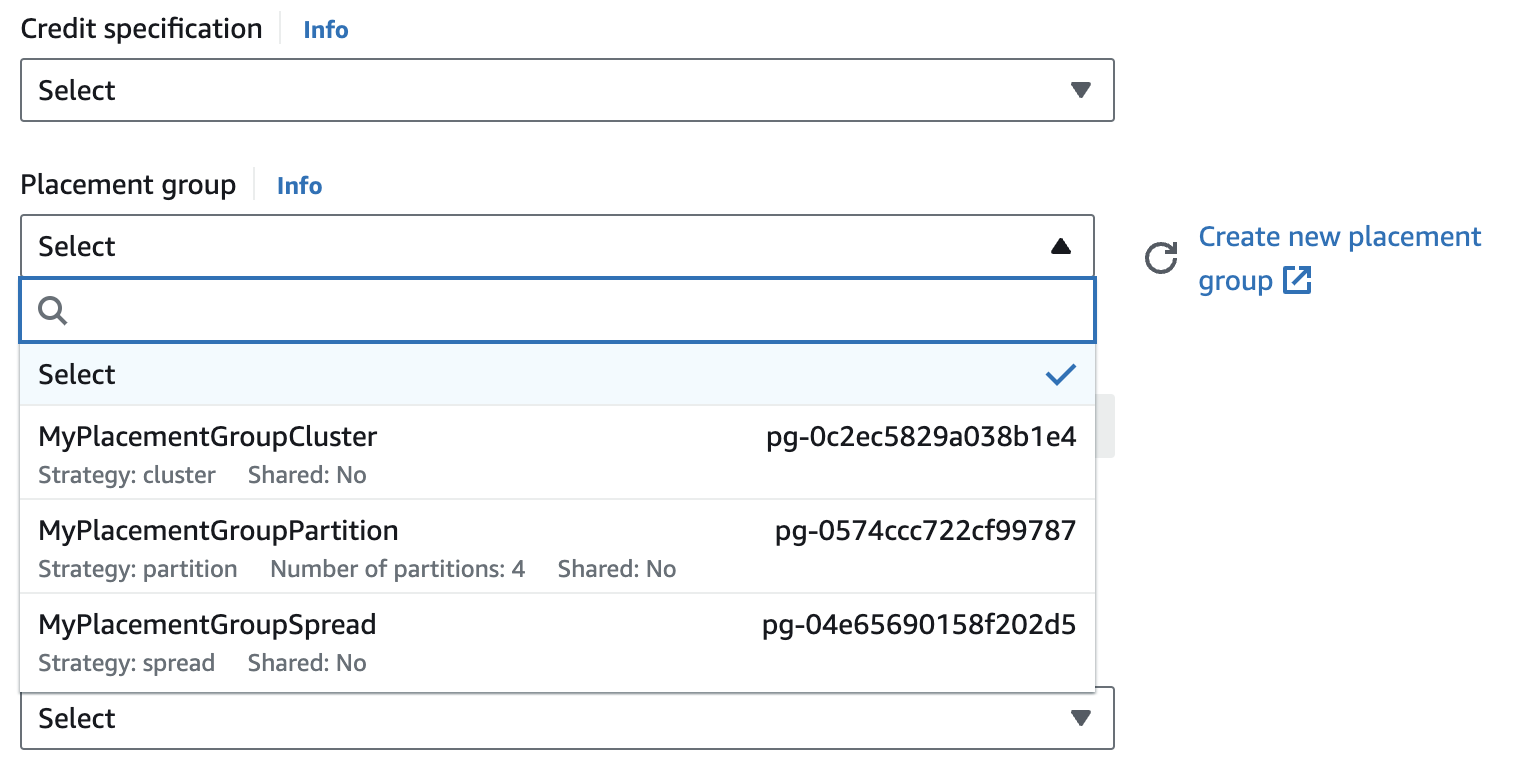
The setting for the placement group is under Advanced details -> Placement Group
So, this is how placement groups are configured within EC2 instances.
Note: This blog post does not provide 100% full information about EC2 Placement Group in AWS. This is a way for me to remember things especially using analogy which I am sharing with my readers.