
By doing a failover test with Zerto features, we know that in a real disaster or disruption, everything is configured correctly and working as expected. Because if we put our VMs in a VPG, an entire multi-VM application can be rigorously tested without any interruption to that same application in production.
By clicking on the Failover button on the right bottom, we can start a failover test. The VPG can be ticked and click on next to continue.
[caption id="attachment_1884" align="alignnone" width="1158"]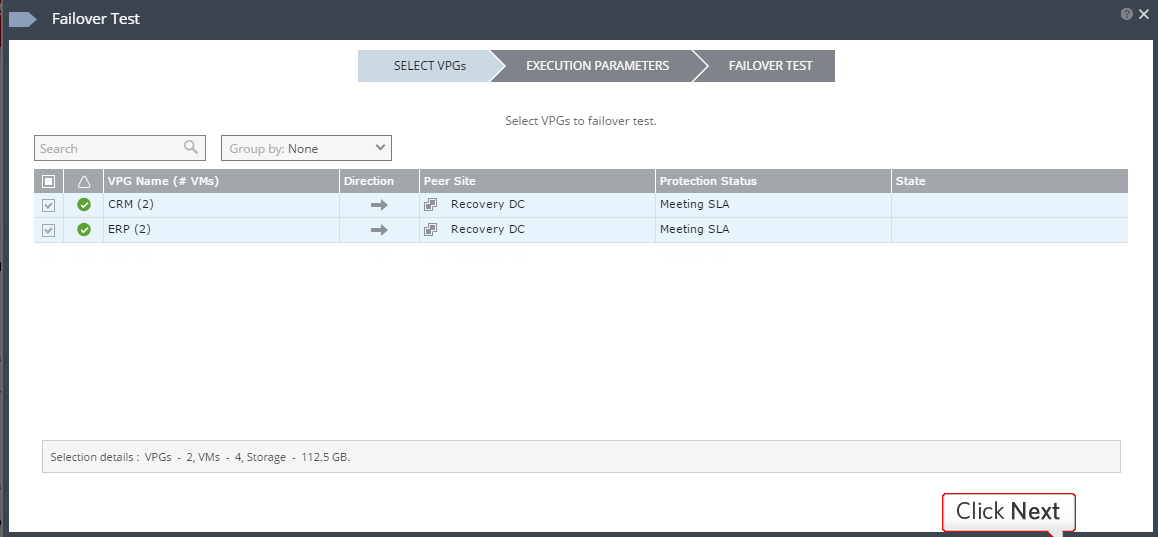
The execution parameters are that which have been set up in the VPGs for example, boot sequence and checkpoint dates etc.. The Failover Test section is where you can start the Failover test.
The failover test creates VMs in a sandbox using the test network defined in the VPG settings. All testing is written to scratch volumes. The longer the test, the more space is consumed. At the end of the test, ZVR will power on the test VMs and do so in the correct boot order if one was specified.
The test will keep writing to scratch volumes until either:
- The hard journal storage limit is reached
- It's manually stopped.

Since Zerto automates the test cleanup, you should only stop a test from within a vSphere client. In a live environment, you would then verify the results of the test in the recovery site and ensure each VM is performing as expected. Assuming a successful test, you can come back to the ZVM and click "Stop" under the running task section.
[caption id="attachment_1886" align="aligncenter" width="394"]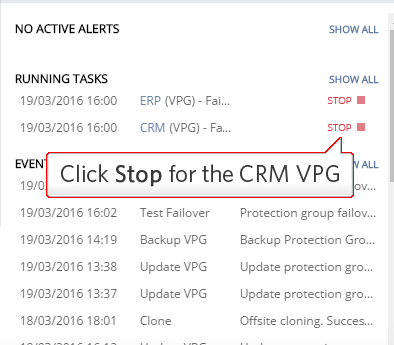
The report tab provides detail on the test ran. This can be used for confirmation of test success or failure and aid in compliance. The recovery reports can also be exported in PDF.
A live failover test can also be performed. This is an example from where you can toggle from test to live failover.
[caption id="attachment_1887" align="alignnone" width="1192"]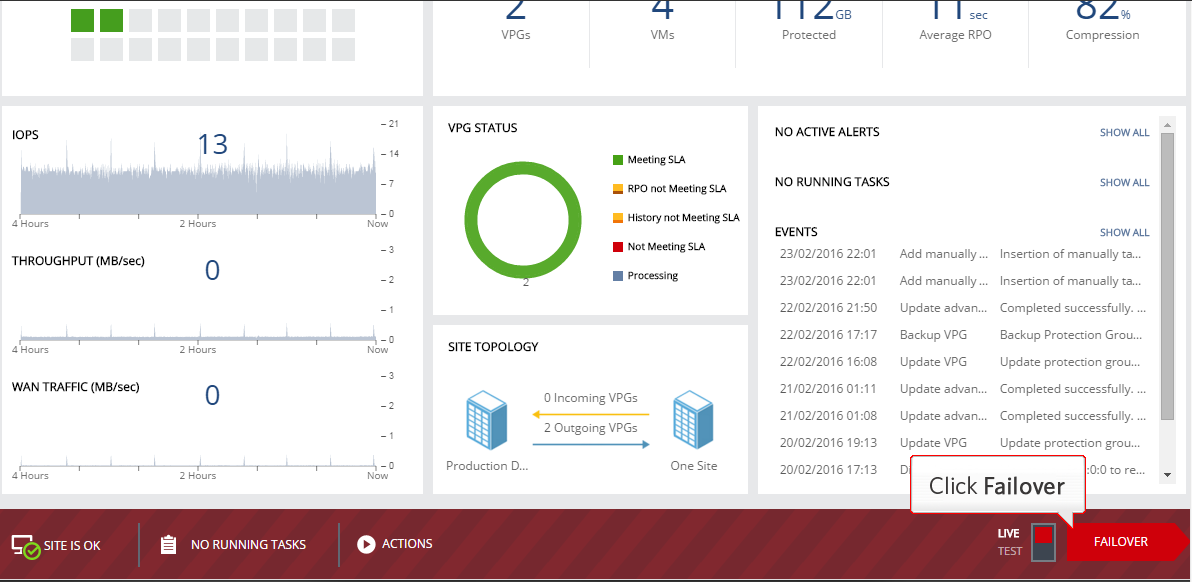
I have to choose the VPG and click on next
[caption id="attachment_1888" align="alignnone" width="1158"]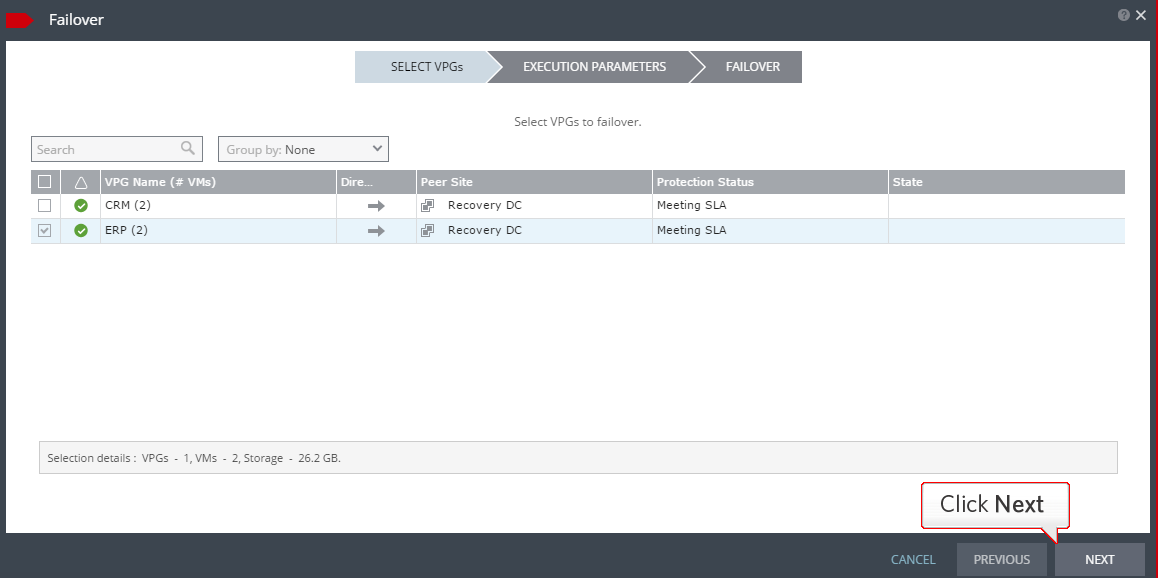
The i click on the checkpoint field to choose the date.
[caption id="attachment_1889" align="alignnone" width="1157"]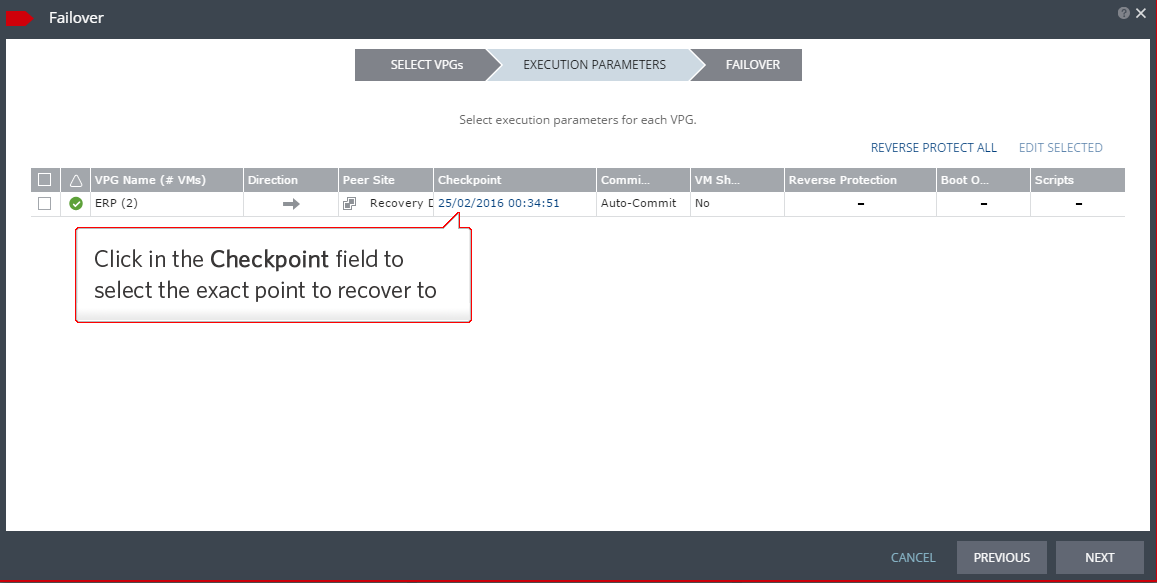
As mentioned the date can be choosen as well as a recovery can be performed from the latest backup.
[caption id="attachment_1890" align="aligncenter" width="654"]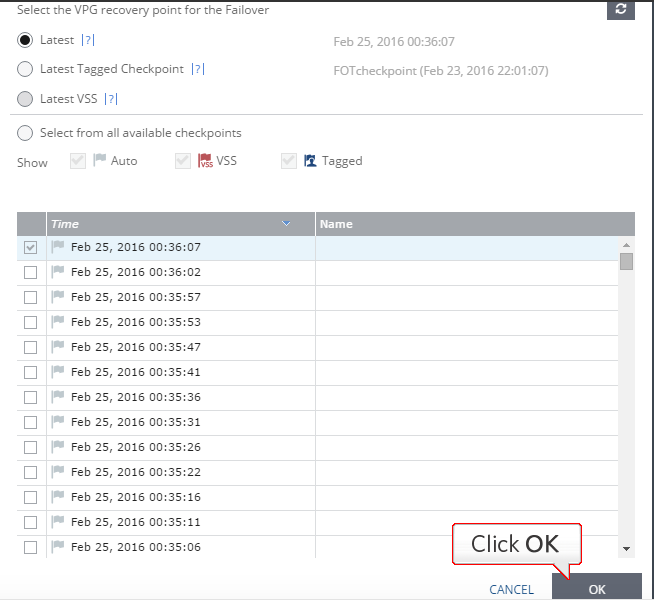
You can also choose if you want to auto-commit, auto-rollback or none.
Auto-commit -
Auto-Rollback -
[caption id="attachment_1898" align="alignnone" width="1116"]
None -
After settings parameters in the "Execution Parameters" settings, the failover can start.
[caption id="attachment_1899" align="alignnone" width="1160"]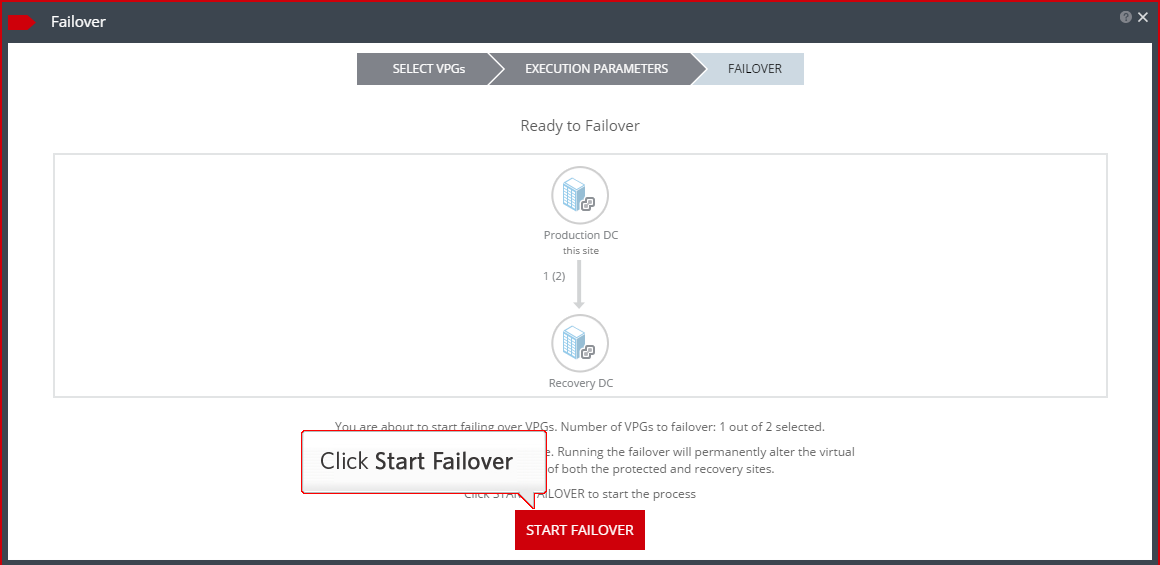
The sucessful failover test can be viewed on the dashboard. A move (or migration) is a more graceful operation than a failover since it is a planned outage It's great for failbacks, preventive maintenance and site/hardware migrations. ZVM will gracefully powered down the VMs and then, as they are shutting down, grab the very latest copy of the data and use that instead of the journal. To move VPG, click on "actions" and "move VPG"
[caption id="attachment_1900" align="alignnone" width="1186"]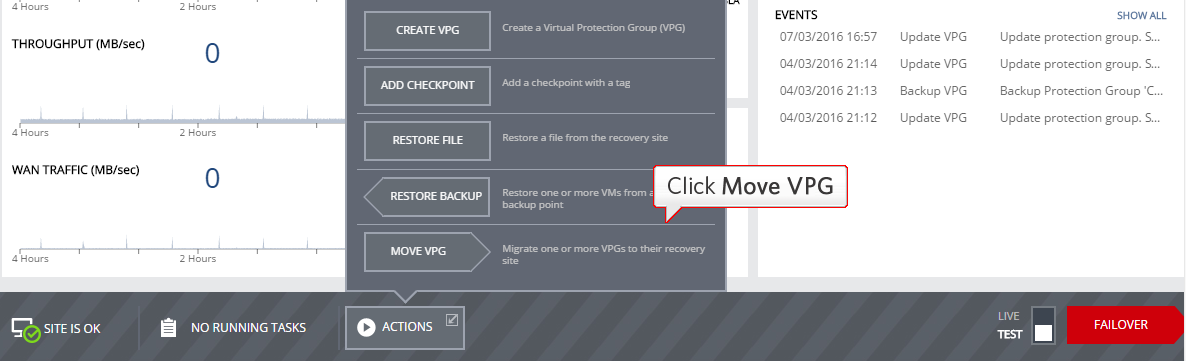
Then follow the same step by selecting the VPGs, but this time on the execution parameters, the VM need to be shutdown and click on "move"
[caption id="attachment_1901" align="alignnone" width="1142"]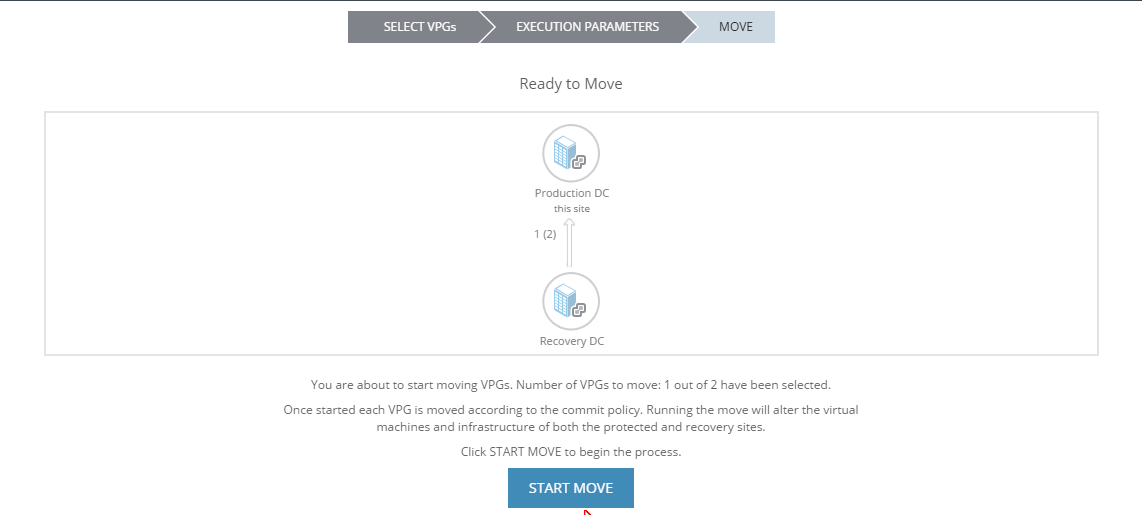
After ZVR, has finished the commit and processed the VPGs, the move is done and we are back to the green circle which means the SLA has been met and the operation is successful.