
Running a server using Django is pretty easy. Django is a high-level Python Web framework that encourages rapid development and clean, pragmatic design. Built by experienced developers, it takes care of much of the hassle of Web development, so you can focus on writing your app without needing to reinvent the wheel. It’s free and open source. - Django.

1.To start with you will need to have Python which is already there by default on your linux machine. You will need to install Pip with the command. As I am on a Ubuntu machine im using the following commands.
apt-get install python-pip
2. I am also running komodo-edit as editor. You easily install it with the following commands
add-apt-repository ppa:mystic-mirage/komodo-edit
apt-get update
apt-get install komodo-edit
3. Then, you will need to install django.
pip install django
4. Point yourself to a directory where you want to create your Django projects with the following commands. You would need to create a project. Here my project name is linuxproject. You would notice that a directory called linuxproject is created.
django-admin.py linuxproject
5. Get into the project directory. Here in my case its linuxproject. You should notice a manage.py file and a directory containing the project.
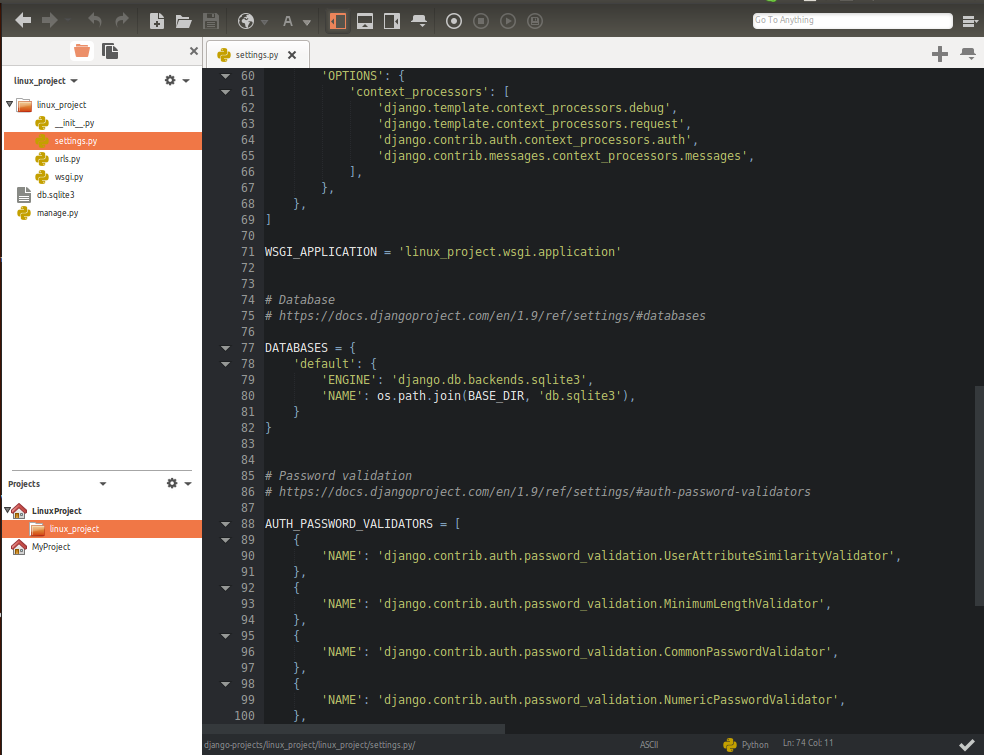
6. Now, open Komodo-edit. Create a new project in the same directory where your project has been created. Save the Django project with Komodo. It should looks something like this:
Save the project. launch the following command from terminal.
python manage.py migrate
Now, you can start your server with the following command
python manage.py runserver
You can now navigate to http://127.0.0.1:8000 In future articles, I will get into details of Django.
Tips:- You can also perform offline installation by downloading the Django Package and launch the following command for installation: python setup.py install
- To create a password for the admin interface use the following command: python manage.py createsuperuser
- In case you have encountered the "Invalid HTTP_HOST header error, you will need to add your IP in the settings.py file. Example is ALLOWED_HOSTS = ['172.10.10.1', 'localhost', '127.0.0.1']