
As promised days back on my Tunnelix.com Facebook Page, I would blog about setting up a Litecoin button on your website for payment or donation purpose which I did myself. See on the top right corner of the blog. I would strongly suggest using the XpressLiteCoin payment gateway for such type of transaction. Some days back during the operation JASK, I contributed to the LiteCoin repository and I thought why not set up a Litecoin donation button. The funds received will be used to renew my server hosting and tunnelix.com domain. Below are some instructions to start with.
For some who are not well acquainted to cryptocurrencies, Litecoin is one amongst many and it is a fork from the Bitcoin. Litecoin is an experimental digital currency that enables instant payments to anyone, anywhere in the world. Litecoin uses peer-to-peer technology to operate with no central authority: managing transactions and issuing money are carried out collectively by the network. Litecoin Core is the name of open source software which enables the use of this currency. - Litecoin
Imagine, you want to receive payments for your business in a more secure way. Of course, when it comes to cryptocurrencies, no one wants to take the risk. XpressLiteCoin is here to provide merchants with a cheap and convenient way to integrate Litecoin in their business payment process. - XpressLiteCoin
Create a Litecoin address.
2. You can create a paper-based wallet but the procedures can be lengthy and you will have to secure your key and record all transactions. However, using the online wallet is pretty simple with Jaxx.
3. After installing Jaxx, you will have the option to create a new wallet.
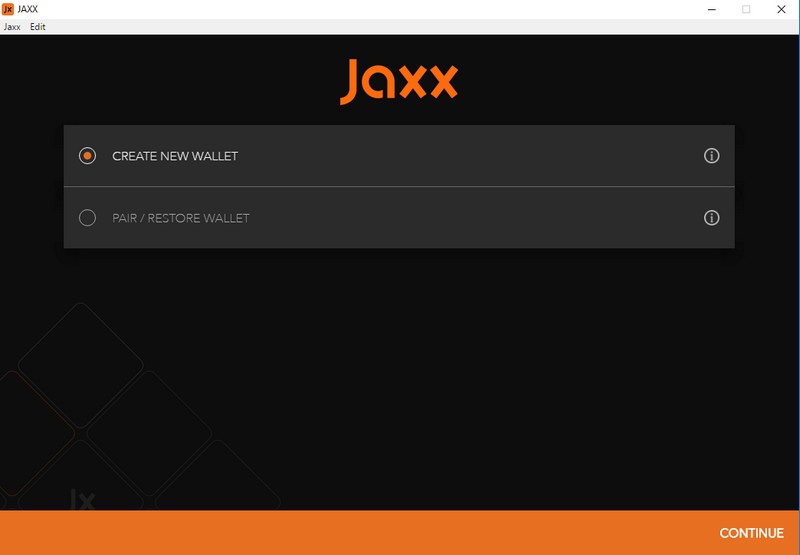
4. Then, you will have the option to choose the paper-based wallet or an online wallet which is easier.
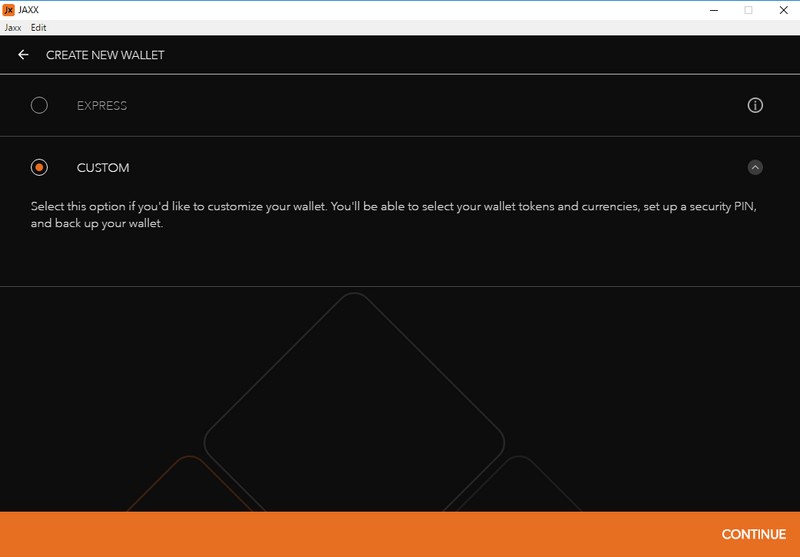
You can create your wallet and scan the QR code to use the same wallet on your mobile device such as Android, IOS, etc..
5. After configuration, you will have an LTC Address.

Merge your Litecoin address with XpressLiteCoin gateway
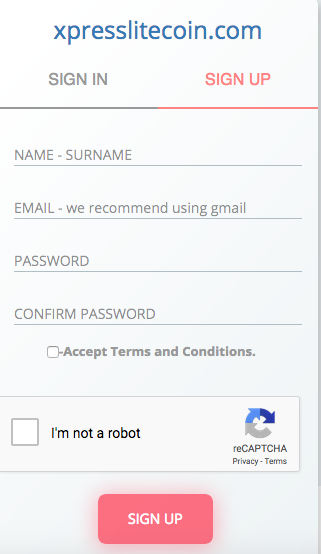
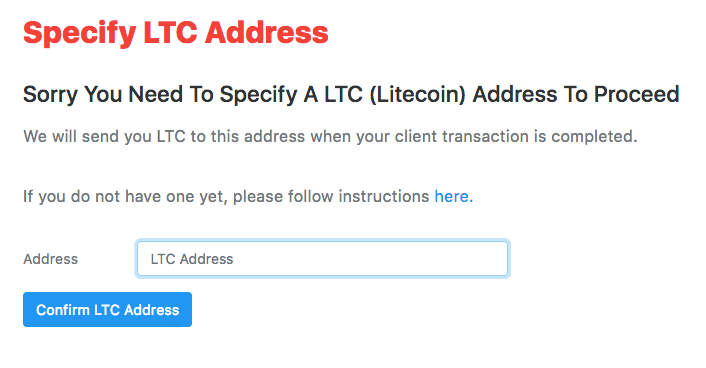
6. Save your Litecoin address and enter it on the prompt which you received when logging for the first time on the prompt as shown below:
By this time, you should have been able to access the dashboard as a user. Now it's time for some basic installation on the server.
Some basic installations on the server
7. On the server, install the "npm" package manager:
yum install npm
8. You can also upgrade your version of npm as follows:
npm install npm -g --ca=""
9. Use known registrars for the current version of npm
npm config set ca ""
10. Some installations with an npm package manager which are required:
npm install express
npm install request
npm install body-parser
11. You will also need to download the xpresslitecoin.gz at the following link as shown below :

12. To integrate the XpressLiteCoin on your website, go to the documentation page and/or click on guide. You will notice find the integration.pdf which have a piece of Javascript that will be needed on your application.
13. There are two parameters in the code to tweak: First is the port number your application will be listening and second is the token which you will get from the XpressLiteCoin dashboard on the merchant settings option.
UPDATE: 23/04
The project was scrapped.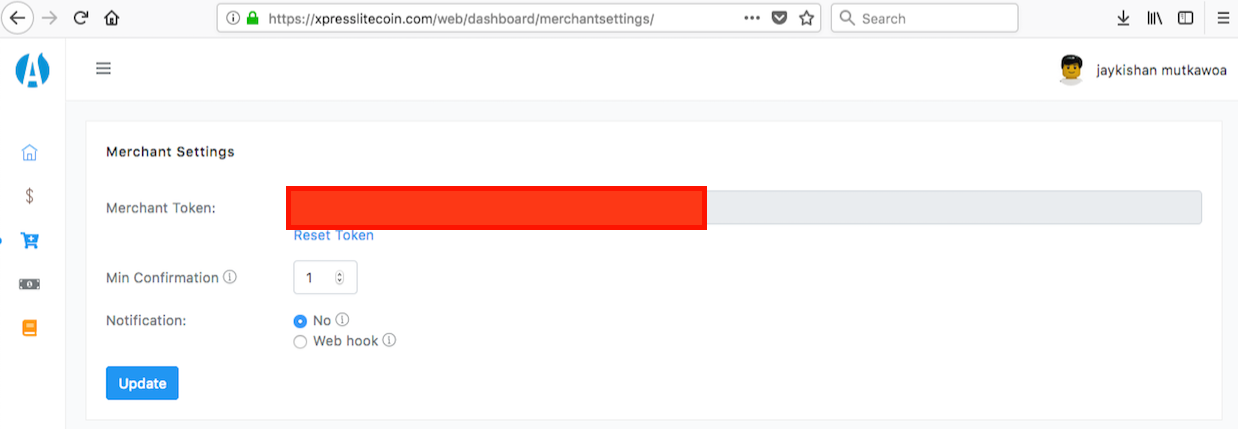
14. Copy the token and insert it at line 10 of the code. Example:
const api_token = "XXXX<Token Value here XXXX";
15. By default, the port runs on 8080. In case, you want to change it, feel free.
16. You will also need to run your application. I would, however, recommend you to have a script on autostart for this service :
node xpresslitecoin.js
17. Since the application need to be inserted as a plugin on your website, you can create a ProxyPass on your web server. For Nginx proxy use the following parameter
location /xpresslitecoin/ {

    proxy_set_header HOST $host;

    proxy_set_header X-Forwarded-Proto $scheme;

    proxy_set_header X-Real-IP $remote_addr;

    proxy_set_header X-Forwarded-For $proxy_add_x_forwarded_for;

    proxy_pass http://127.0.0.1:8080/xpresslitecoin/;

}
18. For Apache HTTPD ProxyPass, see the documentation here.
Create the payment button19. By now, you should be able to run the node service with the XpressLiteCoin application. However, to insert a button your website to received payments through the gateway, you will need to insert a few lines on JavaScript codes.
<script type="text/javascript" src="/xpresslitecoin.js">
</script>
<button id="xpl-donate"> <img src="/LocationToYourImage.png" alt="Please Donate"> </button>
20. An issue that your might encountered if you have CSP enabled which is a good thing. However, you will need to make sure that you have an exclusion on the plugin.